


Want to know how to make a glass tile pendant?? They’re super easy – you can do this! Here’s a brief tutorial.
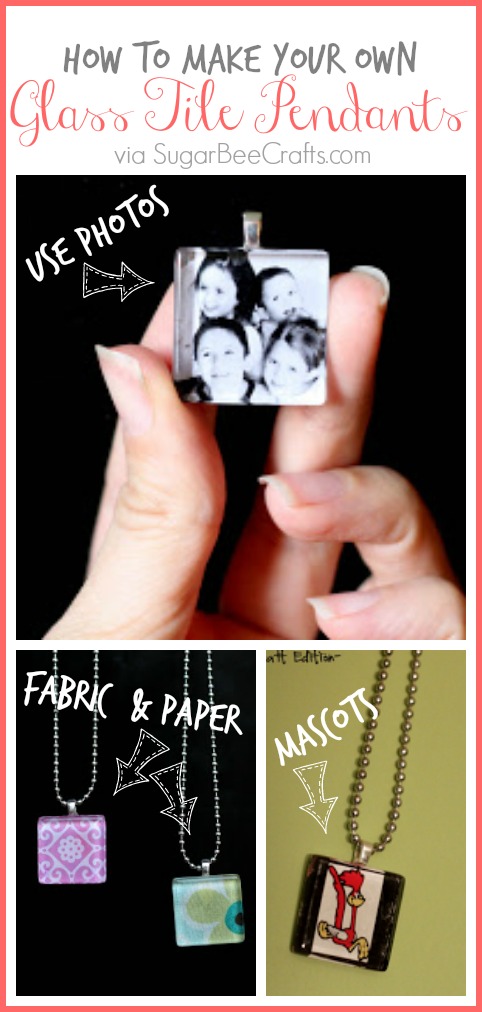
Glass Tile Pendants
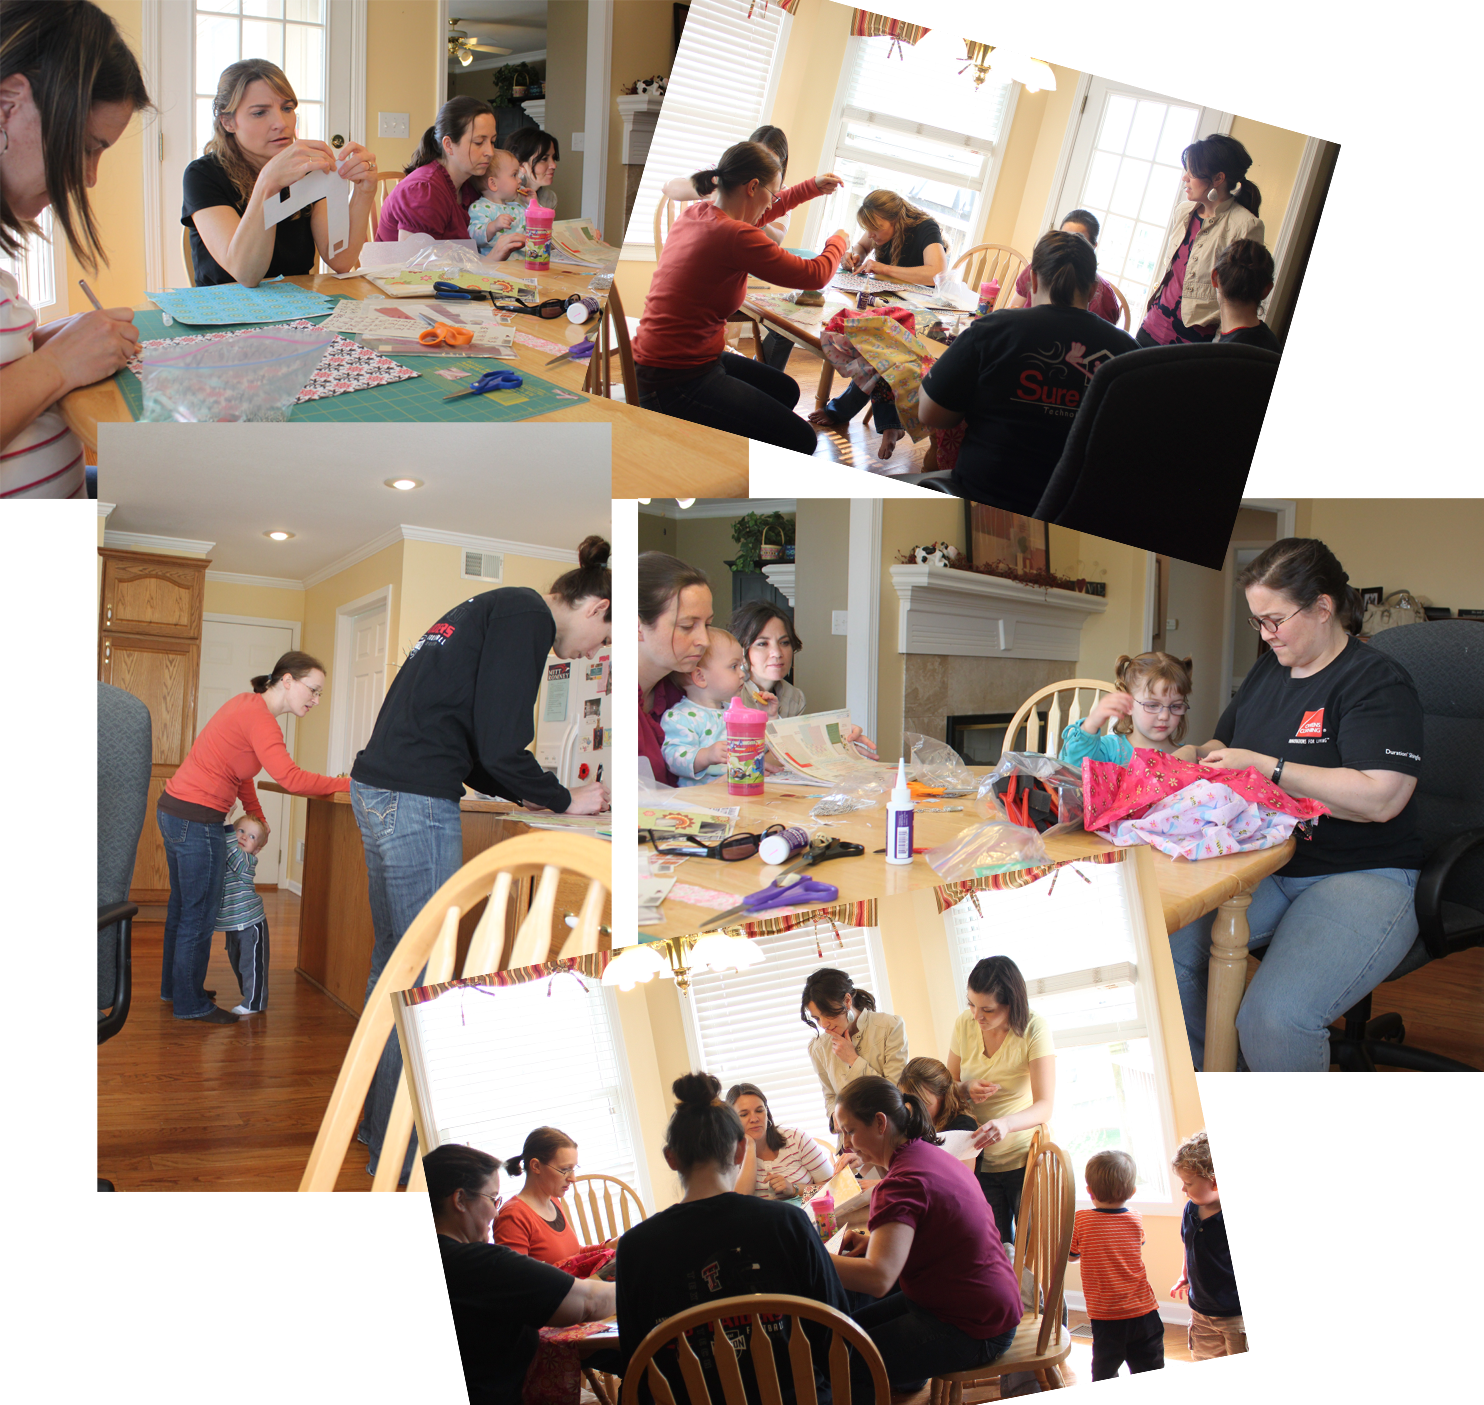
They can end up costing less than $1.70 each – wow! Perfect for gifts. What a great craft – I had one mom comment to me “this is a great craft that spans all ages – my daughter (7 yrs old) could do it and so could I and my mother – and we all enjoyed it!”
Ideas for Glass Tile Pendants
Some ideas for your glass tile pendants:
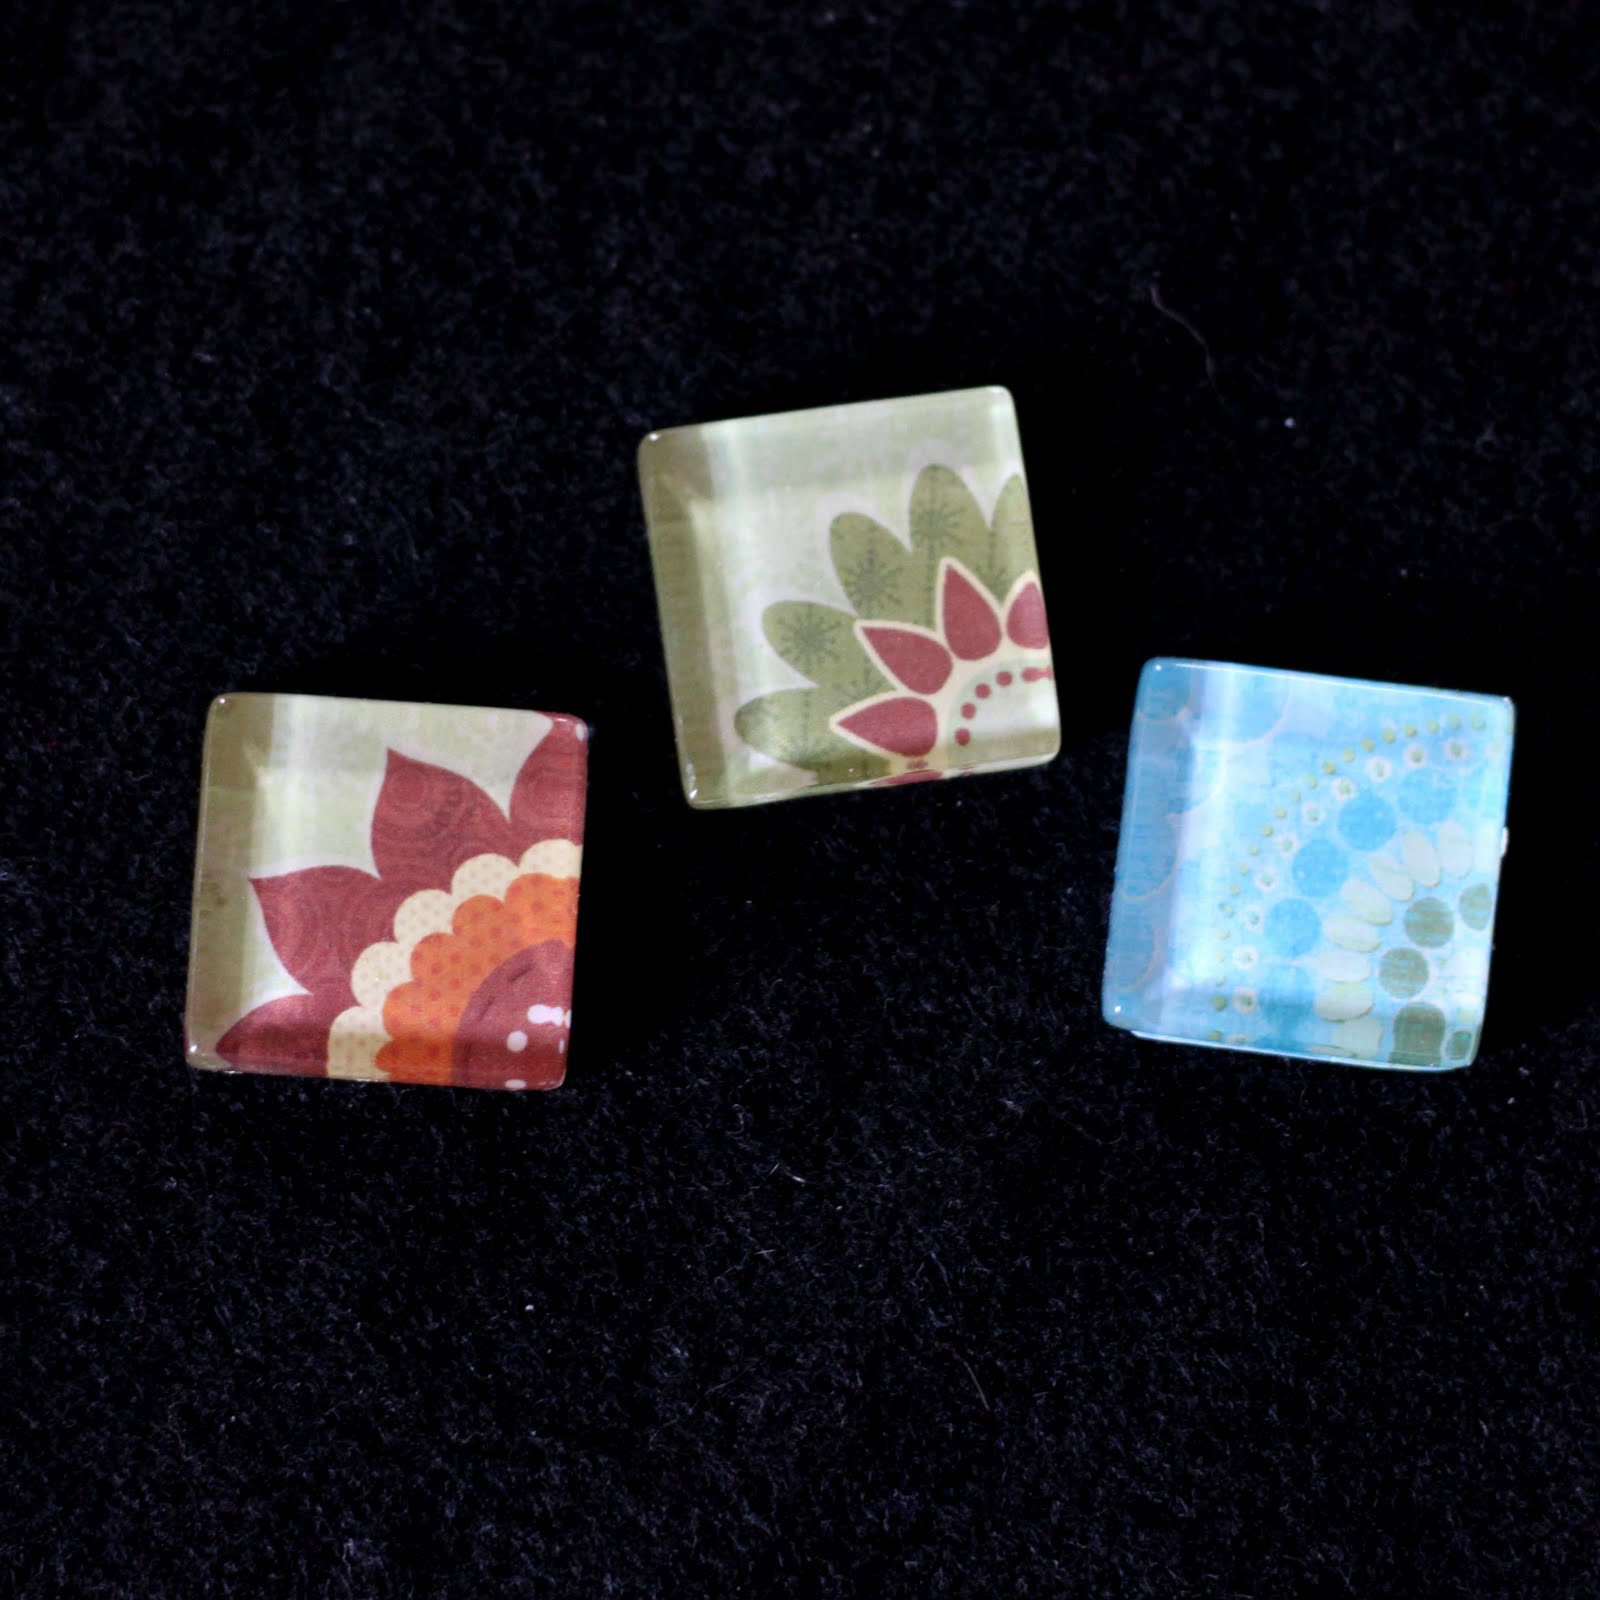
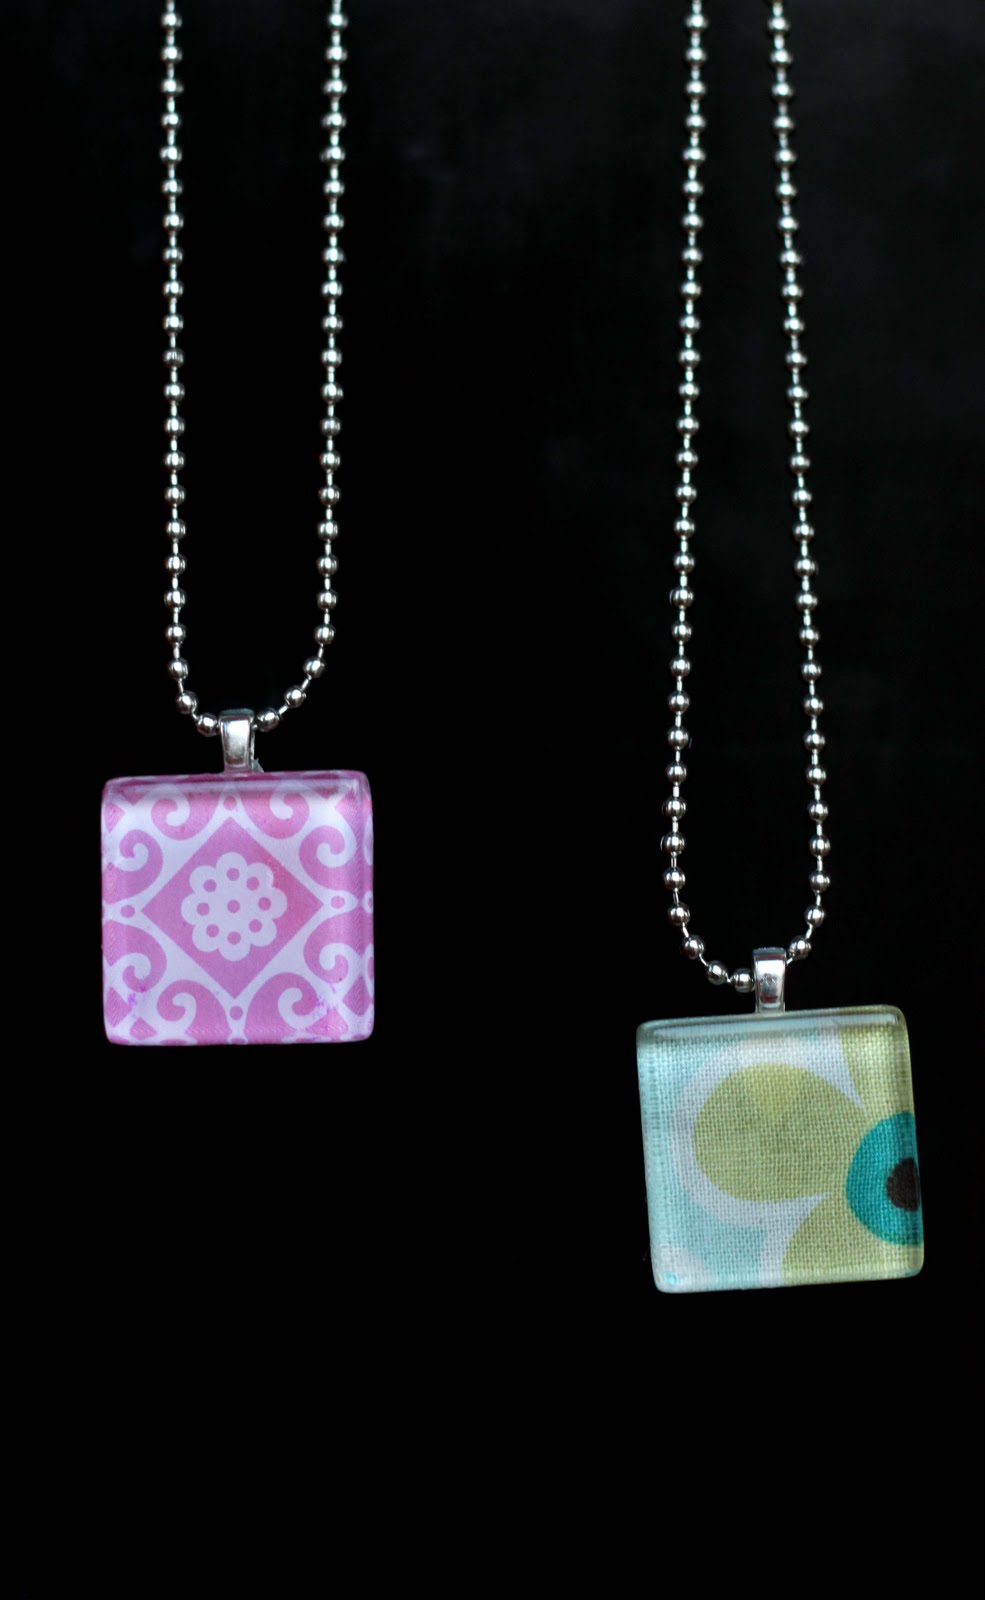
–Use fabric and paper – here’s a post with great idea tips.
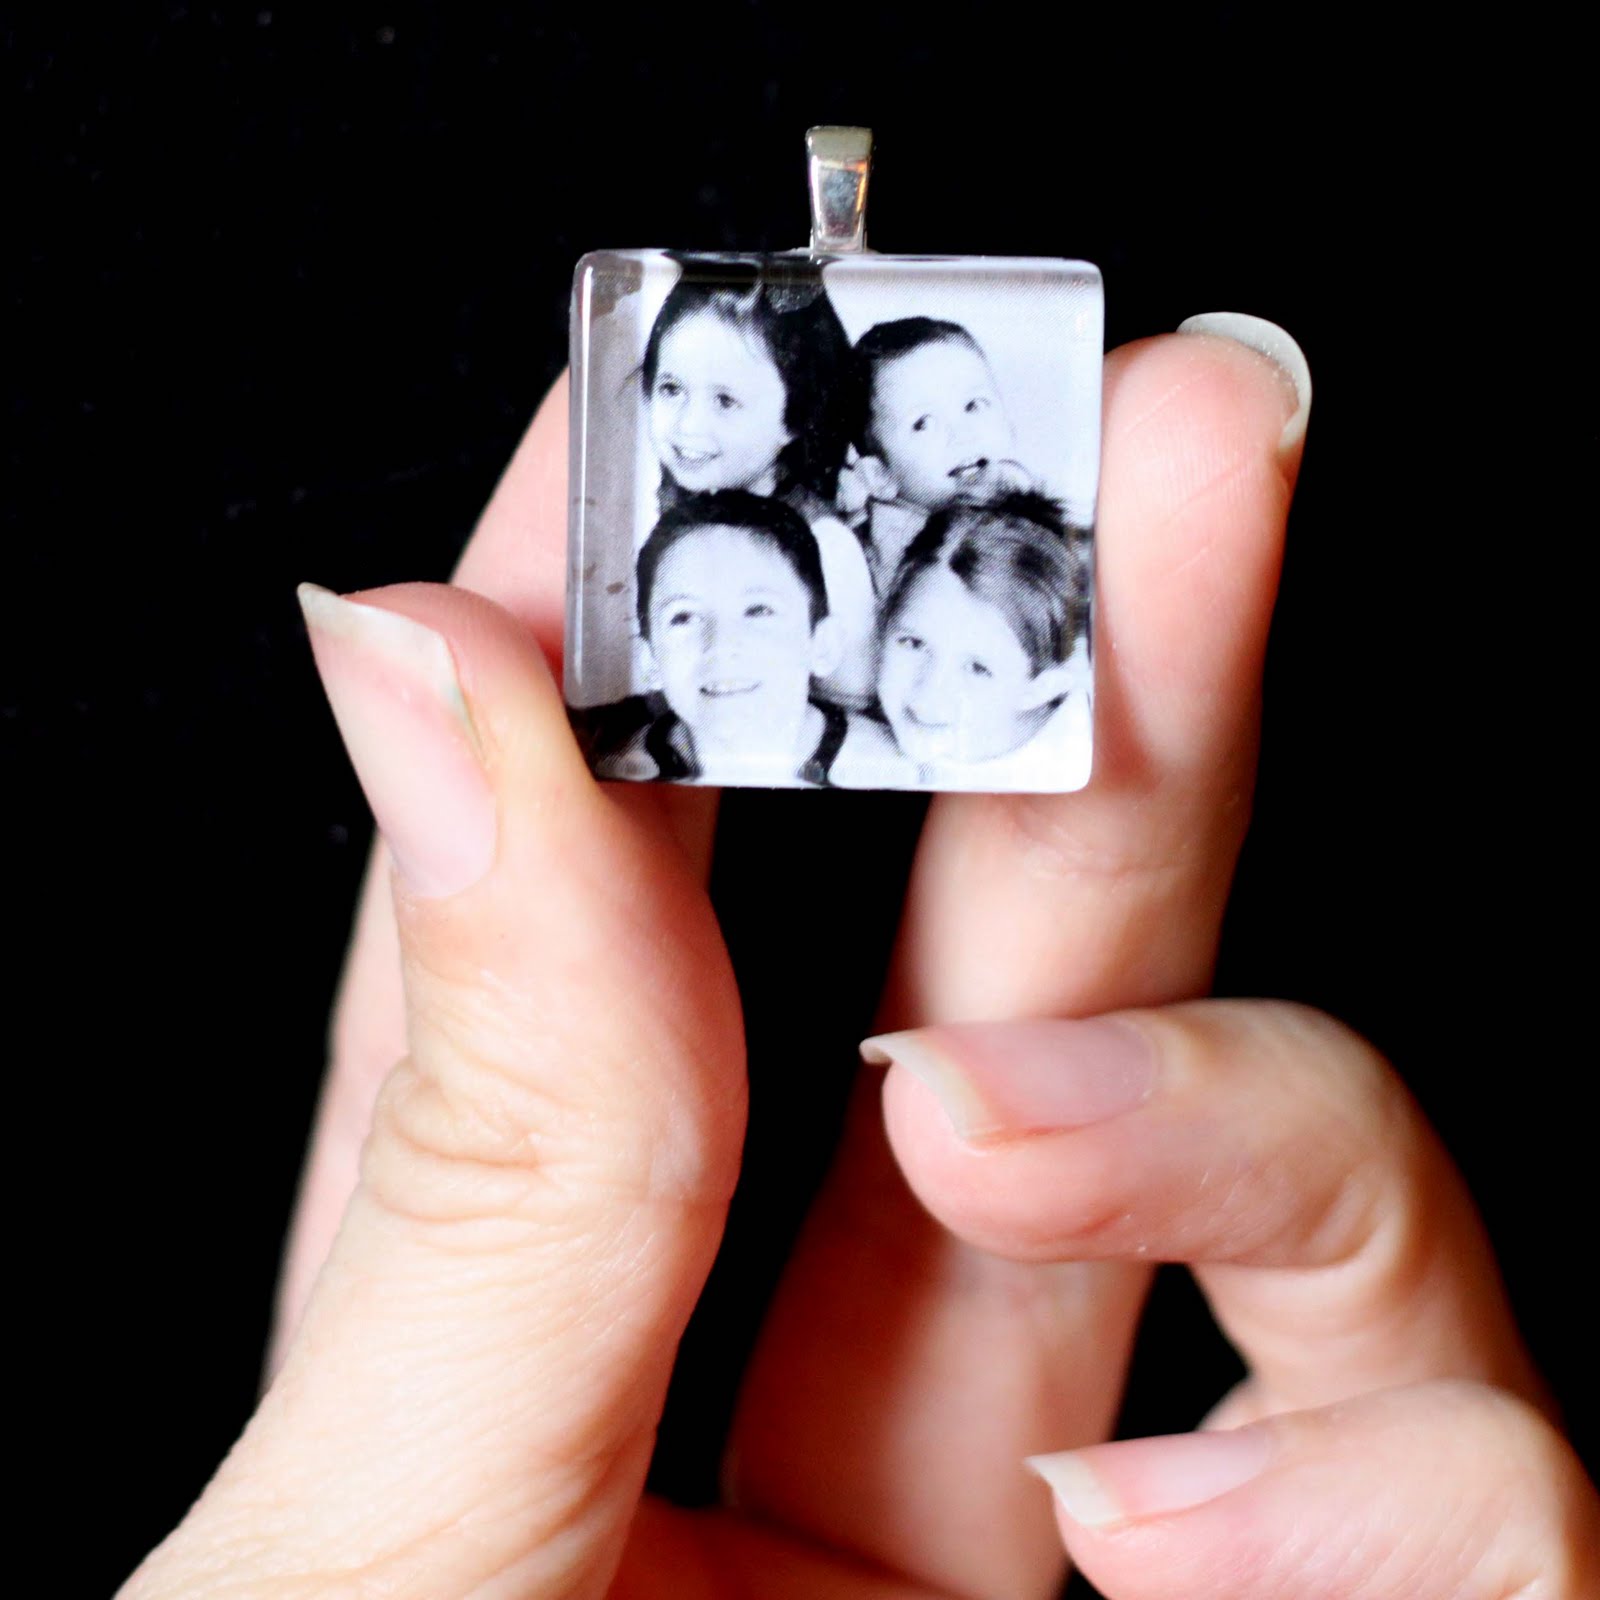
–Use a photo – here’s a post on how to resize and image for a tile.
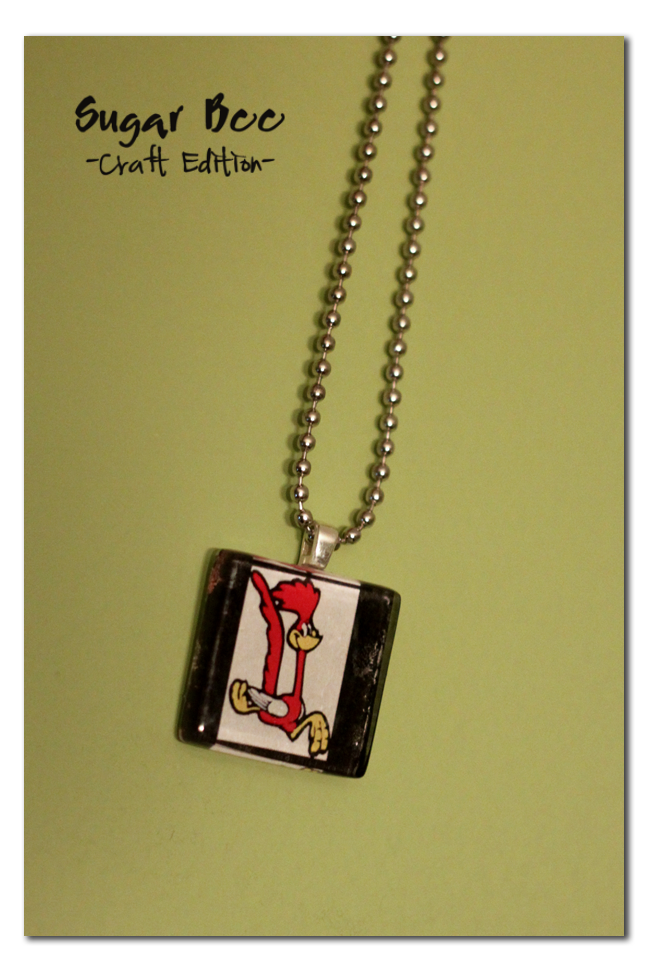
–Use a school mascot to make a great teacher gift.
Supplies
–a glass tile,
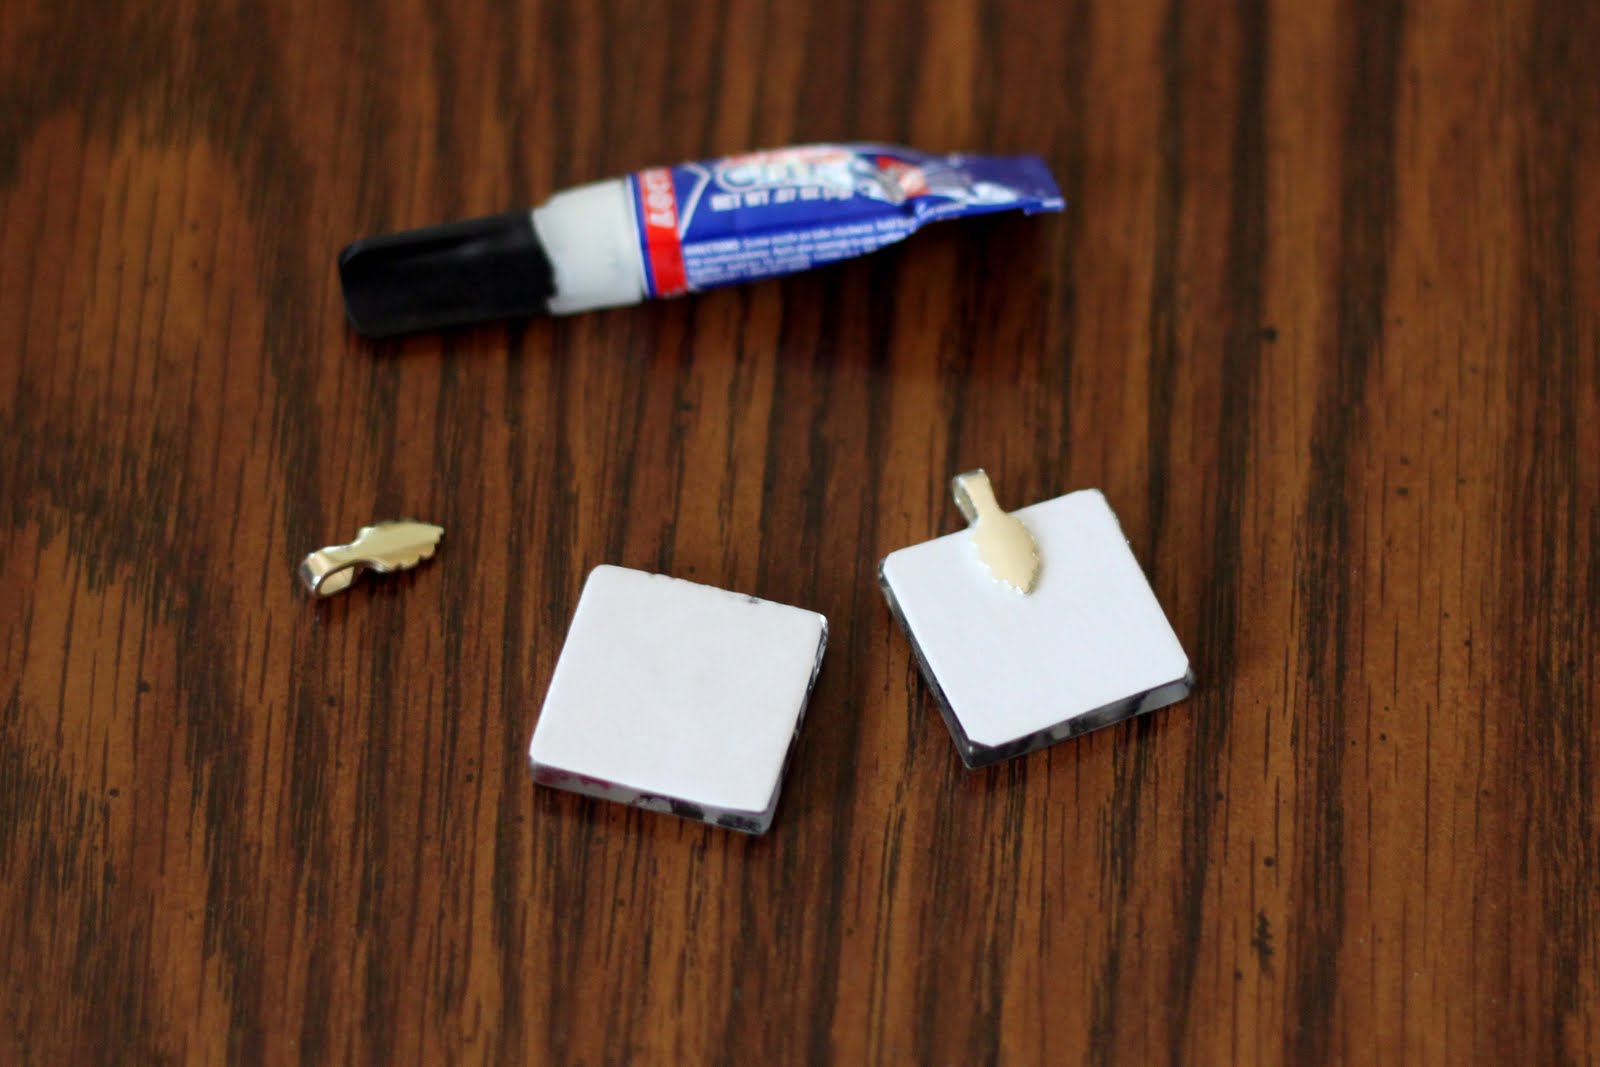
–a bail (that’s the hook that goes on the back),
–paper or fabric design,
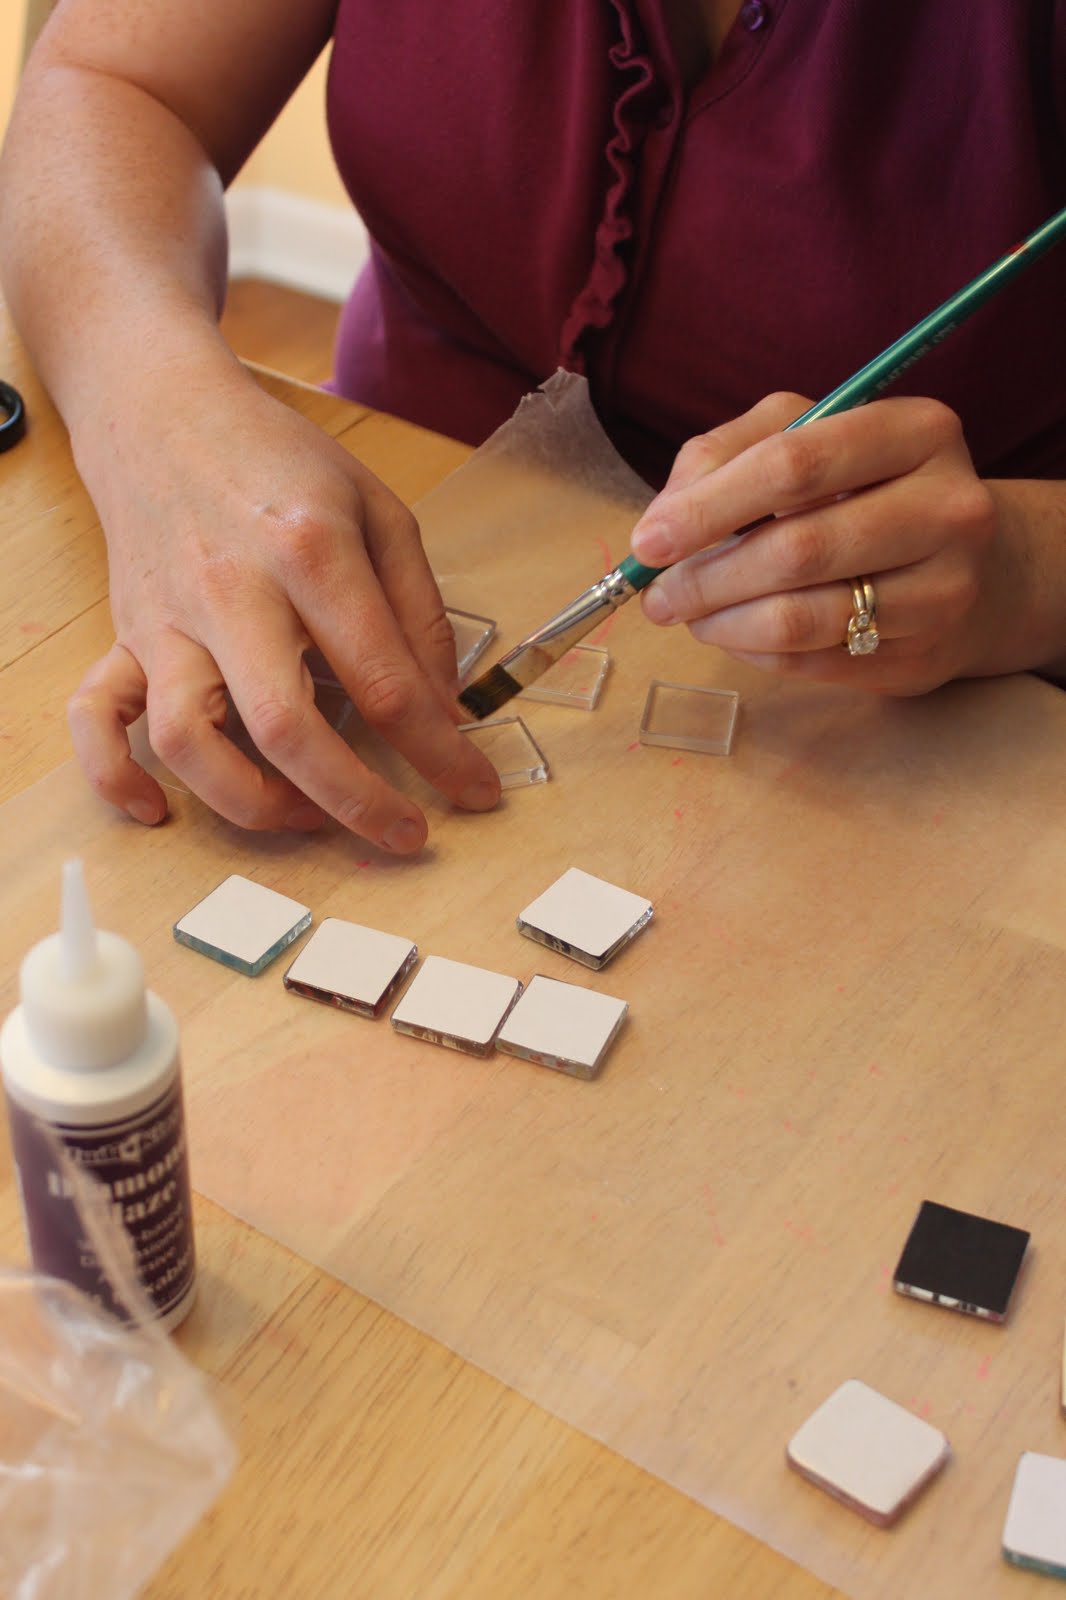
–diamond glaze and a small paintbrush,
–superglue,
–and a chain to hang it on.
Tutorial
First take your tile, and trace it onto your paper. Then cut it out slightly inside the lines. You can use an exacto knife but I just used scissors. Hold it up with your tile on top of it to check the size – you don’t want any paper sticking out behind the edge.


–Use fabric and paper – here’s a post with great idea tips.
–Use a photo – here’s a post on how to resize and image for a tile.
–Use a school mascot to make a great teacher gift.
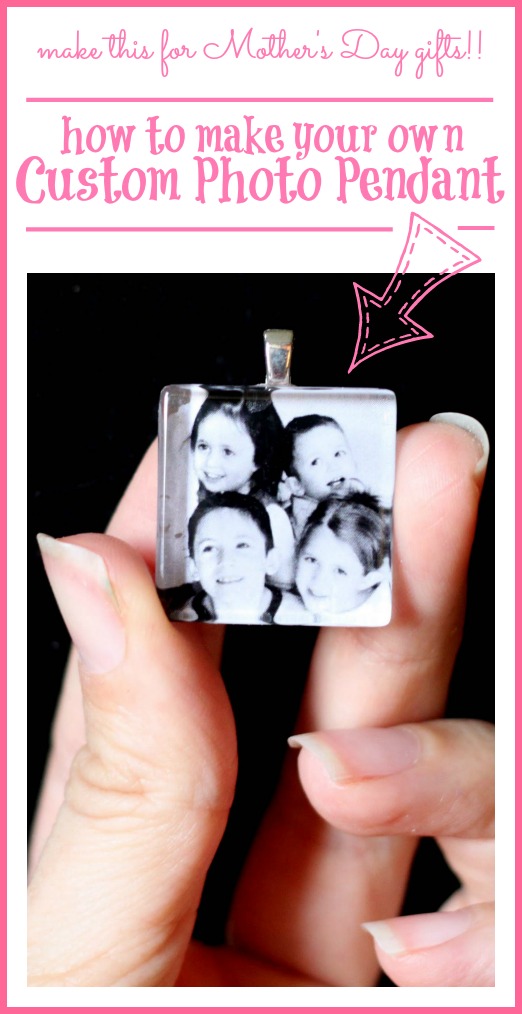
Can you use a photo? These would make the cutest Mother’s day gifts if you could use pictures of the children.
This comment has been removed by the author.
Fun project! Great job! 🙂
hey, my house is famous!
These are too cute! Thanks for the great tutorial!!
Check out my new
GIVEAWAY!!!
~Morgan
Meet Virginia!
Meet Virginia!
Meet Virginia!
Wahoo! Thanks for teaching us how to make these. I love them!
These are so gorgeous! This would be fun to make for kids, and since they’re so cheap, it would be no biggie when the child loses it (as mine inevitably will!) Great idea!
love this!!
What a fun and easy project…especially with so many pretty papers out there to choose from! Can’t wait to try it!
LoVe those! Thanks for the how-to!
Thank you for bringing your hodgepodge to the party! Will be drawing the winners soon!
~Gay~
itsahodgepodgelife.blogspot.com
thanks for the fun tutorial!
i am having trouble leaving comments– probs with typepad anyway my blog is https://yesterdayontuesday.typepad.com
Hooray for this tutorial!! I’ve been looking for this! I posted a link on my blog: https://ificould-ificould.blogspot.com/2010/04/glass-tile-pendants.html
Can’t wait to make these!
btw, if you want, grab a button saying you were featured: https://ificould-ificould.blogspot.com/p/featured-sites.html (sorry it’s a little small – will be resized soon!)
Your project has been featured. 🙂 Check it out!!!
https://thegirlcreative.blogspot.com/2010/04/shes-got-talent-sunday-shout-out.html
xoxo
Diana
Mandy,
I love these pendants, they’re so pretty! Thanks for joining the Craftaholics Anonymous Support Group! I had fun stopping by and checking out your craftiness!
Linda
Bravo! J’aime bien ces pendentifs.
Josée
That is just gorgeous. Another project to add to the to do list!
Thanks for this-been hesitant to invest in supplies until I knew the best way to work..now feel a bit more confident..
I love this! I actually won a tile pendant once. Be blessed. Thanks for the tutorial. Cindy
This is too good. Thanks for sharing the great information on how to prepare Pendants.
Hi I found you through 12 Crafts til Christmas blog. I love this idea and you make the directions so simple. Thanks for linking where to get the supplies. I love that I can get almost everything in one place!
I was just getting ready to assemble some of these and saw your post. It’s always nice to see how someone else does it first! Thanks for the post!
Just ordered mine! THANKS!!
I love these and STILL need to make some.
I love this glass tile idea. I look forward to this being a part of my next project in the making. thank you for sharing this idea.
I absolutely LOVE the look of these. I am going to get some for my next girls night! Thanks for the tip on where to get all the supplies. I am a new follower.
Amy @ SistersoftheWildWest.blogspot.com
Featured you today!! 🙂
https://www.thecountrychiccottage.net/2011/04/moms-heart-handmade-mothers-day-gift.html
Stinkin cute! Love the pink one especially! Thanks for linking up with DIY under $5!!
Very pretty pendant, I love it.
Ann@girls jewellery
Thanks for the tutorial! I just made some recently and posted them on my site, linking to your post. 🙂
Andrea
https://addicted2tutes.blogspot.com/2011/07/glass-tile-pendant-gift.html
These are darling! Can you use a photo??
Thank you for sharing! I sell digital collage sheets for scrapbooking and jewelry making http://www.karisagraphic.etsy.com but I never know how to make them.
Katrin
I love it, thank you for sharing this idea. Do you get the tiles from a bathroom tile shop, or are they from somewhere special?
Does it matter what kind of paper you use? I wasn’t sure if the ink would smear on certain paper. Anyone?
I haven’t had any ink smear – – good luck!
Where did you get your glass tiles? Or, where do you think I could get some? Thanks, Morgan
hey morgan – in the post I talk about where i got them – the candytiles etsy shop, and you can get a discount with that code i mention…
How cute they are! Thanks for the great tutorial!!
over the door towel rack
Thank you co much for the tutorial. My girl scout troop is going to make these as mother’s day gifts which leads me to a question. Our meeting is only an hour long. Will it be sufficient to let the diamond glaze set on the back of the paper for about an hour before gluing on the bale or does it need more time to set?
good question Teri — I can’t remember how long it took to dry because I waited overnight – maybe try a test one the day before…
These are adorable…I will have to make.some for my daughters…I had a question for you. You have a picture of one with a red and gold roadrunner..that is my kids mascot for there school, where did u find him? I have looked and looked and have had no luck.. thank you
That my kid’s mascot as well – – I googled it, etc, and might have ended up using the one on their school’s website. Good luck!
Silly question, but where did you get the glass tiles? I was looking at Lowes.com, but couldn’t find clear ones.
Silly question, but where did you get the glass tiles? I was looking at Lowes.com, but couldn’t find clear ones.
Hi Sarah — in the post I mention that I bought all my supplies online from a store called CandyTiles. That’s including the glass tiles – they’re a great shop!
I finally made some of my own glass tile pendants using Japanese fabric. What do you think of them?
This is a great idea. I don’t have much money so this is prefect for my mom’s birthday coming up. I like the idea of putting it on a necklace. You want to get a picture that really means something on there. What would be even cooler is if you could make them into earring.
-Zane of ontario honey
Hi! I love this tutorial. I have a quick question. When I add the glaze to the back of the paper it makes the paper look “wet”. In other words, part of the paper is still white but you can see the other side coming through the back. Do I need to use a thicker paper, like cardstock?
Hi! I love this tutorial. I have a quick question. When I add the glaze to the back of the paper it makes the paper look “wet”. In other words, part of the paper is still white but you can see the other side coming through the back. Do I need to use a thicker paper, like cardstock?
Great tutorial.
If anyone needs images for making glass tile pendants I’d love to help. I offer free digital images created to fit your crafts projects. Also I offer the tool to make your own sheet with pictures (images) you chose My contact info is on my website: https://bestpeople.ca
Alexandra
I really like this idea. I live in a nursing home and this would be something nice to make for all the women. I’m bookmarking this page so I can remember where I got it. Thanks.
Where do you find bales like that?
Oh, I see, guess I should read and not just look at the pictures 🙂
Wow! Thanks for sharing this great informative content. Now, we are trying to learn something from your tutorial. When we make one of the glass tile pendants , then we are very thankful to you.
I love this type of innovative creation in the glass tile industry. Very pretty pendant. Can I create this pendant for me? Give me a brief description for this.
I’m very afraid of my photos smearing when wet. Do I need to seal them prior?
mine were just prints off the computer,not actual photo paper, and they didn’t smear – I didn’t seal them, but I’m thinking if you want to seal it just in case, it shouldn’t hurt anything. Hope it goes well for you!
I cannot find “GLASS TILE” AND “DIAMOND GLAZE” to make only 2 for houseparents of a childrens home as a gift. I can’t afford to buy a lot like you did. Is is possible for someone to tell me where I can buy a “small” amount of glass tile? I checked Michaels. TY for a reply
I had a hard time finding it in store, sorry! I think you can order in smaller quantities than me, maybe like 5 tiles at a time? Good luck!
Do you think I could use mod podge instead of diamond glaze (one less thing to buy)? I am making these into ornaments.
I don’t think the mod podge will dry hard enough for this project, but that being said I’ve never tried it, so maybe??
Thank you for sharing this post, It such a nice post and useful for us about jewelry lovers.I appreciate your article. This blog is really helpful to give us the information about fashionable jewelry for women. So thanks for sharing all that important information.
This is a very creative and exciting idea. I am going to try it out in future. Thank you for sharing!
Gloria Garza recently posted…PENDANT NECKLACE GOLD | SMOKEY QUARTZ
what an amazing tutorial, I was just in need of this! thank you