


Hi, everyone! I’m Ruth, and I’m delighted that Mandy is letting me join in the fun of guest blogging.

I’ve stopped by today from Holland…..no, not the place with windmills and wooden shoes, but from my blog, A Trip to *Holland. I started blogging to record my experiences as the mother of children with special medical needs. Somewhere along the way, my blog morphed into a celebration of the small joys and simple successes that I’ve found in my various roles as mother, wife, homemaker, bargain hunter, and beginning seamstress.
My three children went back to school this week, leaving me all alone…. all day…. every day….for the first time in eleven years! Let me tell you ladies, this transition is not as easy as I thought it would be, say, nine years ago. So, I am coping by crafting and organizing and sprucing up my home. I expect big things of myself, this school year!
I’m sharing my first craft project of the school year with you, today.

Here is what it took to make this fun little number:
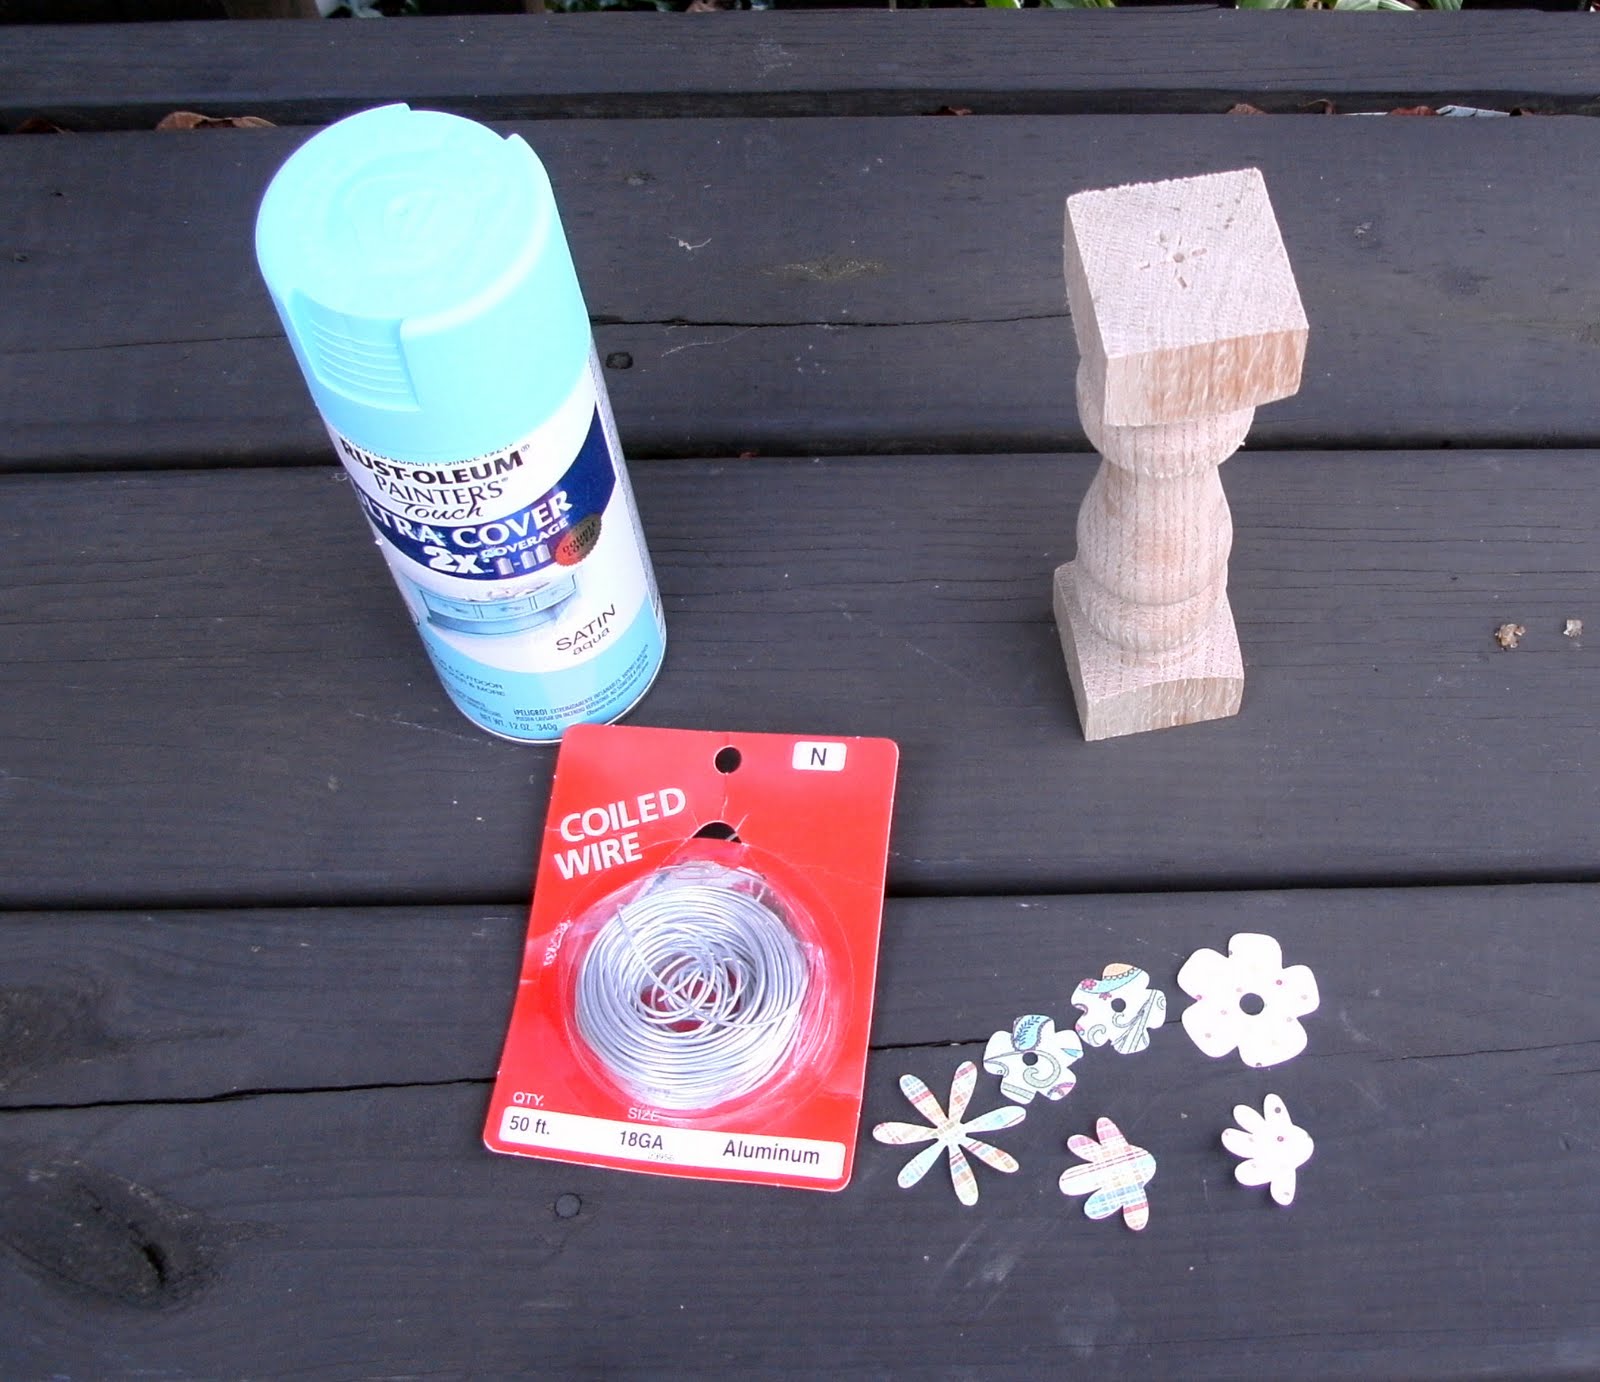
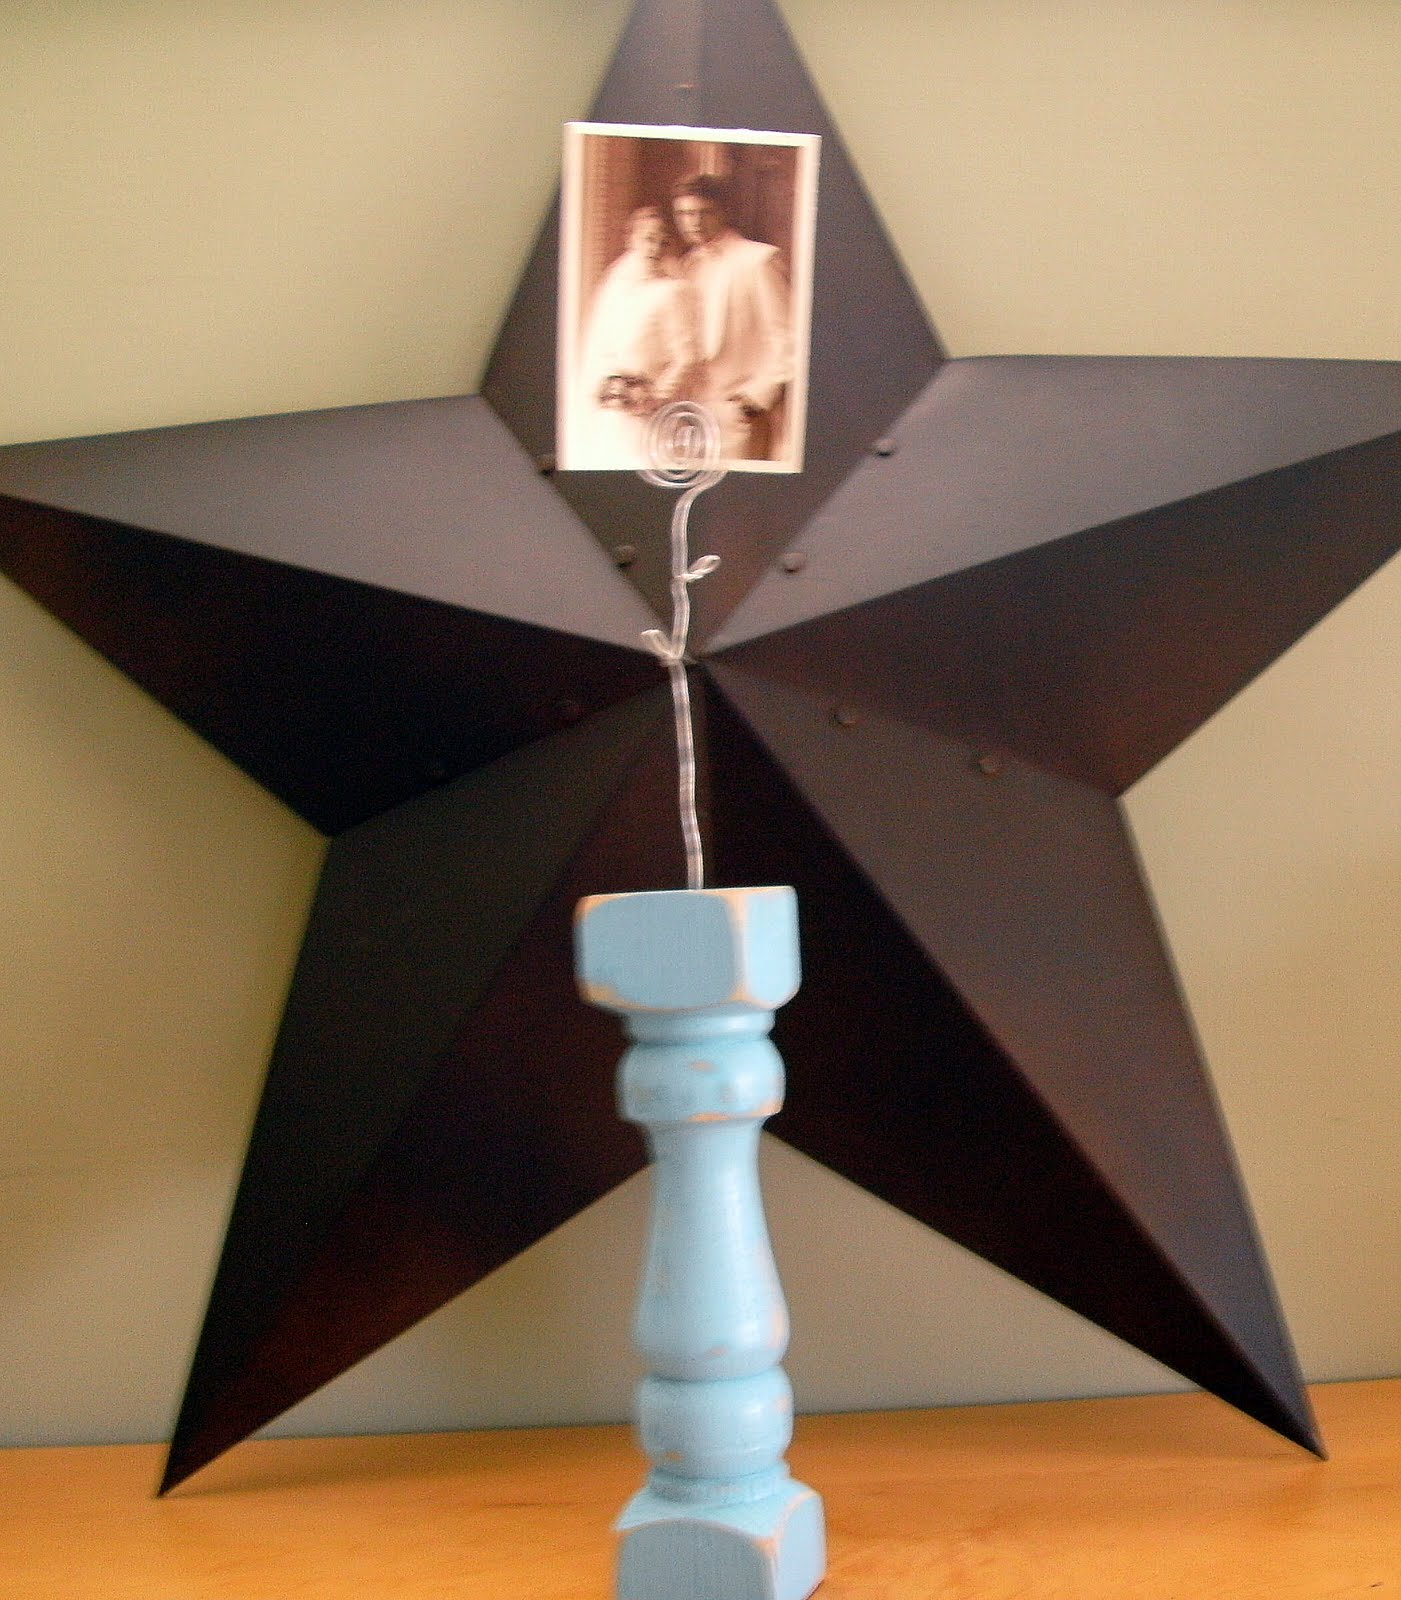
- paint (I used Rust-oleum Satin Aqua spray paint)
- 18 gauge aluminum or copper wire–the kind used for hanging pictures frames
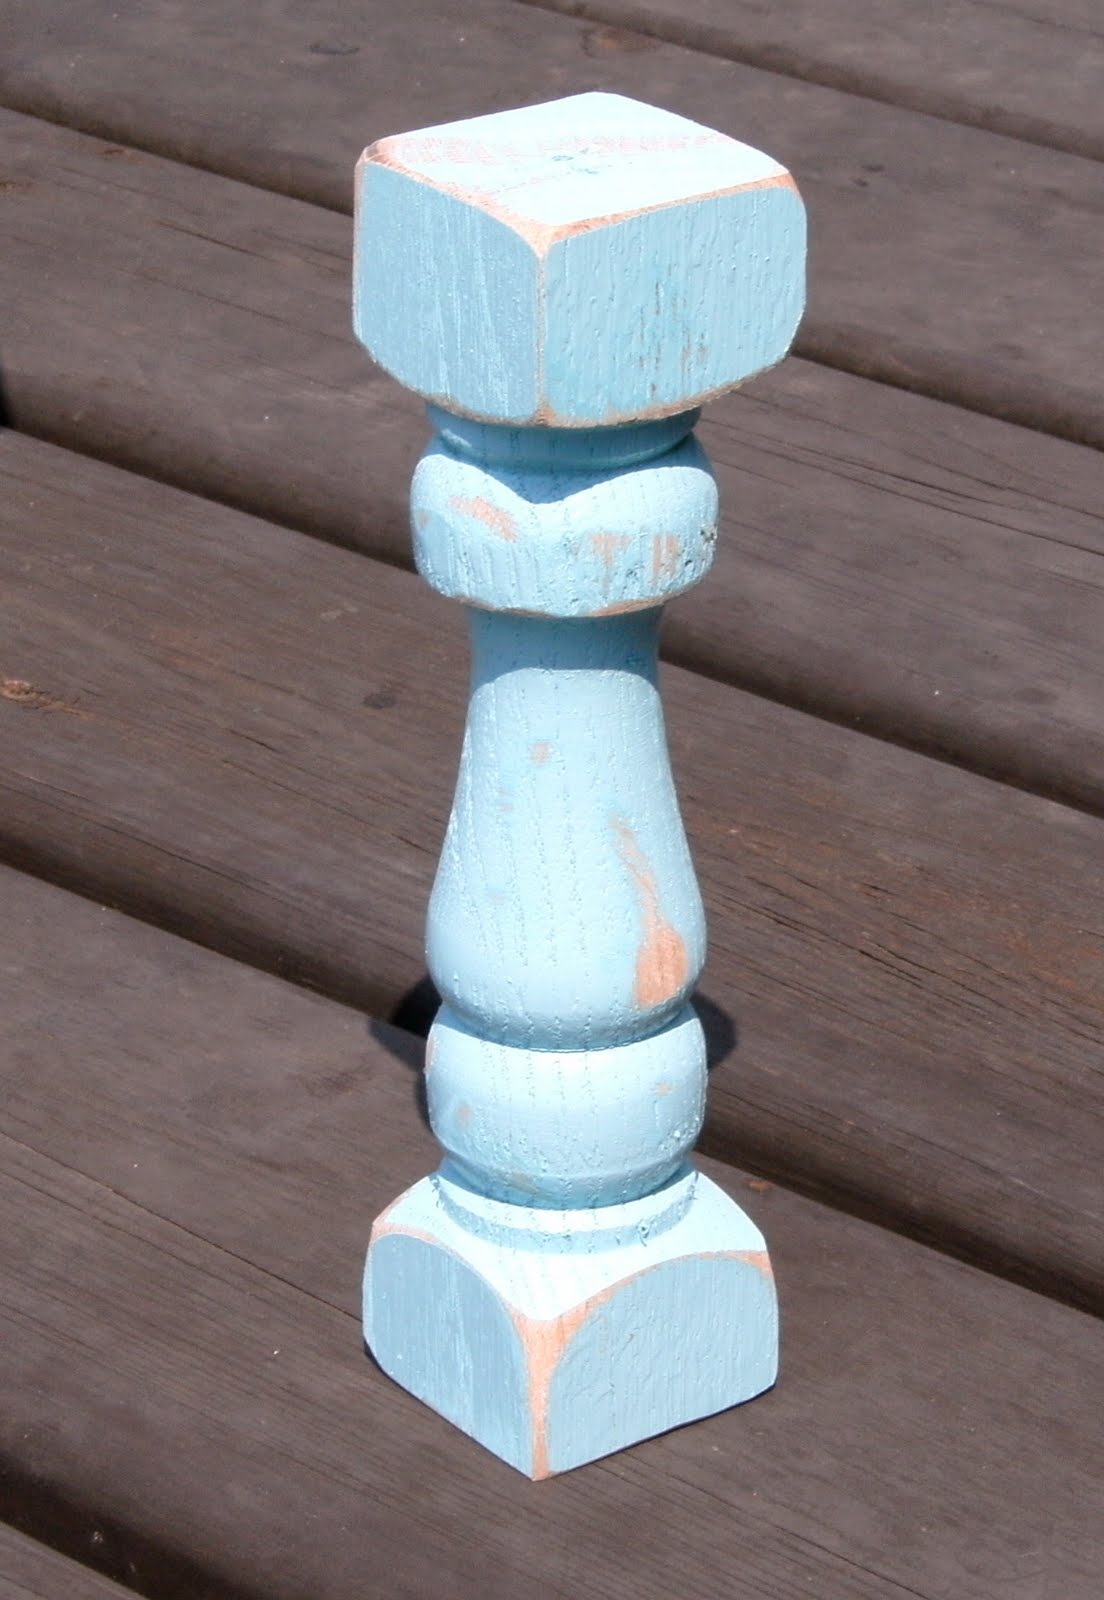
- sturdy wooden shape–a block, scrap 2×4, pedestal candle stick, etc.–that is flat on at least one side. (I used a short piece of unfinished oak railing, leftover from another project)
- sandpaper and glue
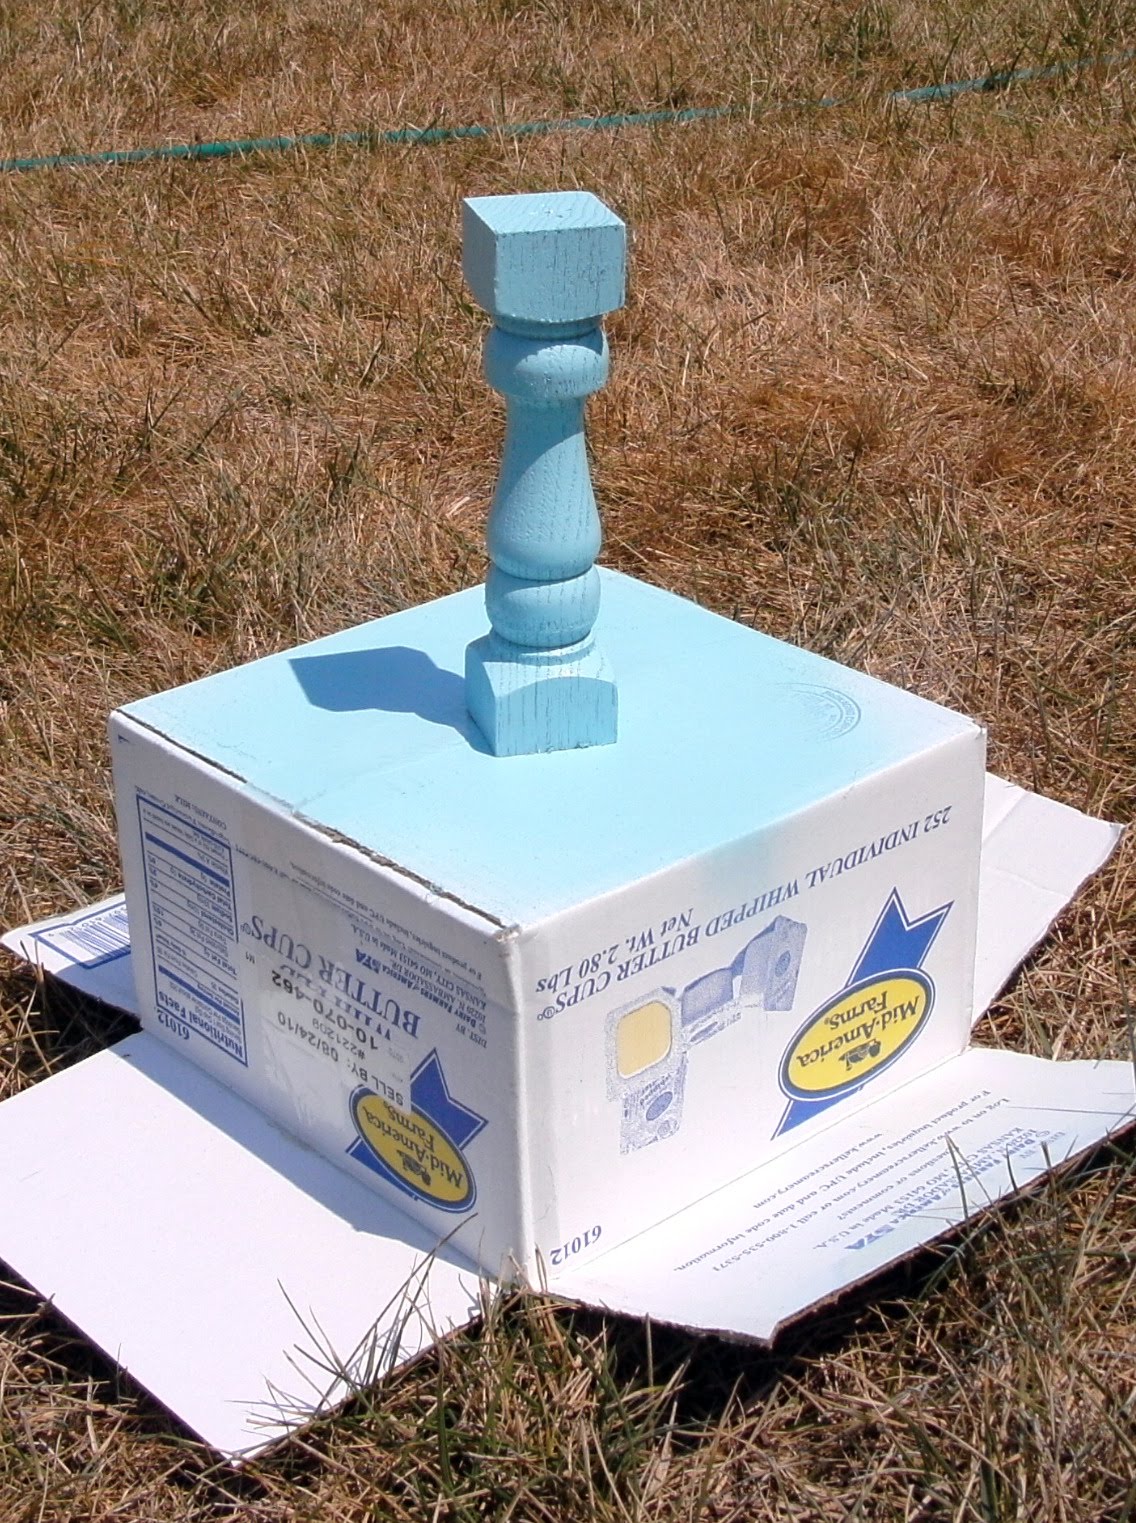
I started out by covering my decorative wooden piece with a couple coats of aqua spray paint.
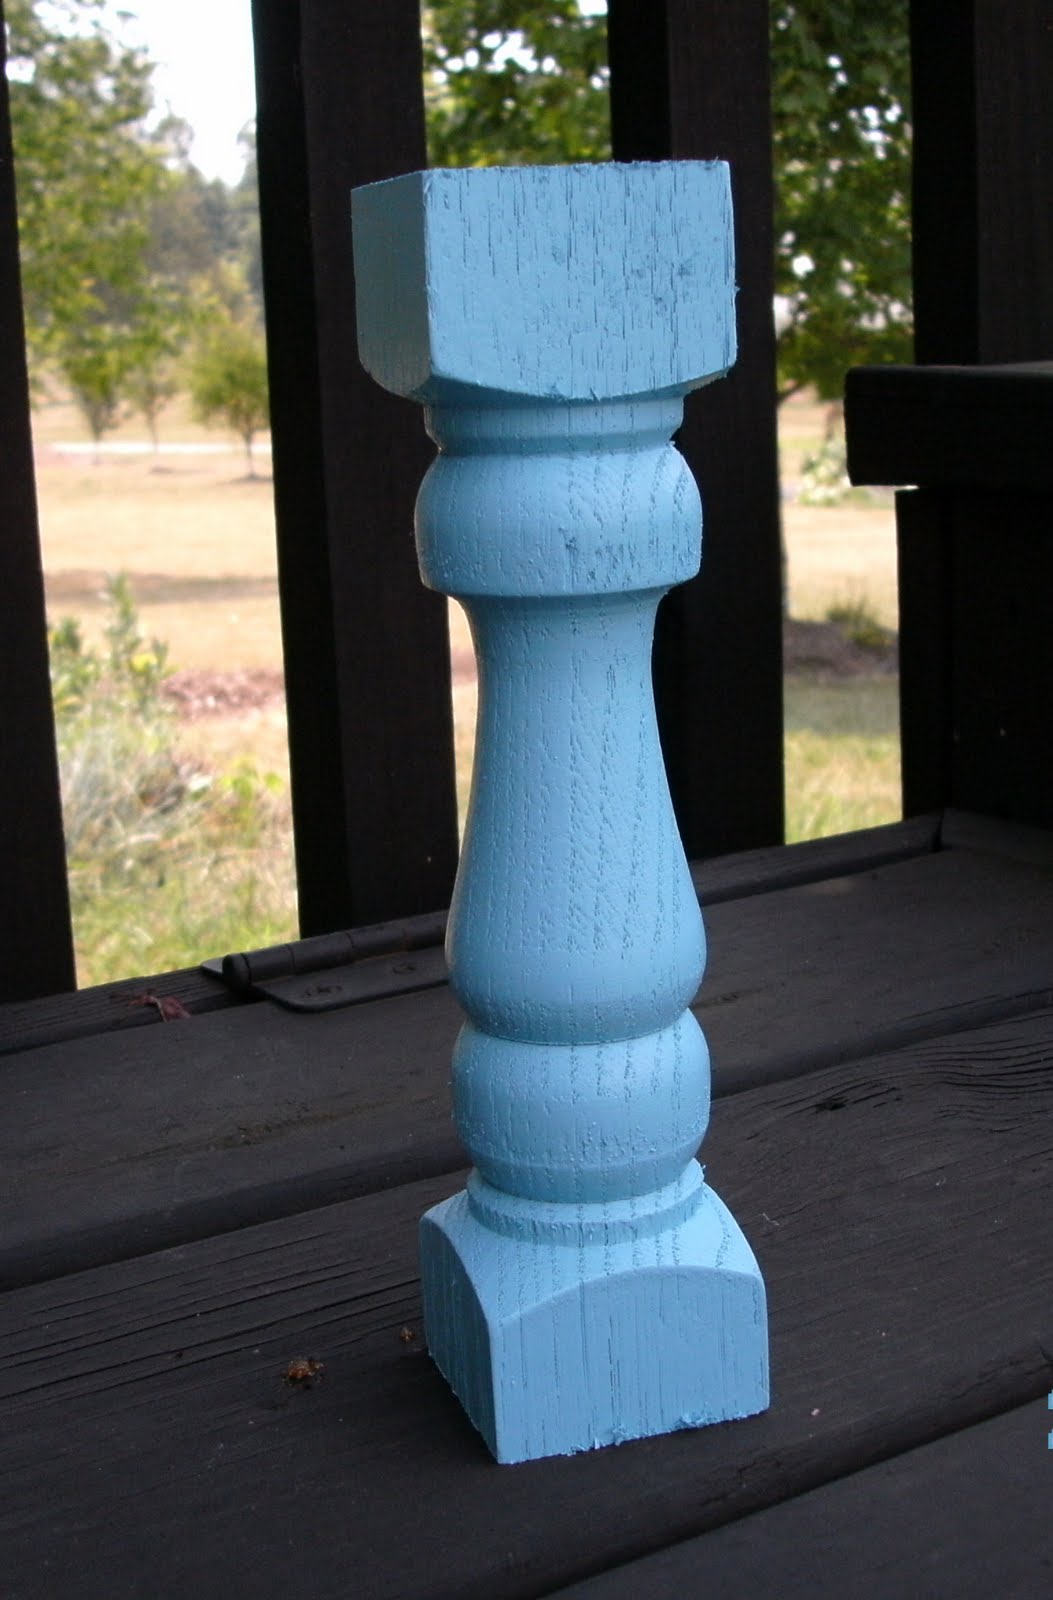
Originally, I intended to decoupage on this after the paint was dry. But, once I saw how the grain of the oak still stood out on the piece, I decided to roll with that, forget the decoupage, and rough up the wood a little. You could do this with sandpaper, but since my very first power tool purchase was this sander, I use it at every possible opportunity!
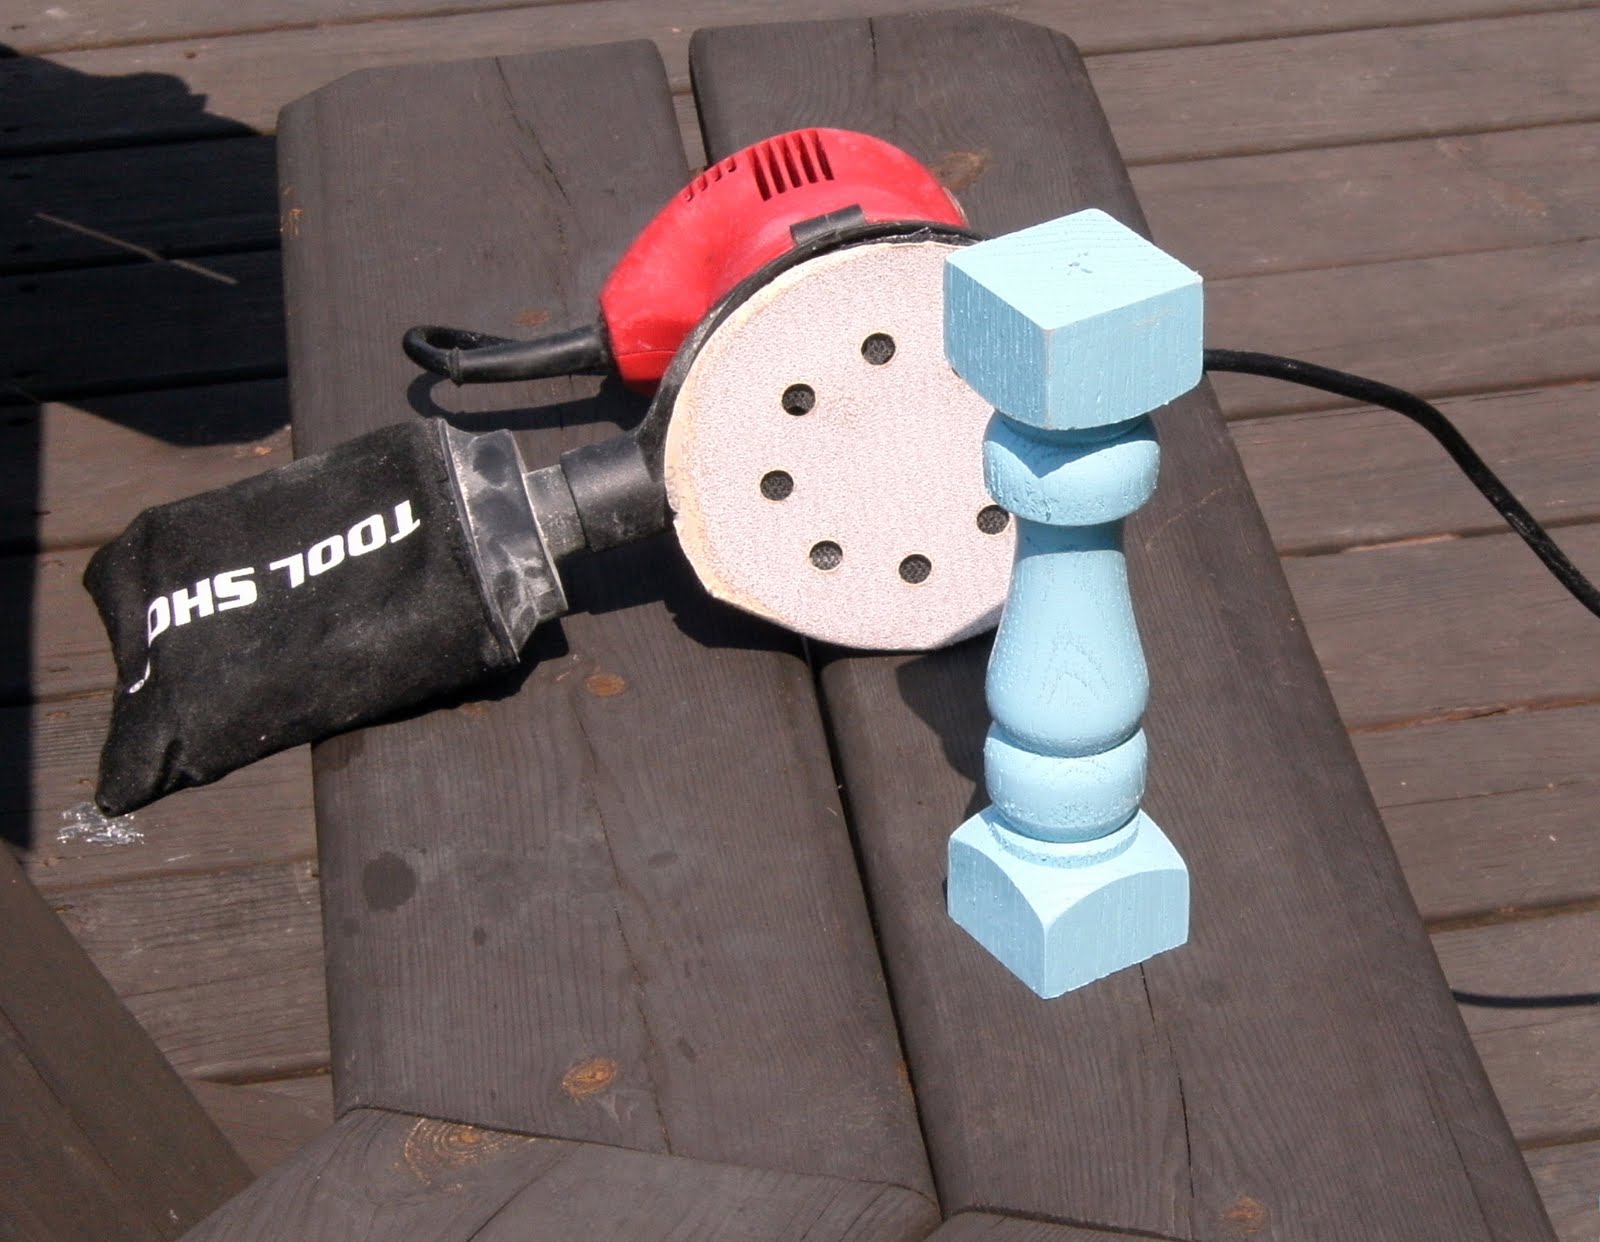
Roughing proceeded.
Next, I pulled out the wire, and began bending one end into a simple design, like this.


I bent it a little more,

then added a couple of small twists an inch or so below for some added interest.
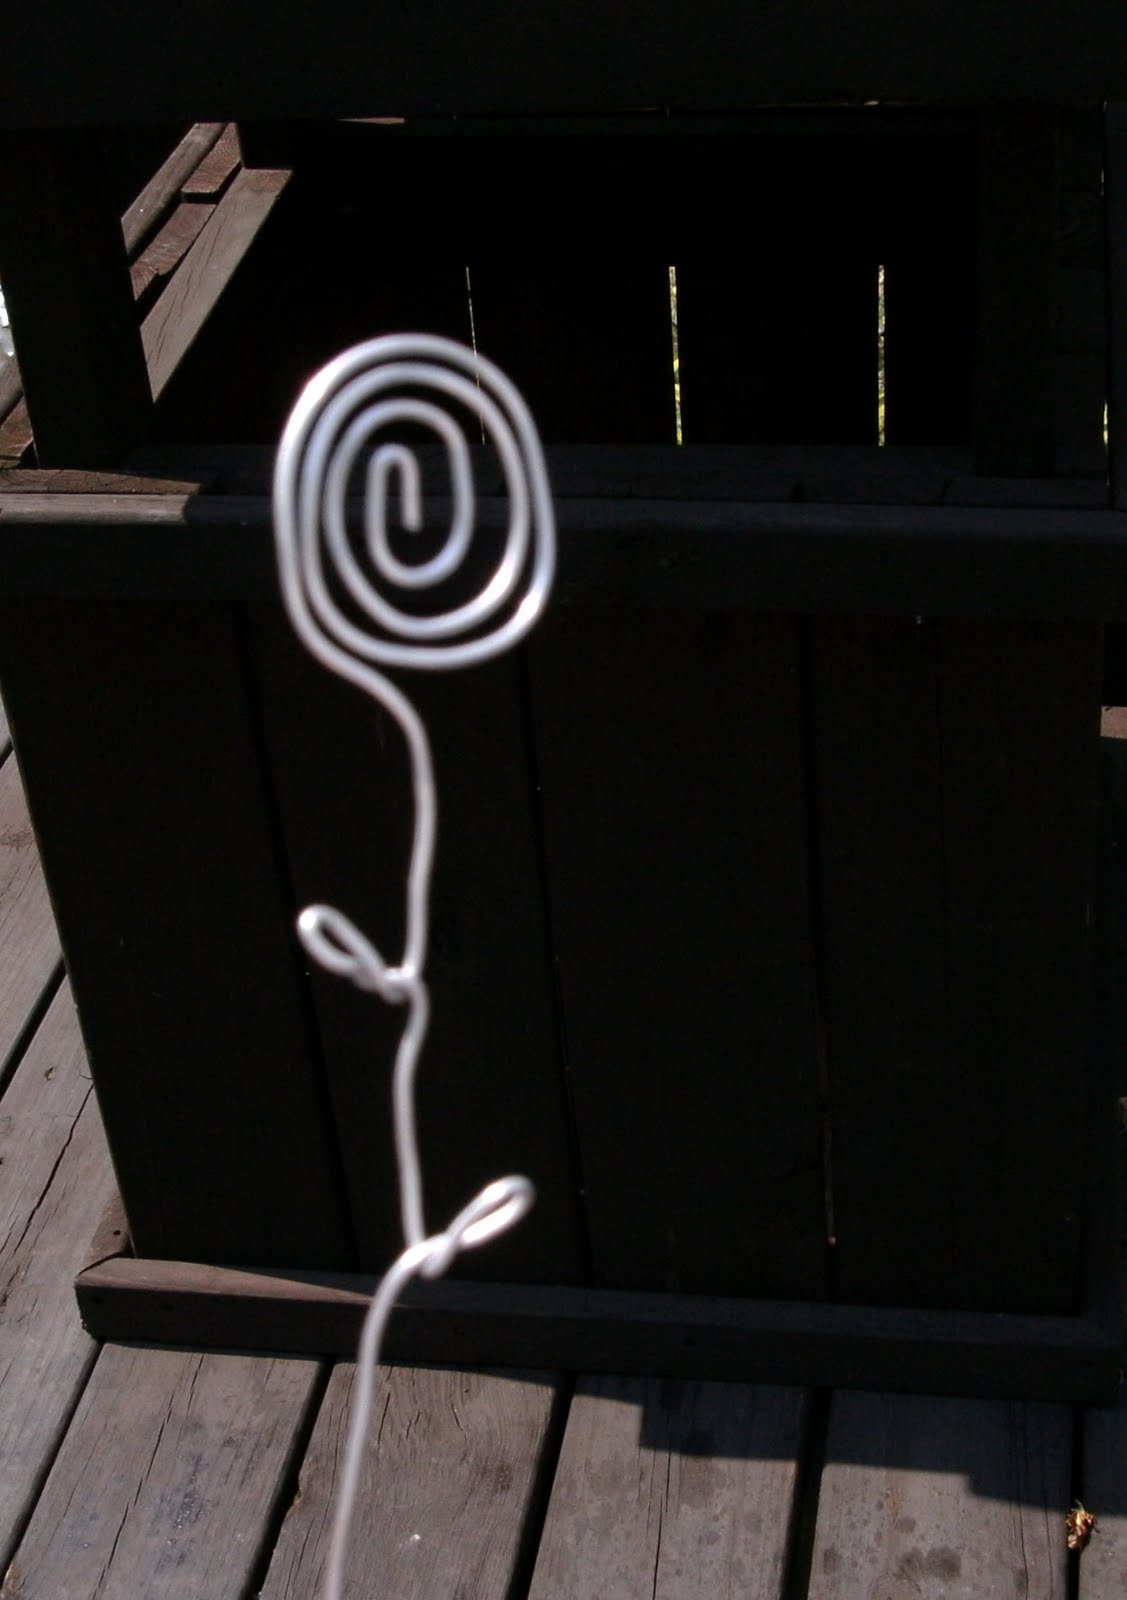
There is no exact science to this. Just bend and fiddle with the wire until you get the look you want.
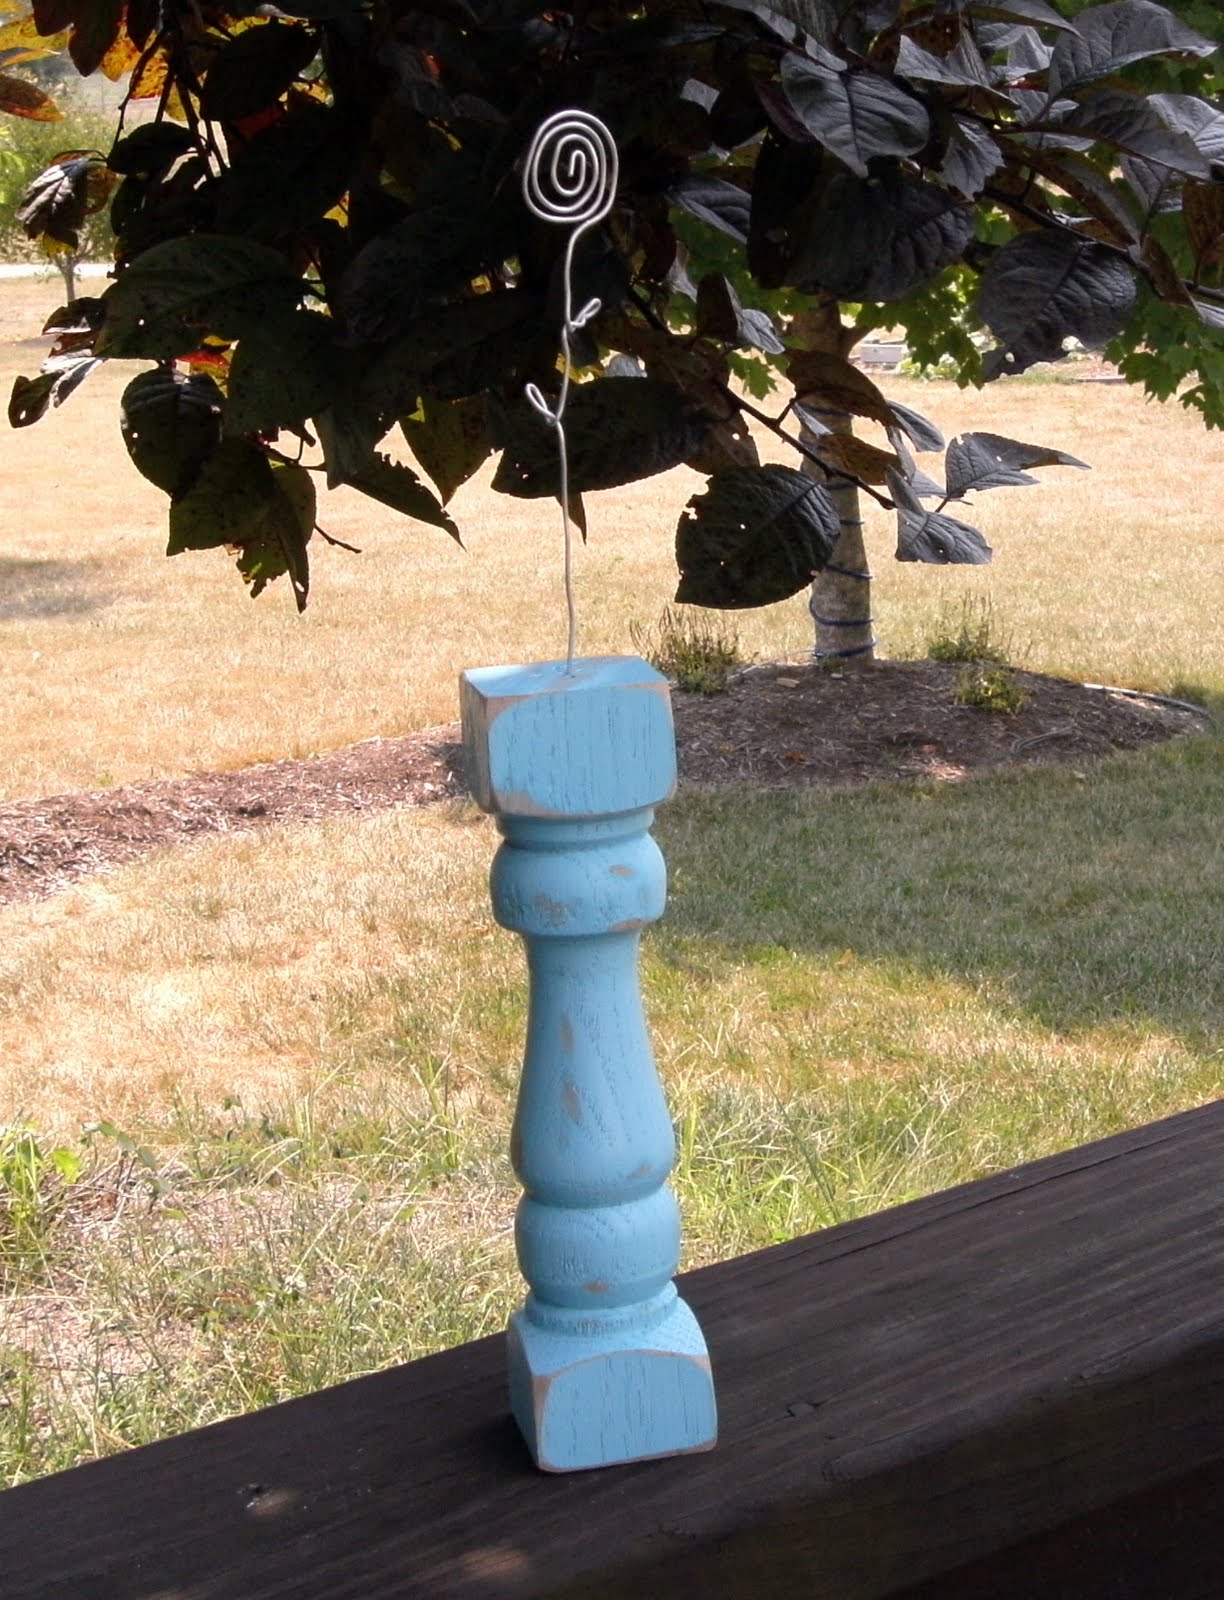
Then, I dabbed a bit of wood glue onto the straight end of my shaped wire, and pushed the wire down into the hole I had drilled.
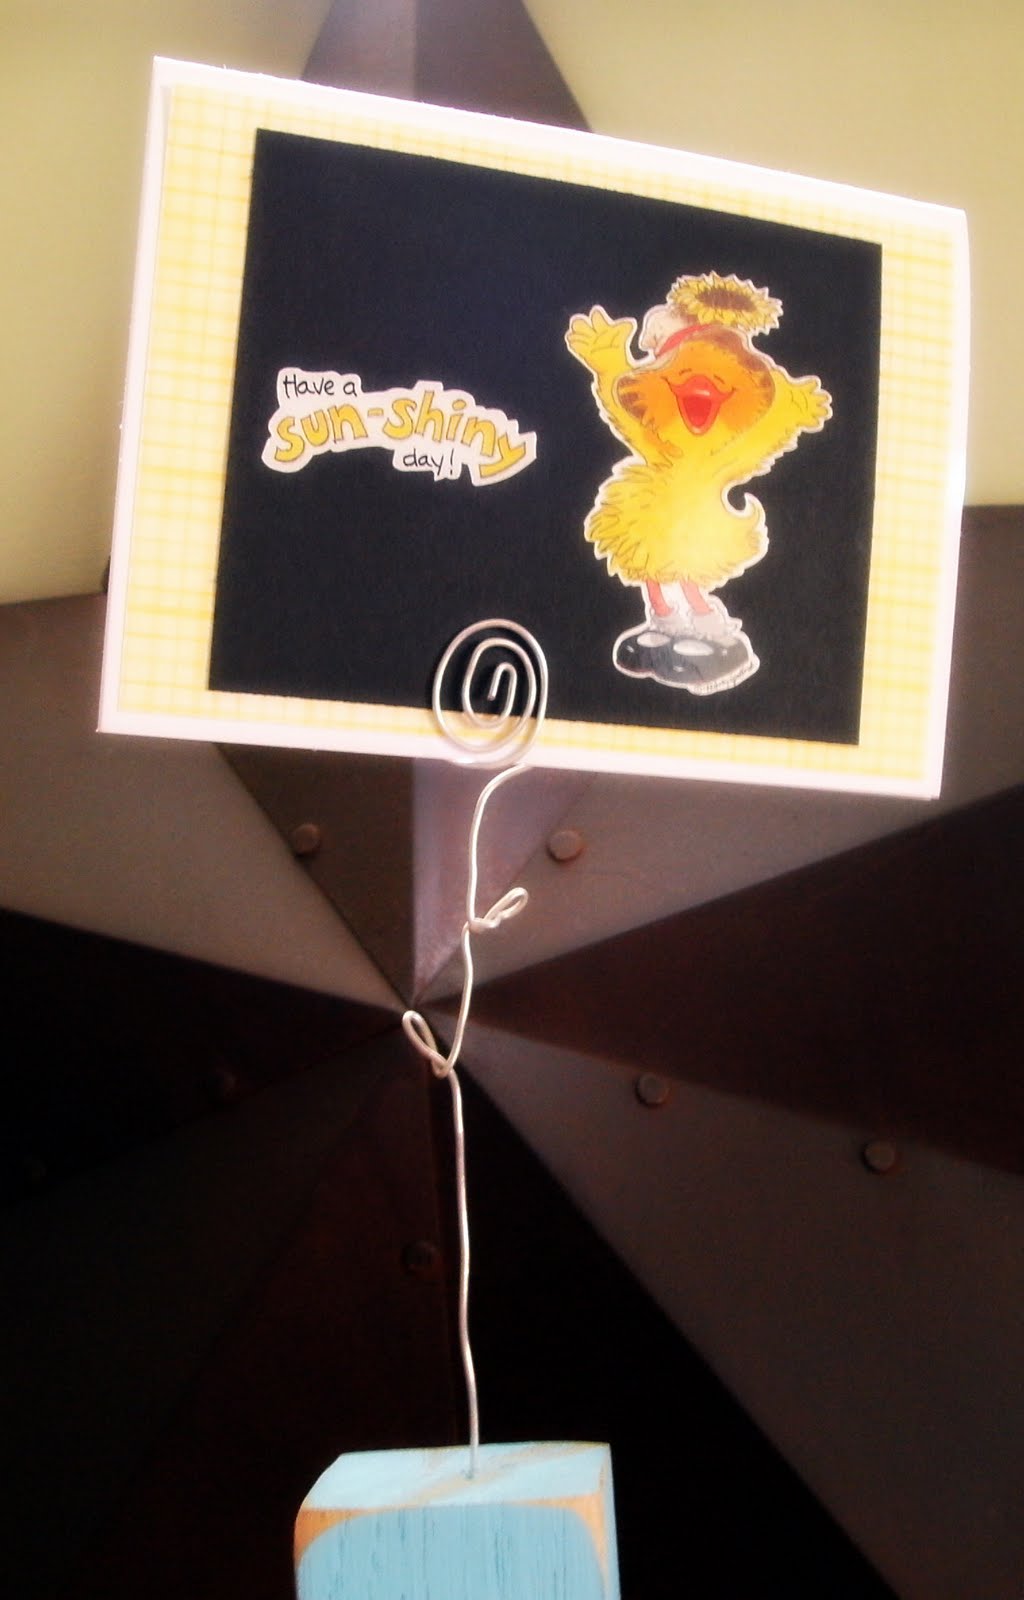
There you have it! A quick little project that is perfect for last-minute gift giving. Pop a photo, card, or recipe into the bent wire, and you are good to go.
Thanks again, Mandy, for letting me share a little bit of Holland with your readers!
Cute project!!! Wonderful way to “cope” while the kids are in school! Have a great school year too!
I like your webblog should be about this many friends. Keep blogging. We look forward to reading your next job, please visit our website : https://kitchenorganizationtips.info