


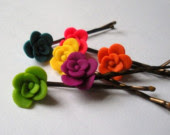
Umm, hairclips v. hairpins – oops, but I don’t want to re-edit the picture, so it’ll just say hairclips, but I mean hairpins – oh well. Anyways, remember awhile ago when I posted about Lacey and her tutorial on how to make mini clay flower hairpins?? You can see it here. These are some she made:
Well, I finally got around to making some myself – wahoo! I used her tutorial for a couple, and then I made up my own technique for a couple more, and I’ll show it to you.
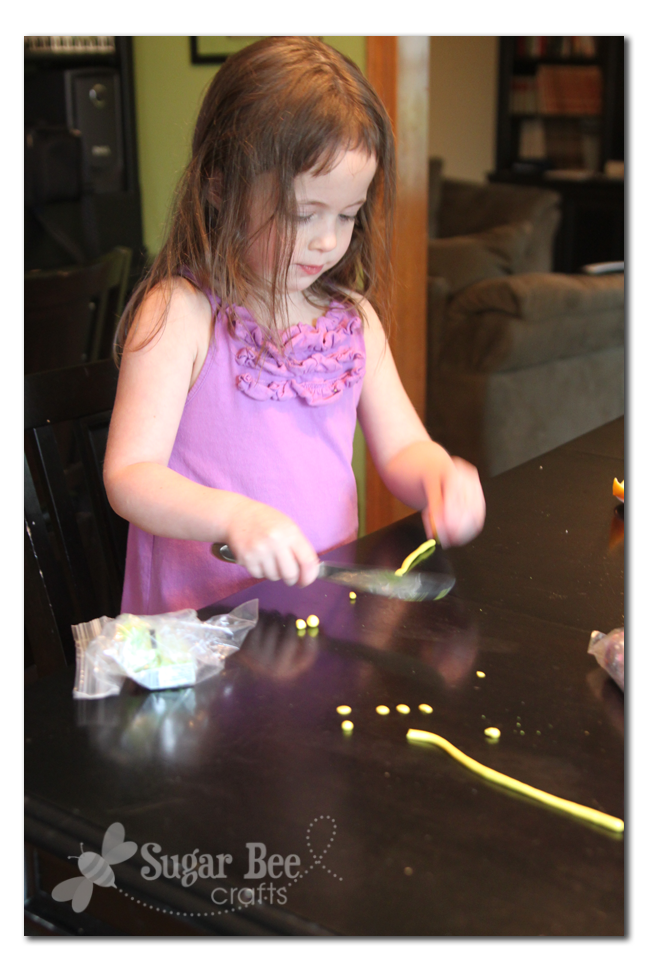
First roll a snake and cut off pieces – then roll the pieces into balls and smash them onto the table. This is a great job for helpers (this is a good picture to showcase why hairpins are a current necessity in our house):
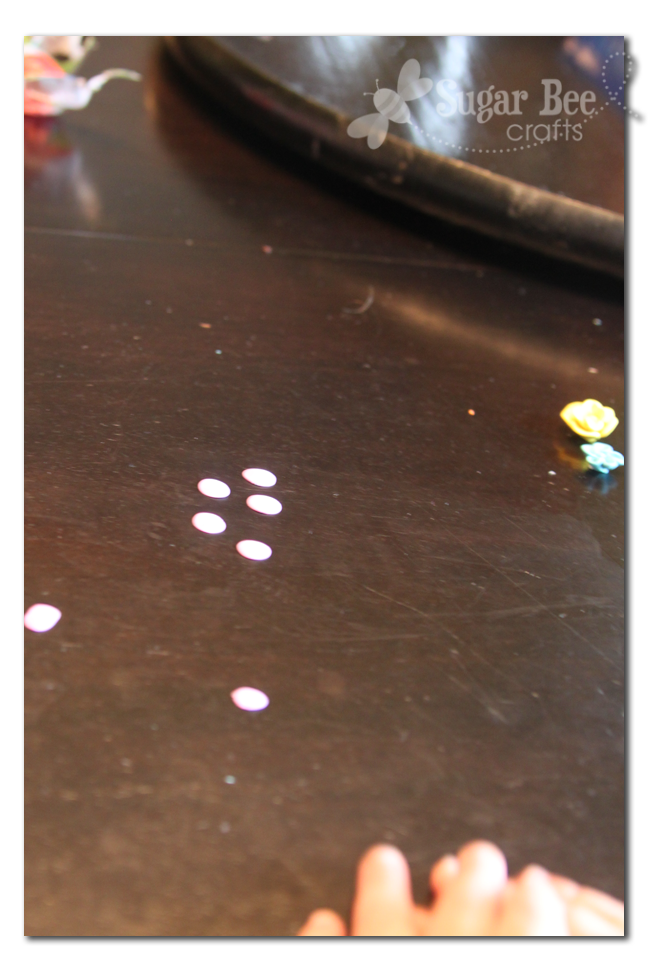
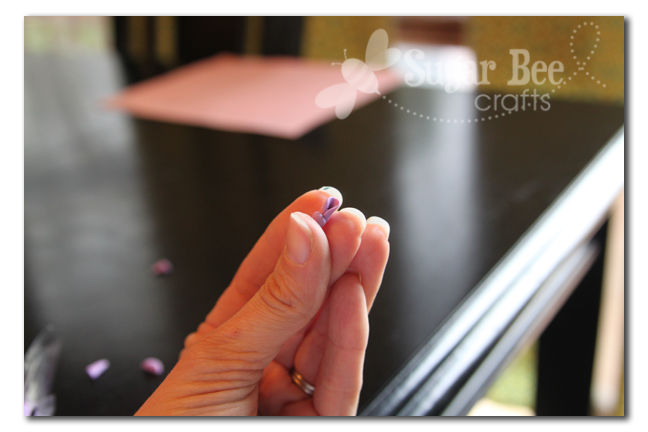
Next pick up a flat circle (not really sure this picture is necessary!):

And pinch the bottom of the circle together:

That makes one petal. Set it aside and make a bunch more. Then grab a ball that hasn’t been smashed and press the seam of the petal onto the side of the ball – you might need to click on this picture to enlarge it to see what’s going on. For the big purple one, I went all the way around the ball with petals and then did a whole second round of petals attached to the inner circle of petals.
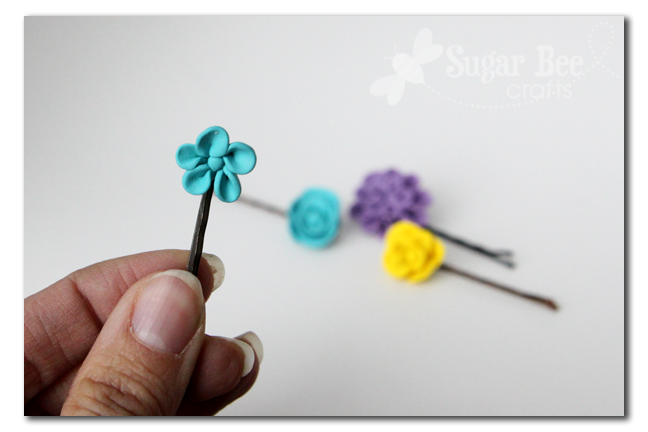
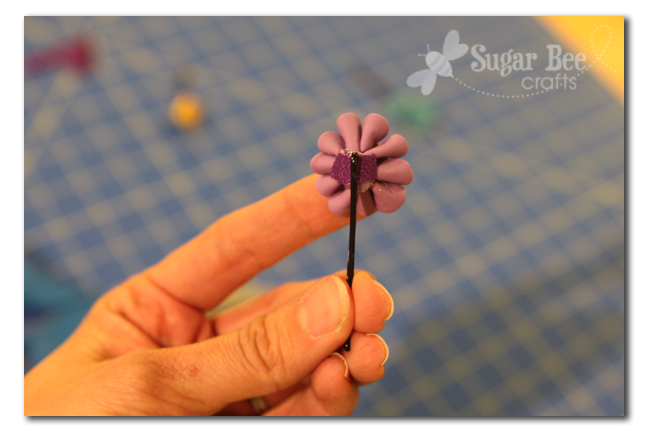
That’s it! Bake as the package says. Once hardened and cooled, I hot glued the flowers onto bobby pins. I also slipped a little piece of fabric inbetween the bobby pin and pushed it onto the hot glue for extra hold:
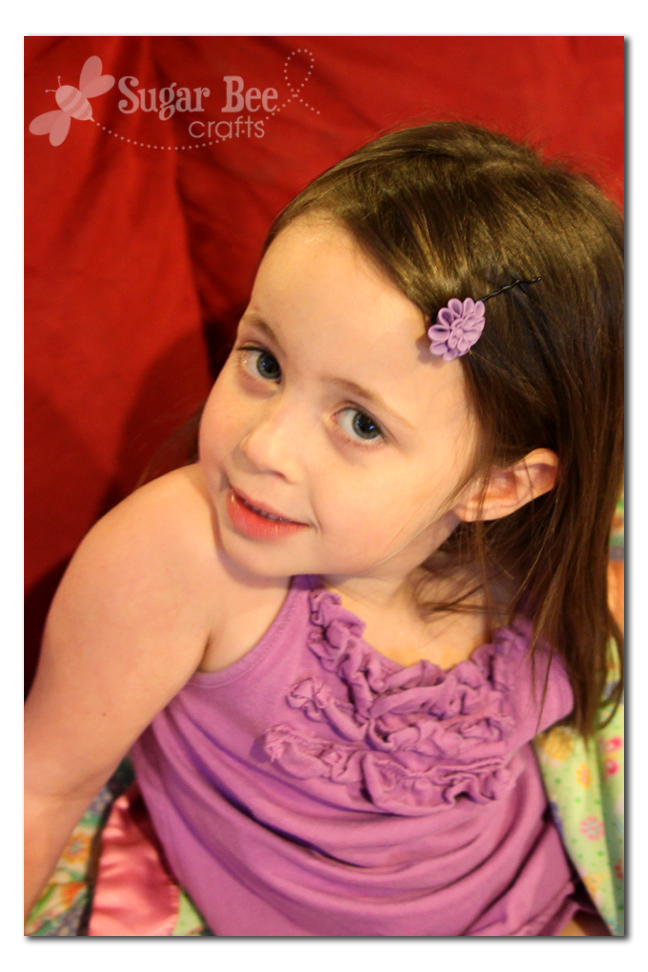
Then, wear and enjoy! (Bobby pins have become daily wear around here, ever since her and neighbor girl decided they wanted bangs and took matters into their own hands!)
I love that polymer clay is so cheap – just over a dollar a package – and you could probably make a dozen of these little flowers out of one package – wahoo for fun, cute and cheap!
Go try it – you can do this!!

these are so sweet, LOVE them!
they’re so intricate! 🙂 and pretty!
Sooo cute and detailed! I have a little boy but I’m sure I can find a place for something like this in my hair! :o)
Oh! I love the font you used on your photo … I just used the same font on my “Grow A Gadget Charging Station” project.
Jaime
ohsochichi.blogspot.com
Cute! I want some of these… to wear myself since my daughters are not into anything flowery. And I think I even have all I need to make some.
That is so cute and I love that you had a little helper too. I’m coming over from Tammy’s blog.
So cute! They are so tiny and delicate but such vibrant colors. Now to get me a daughter….
Wow. I love them.
Mandy, this is such a cute and easy project. Thank you for sharing. Found you at Serenity Now.
These are so cute! Thanks for the tutorial
And that made me laugh about your daughter cutting her own bangs, though im sure you didn’t find it so funny, haha
x
They’re so cute.
Those are so cute. I have lots of clay. Can’t wait to make some.
These are adorable! I just purchased a bunch of pins for my daughter’s dance recital and I have a lot left over. This would be the perfect thing to do with them 😀
These are beautiful and a great change up from the vintage buttons. So cute!
Love this! I’ll be featuring it on my blog on Saturday!
https://sumossweetstuff.blogspot.com
Thanks for linking up!
Sumo:)
love these! i love clay. thanks for sharing this at my party!
I think I am going to try this! Thanks Mandy! 🙂
I’m featuring this on my blog tomorrow. Totally something I have been wanting to try for ages, just needed a quick kick in the pants to do it. I just love it!
Thanks, Rachel
https://www.holy-craft.blogspot.com
Cute idea! Come and join my linky party: https://fabricbowsandmore.blogspot.com/
This is a really awesome project! I am a site manager on Instructables.com. You should consider submitting this as an entry to our Play with Clay Challenge. We’re giving away an We’re giving away hundreds of dollars worth of Sculpy clay and tools.
link -> instructables.com/contest/polyform
I would be happy to feature it on our site if you decide to post the instructions there and help get it noticed among our 10 million visitors. Let me know if you have any questions!
Cheers!
Carley
[email protected]
Totally going to try this! These would be great to dress up an updo! Thanks for the ‘tut.