


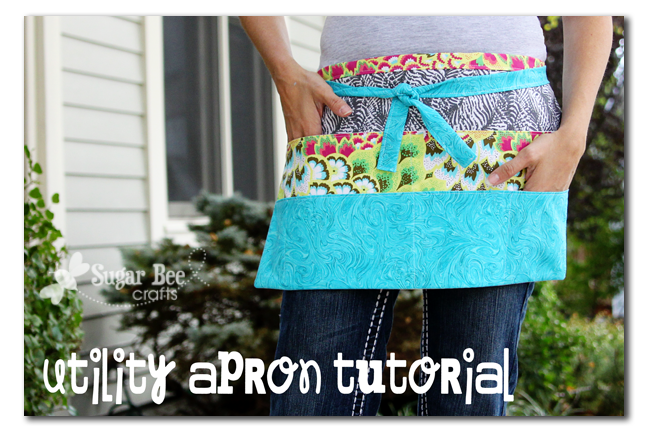
If you are a vendor at a vendor event or craft, you are in luck – here’s a way cuter way to hold all. the. things!! Enjoy this Utility Apron Tutorial.
Apron with Pockets
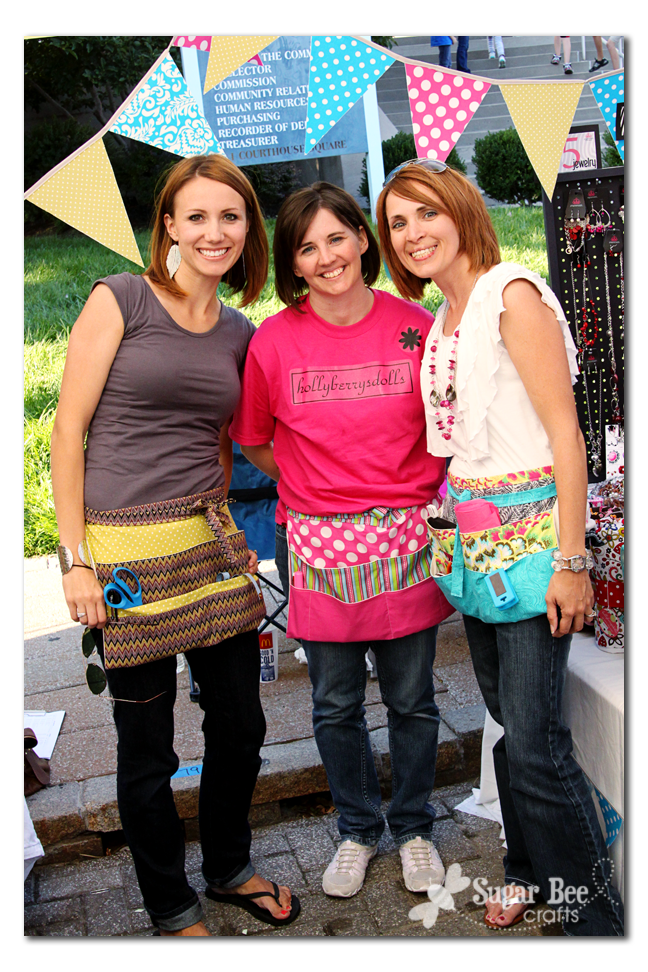
We were going to get money boxes for the craft booth – – but then thought about utility aprons – so much cuter! You can use a utility apron (shorter and flatter than a regular apron) for lots of things – sewing, craft booth, while working (someone stopped us to say it’d be perfect for a hairdresser), while at home – – basically anytime you wish you had an extra pocket.
This post may contain affiliate links
How to Make a Utility Apron
I searched out several utility aprons and combined my favorite features from all of them and whipped up my own. Here’s a quick tutorial on how to make a utility apron.
Utility Apron Supplies
You will need:
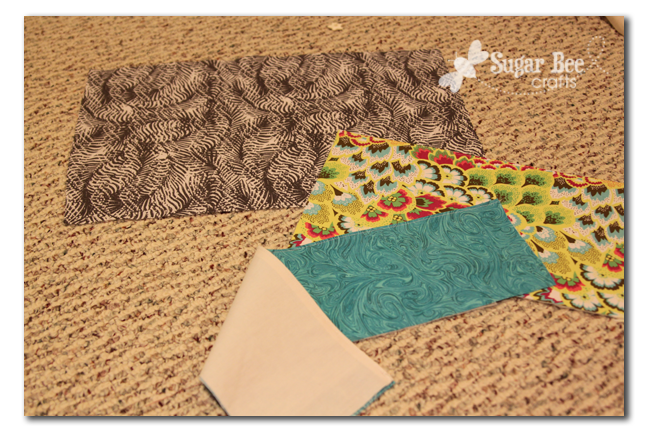
3 different main fabrics
lining fabric (I used an old sheet)
fusible interfacing
Cut the following rectangles:
12 inches by 19inches (the main piece – mine is gray) – cut 1 of fabric and 1 of lining
8.5 inches by 19inches (the big pockets – mine is yellowish floral) – cut 1 of fabric and 1 of lining
6 inches by 19 inches (the small pockets – mine is turquoise) – cut 1 of fabric and 1 of lining.
Cut a long strip of fabric 4 inches wide and however long to wrap around you and back around to tie in the front. I pieced mine together because I was low on fabric.
Utility Apron Instructions
Alright, I forgot to take pictures in the beginning, but I’m here to talk you through it.
Iron fusible interfacing to the back of each rectangle fabric piece – it just makes it not so floppy.
Take one of the smaller rectangles with its fabric and lining and put those on top of each other, right sides together. Sew along the top edge (the long edge). Then flip it and iron that seam. You can topstitch it if you want (I did – I think it makes it look extra nice).
Repeat for the other smaller rectangle.
Now you should have 2 rectangles, with lining sewn on, with a finished top edge.
NOTE that the lining is NOT sewn on to the largest (gray) rectangle.
Take the small pocket piece and put it on top of the big pocket piece. Mark off 4 pockets – so that’s 3 seams.
Sew the 2 seams that aren’t the middle seam. I’m hoping you can see my seams in the picture – you only sew on the turquoise – the one on the left is pretty close to the edge because it’s a pencil pocket.

Next take that and layer it on top of the main piece. Then sew up the middle seam.
I tried to mark the picture – the dots are the ones you sew with only the first two pieces together, then the dash is the one you sew when all three pieces are together:
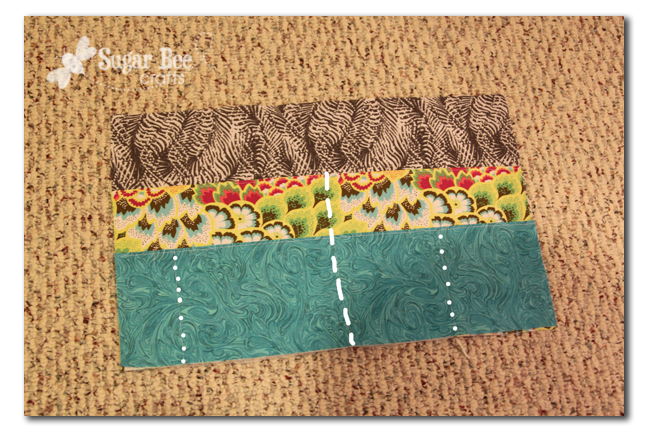
Sewing as I showed above will give you two big pockets in the floral fabric and 4 smaller pockets in the turquoise fabric.
Now, take the large piece of lining that and lay it on top of your apron piece. Right sides are together. Then sew the side and bottom edges, as indicated by the dashes. Then flip it right side out and iron the seam.

Finishing Touches on Apron
You might notice that the top edge is still raw. I made bias tape out of my 4 inch wide, very long strip of fabric. Just iron it in half, then iron each side in touch the middle line. Then I just slid the apron into the bias tape (in the middle of the of the long strip) and then sewed the whole strip along that open edge.

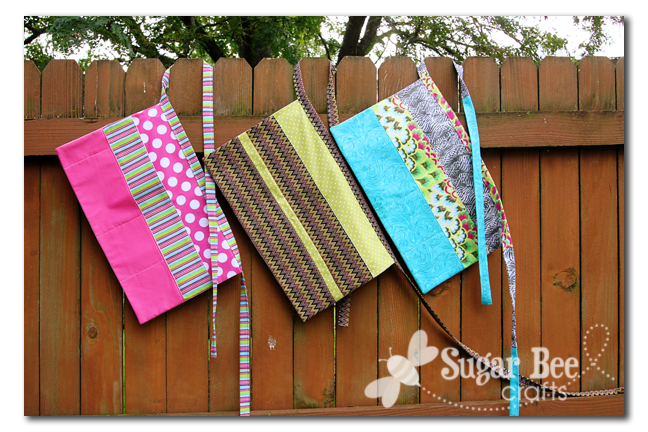
That’s it – you’re done!! You can easily crank one of these out in an evening. And while you make yourself one, you might as well make some for friends…..
You can do this!! I hope you enjoyed the Utility Apron Tutorial.
Simple Sewing Projects
If you enjoyed this Utility Apron, you’ll definitely want to check out these other free sewing Patterns and Tutorials:
Full Apron Pattern
Simple Girl’s Half Apron
Girl’s Full Apron Pattern
On FB yesterday my cousin posted some pictures of when she was a kid. In one of them her entire family was wearing matching shirts just like the middle apron from the picture on the fence.
Yay! Thank you for posting!! I was admiring your aprons on the pic of you in the booth wondering how long I’d have to search before I found a tutorial….thank you!!!
LOVE this!!! Now if only I can find fabric that is fitting to my Essential Bodywear Business! 🙂 Which means I sell bras, panties, camis & shapewear…it would be awesome for a calculator, business cards, etc. LOVE the possibilities!
So awesome and exactly what I needed! Thank you for sharing.
I need one for my Scentsy booths! Thanks for sharing the tutorial!!!
These are the cutest aprons! I especially like the pink one w/ polka dots. This can come in handy in so many ways! Luv it, luv it, luv it. Thanks for sharing. :o)
You always have the cutest projects on here!! I LOVE the aprons! 🙂 Thanks for linking up to Sassy Sites! Have a wonderful Friday! XOXO!! marni
These aprons are fabulous! Love iT!
These are so cute! I’ve pinned them to Pinterest to make for my girl’s annual lemonaide stand next summer!
Your apron is adorable! I was working outside today in a huge mess, looking for what I just put down. I wish I’d had one of these!
Very cute. I may even be able to handle this project!
I LOVE LOVE LOVE your fabric choices.
It would be nice and would seem like the right thing to do to link to the aprons that inspired you seeing as the idea wasn’t completely yours.
These are so wonderful and perfect for any crafter! I love the colors used and it’s so simple. Thanks for sharing!
Thursdays http://www.thursdaynightdinner.org
I love your aprons and your tutorial! I made my own and it turned out great – thank you!! The only thing I would add is that you don’t need to add a fabric stabilizer if your fabric is already stiff/heavy (I did, and it was hard for my machine to sew – oopsy! Lesson learned!).
Thanks! Becky http://www.re-coveredtreasures.com
I am a teacher and these aprons are the best for keeping all the essentials at hand! I love your double pockets! I will be making one soon!
Just wondering why those pocket pieces weren’t 17×19 and 12×19 and just pressed over? Wouldn’t it be easier?
That would work great! I didn’t do it that way because I was skimping on the good fabric, so the inside of all my pockets are just plain white sheets instead of using up the fun fabric.
Thank you! I just went ahead and made a few of these yesterday, using gorgeous fabric that I got for $1.99 a yard at a local store. They were terrific! A cinch to make and because the fabric was so beautiful, they look like more than they are!l
I love these! I want one for teaching! Anyone want to make one for me? I’ll pay!
Hello
Has anyone offered to make one for you yet? I live in Ontario, Canada and would be willing to make one, although not sure of your location so wonder if shipping would make it unreasonable cost in the end for you. Give me some numbers and I can see what I can do if you’re interested.
Thanks,
Peggy
I made one yesterday in a pirate theme(my classroom is a pirate them) and it turned out so stinking cute. I am a novice at sewing but I mad this look so professional! Thanks for posting!
Awesome tute – thanks so much! I made myself one for my upcoming markets: https://www.facebook.com/BebeBouton
I blogged it here too: https://whilehenrynaps.blogspot.com.au/2013/09/welcome-hello-hi.html The only thing I did differently was make it 17″ wide instead of 19″ as it felt a tad long for me.
Do you put interfacing on the lining too?
I didn’t, but you could if you want a stiffer apron. Good luck with it!
Thanks for this tutorial, I wanted a multiple layers of pockets and yours fit my requirements very well. Thanks!
When you iron seam after joining rectangle and lining, how do you keep interfacing from sticking on other side or is it sticky only on one side?
correct, it’s only sticky on one side (unless you buy a special kind that is called “wonder under” )
I have referred to this site over and over and love your tutorial. I have made lots of aprons for my friends and family. I made a paper pattern for this project and works great for making multiple aprons laying more than one fabric on top of each other to make eight aprons at once! I made the cutest Minnie mouse aprons! What was the kind of interfacing you used? I bought the 810 which is pretty stiff.. Thanks again for the fab apron tut!
I’m not sure what kind of interfacing I used, but it wasn’t that thick – – it just was whatever I had on hand 🙂 glad the tutorial is working out for you!!
I love your tutorial, I just wish I’d found it 2 months ago when I was making an apron to use at a huge yard sale. This would have saved me a lot of time and good fabric (since I never thought about using an old sheet for the lining.) My apron had only one row of pockets; I really could have used the extra row. The only other thing I did with mine was to add a 7″ zippered pocket to keep my cash safe.
I’m bookmarking this in case I need to sew any other aprons.
HI Mandy: Can you give me a ball park estimate of how long the straps should be? How long did you make your strap? Thank you.
What seam allowance do you use?
Excellent directions! Made one in less than an hour. Using up all my scraps. I’m making a bunch for Christmas gifts! Thanks so much for sharing.
Hello!
First, excuse me if my english is not so good… I’m from Paris (France) and I was looking for an idea : the school year is soon ending and I would like to sew a gift for my girl’s teacher.
I had seen many aprons on internet and yours is the the best one 🙂
Thanks very much for your tutorial, tomorrow I’m going to try it! If you want I could send you some pictures.
Thank you for the easy tutorial. I am sort of a newbie to sewing since my grandma passed before she finished teaching me. I inherited her sewing machine and it sat packed away until I was able to look at it. I finally pulled it out and started some crafts this week. I happened along your blog and made the apron tonight. I can’t wait to use it in my classroom. Thanks!
congrats on making it!!
Was wondering what your seam allowance is on this apron? I looked everywhere and can’t find it.
Thank you!!
It isn’t too precise, so any should do. I probably used 1/4 inch
Thank you so much for this tutorial. Made mine in a little over an hour. Will be perfect for my craft fair next weekend!
so glad it helped – good luck at the fair!
Could you PLEASE give me an estimate on how long to make the straps? 🙂 Thank you!!
Sorry, I’m in the middle of a move and it’s packed away – I just made them extra long so that I could tie them in the front if I wanted. I know that’s not very helpful – maybe 3 feet long?
this is perfect! how do I join your mailing list?
Thank you for such a simple pattern to follow. I looked at a lot of other patterns and liked this one the best for gardening. I added Velcro to mine so when you wrap the tie around you can Velcro or tie.
that’s a great idea!
I made 2 of these in 3 hours for end-of-year teacher gifts for my son’s teachers and I’m very excited to give them to them tomorrow (yes, I am making them the night before. I know they will love them and they will be useful for preschool teachers.
yea!! that’s a perfect gift idea!!
I made one for my daughter who is starting her teaching career this month! I used canvas as the main fabric for a bit of structure, and two big pockets as she wanted, plus an extra hidden pocket for pencils. SHE LOVED IT! Thanks for this great, simply, easy tutorial. 🙂
awesome!!! thanks for sharing!
Hi there! I am thinking about doing my first craft fair booth! And I was wondering what did you have in your utility apron for the fair day?
Thanks!
I had money (bills and coins) for change, then pens, paper clips, cloths pins, tape, those type of things. Good luck with your craft fair!
These are very cute! I made some similar to these for a couple of friends and myself in November, but had zippered pockets (for cash) and a velcro one for my phone. They work great. I love the fabrics you used.
Ok, I’m kinda new to sewing and I understand everything up until sewing the pockets on the blueish color. It I understand sewing up the middle for the 2 big pockets on the yellow. What makes the 2 small pockets in the blue if you are sewing the blue and yellow up the center only? I want to make some of these for a yard sale this weekend.
Thank you for the apron tutorial. I am participating in my first craft show in three weeks and made the apron this morning. Love it.
good luck at your show!!