


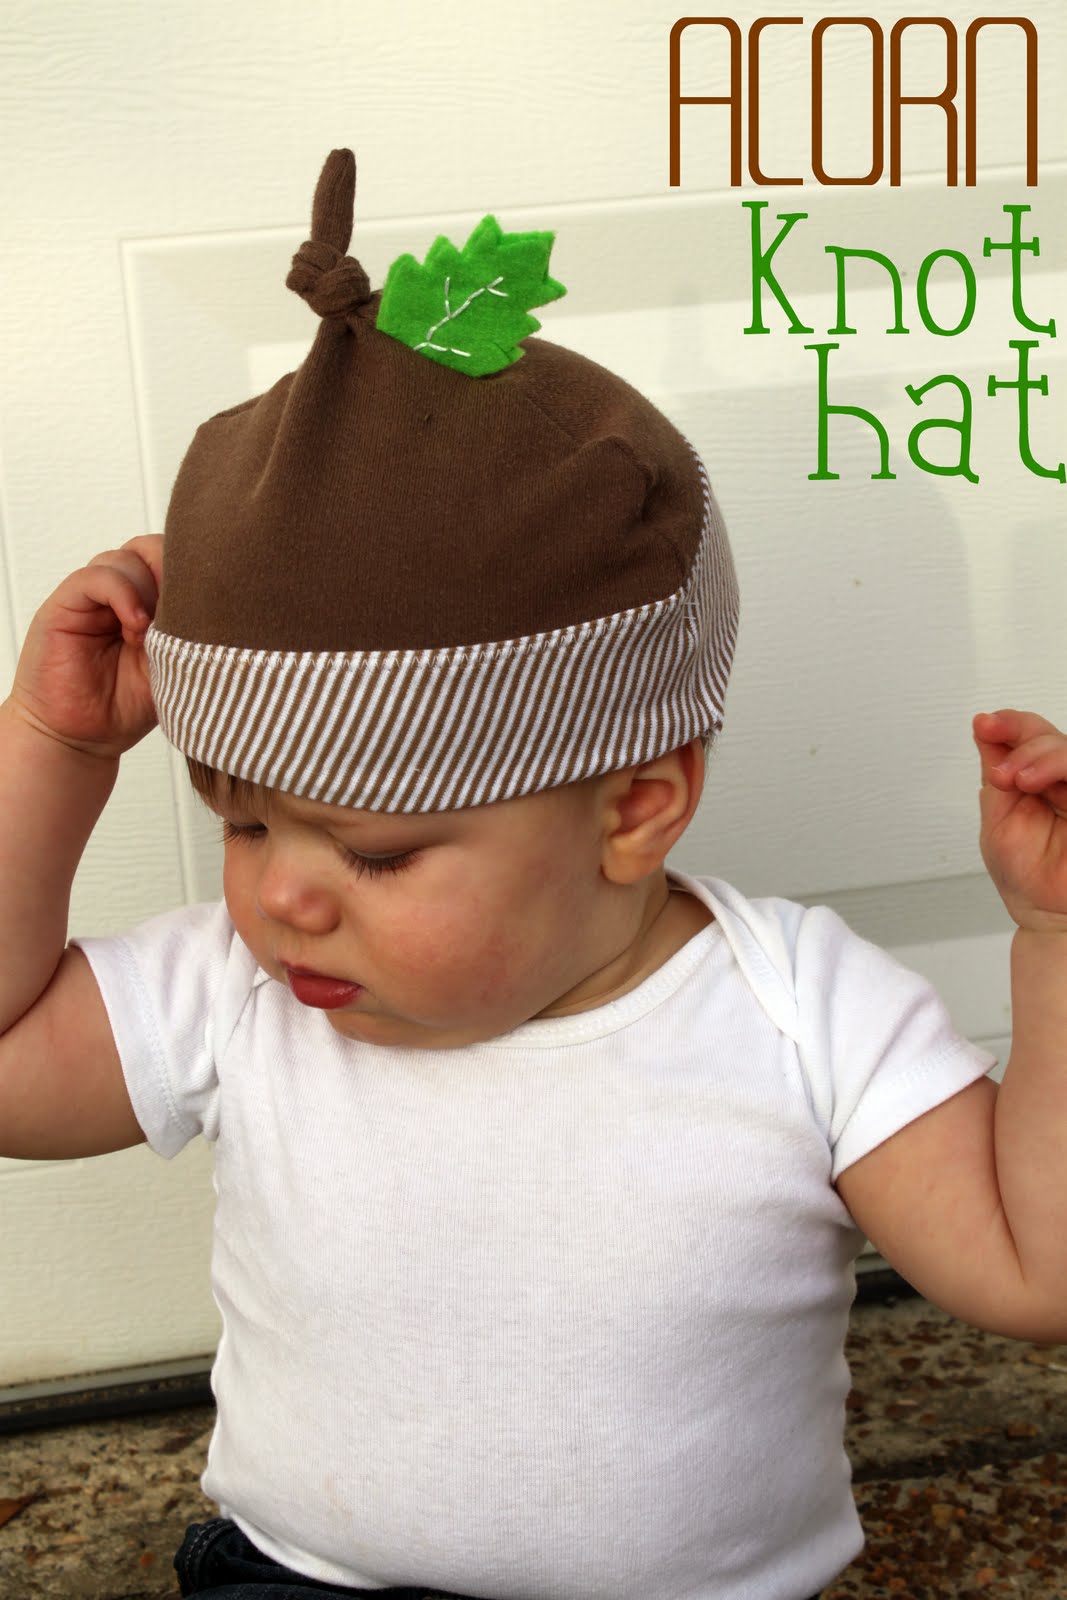

When Mandy asked us to come up with something holiday or season-themed, I knew just wanted I wanted to do. When putting away my son’s summer wardrobe, I realized that he didn’t have any winter hats – and he has a lot of noggin to keep warm – so I decided to make him one. I immediately thought about doing a knot hat because the knot on top looks kind of like the stem on an acorn. Add a leaf, and you have an acorn knot hat! And what’s more adorable than a baby in an acorn knot hat? Exactly. Here’s what you need to make one too! Supplies:
- Knit fabric for the hat
- Knit fabric for the cuff
- Small scrap of felt for the leaf
- Needle and embroidery floss
- Fabric glue
- Basic sewing supplies
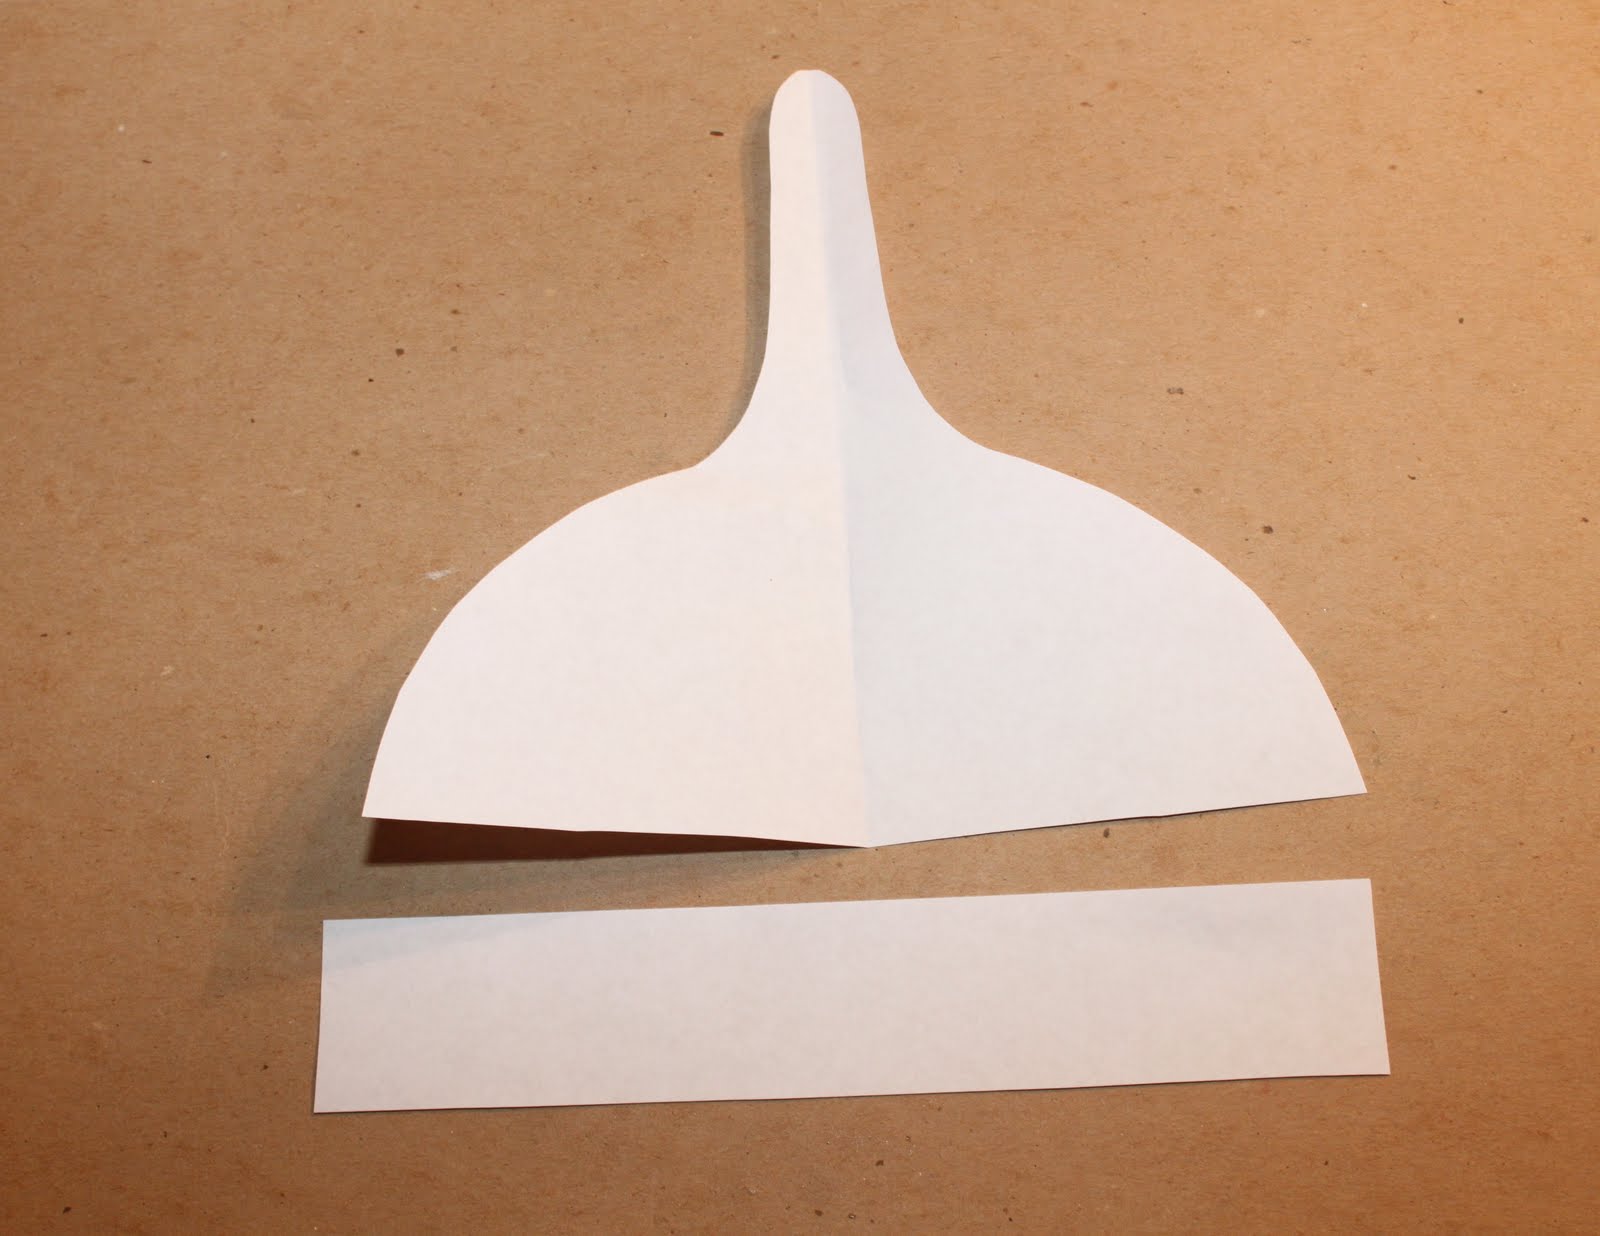
Step 1: Create your pattern. First, draw a basic knot hat pattern to fit your child’s head (use a tape measure to help!) and add 1 inch on for seam allowance. Then, cut the bottom 2 inches off so you have two pattern pieces: the hat piece and the cuff.
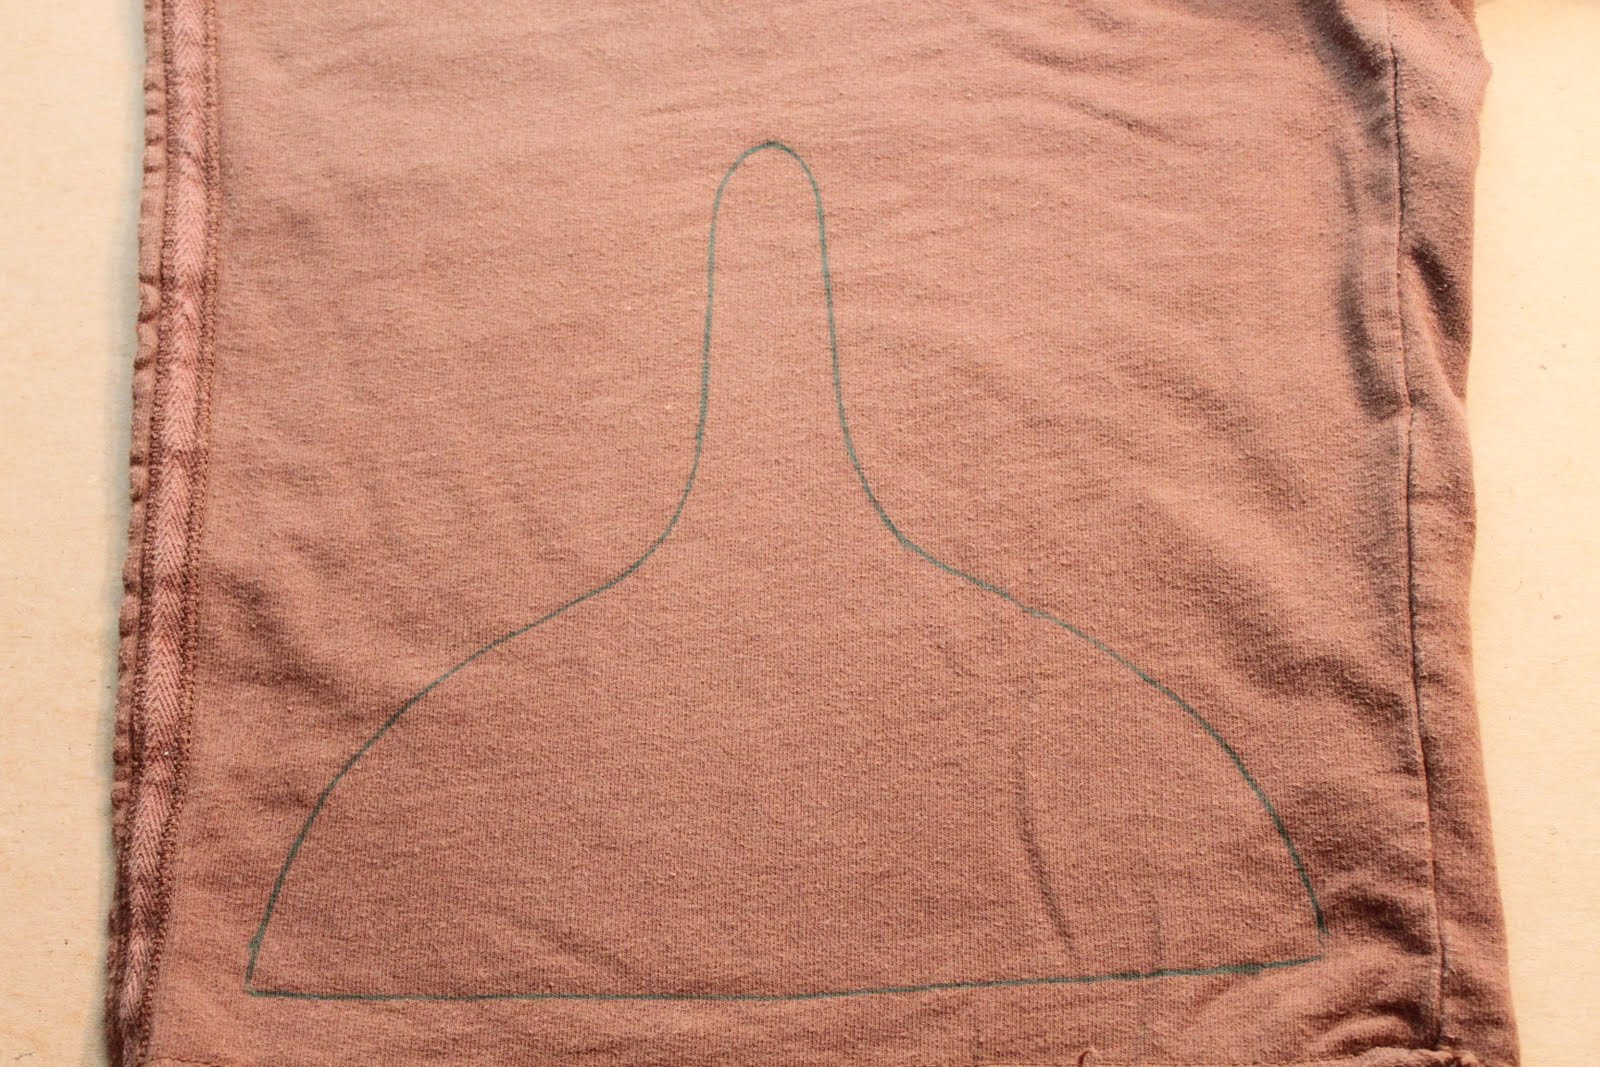
Step 2: Cut out your pattern pieces. Use your pattern to trace and cut out two hat pieces from your knit fabric.
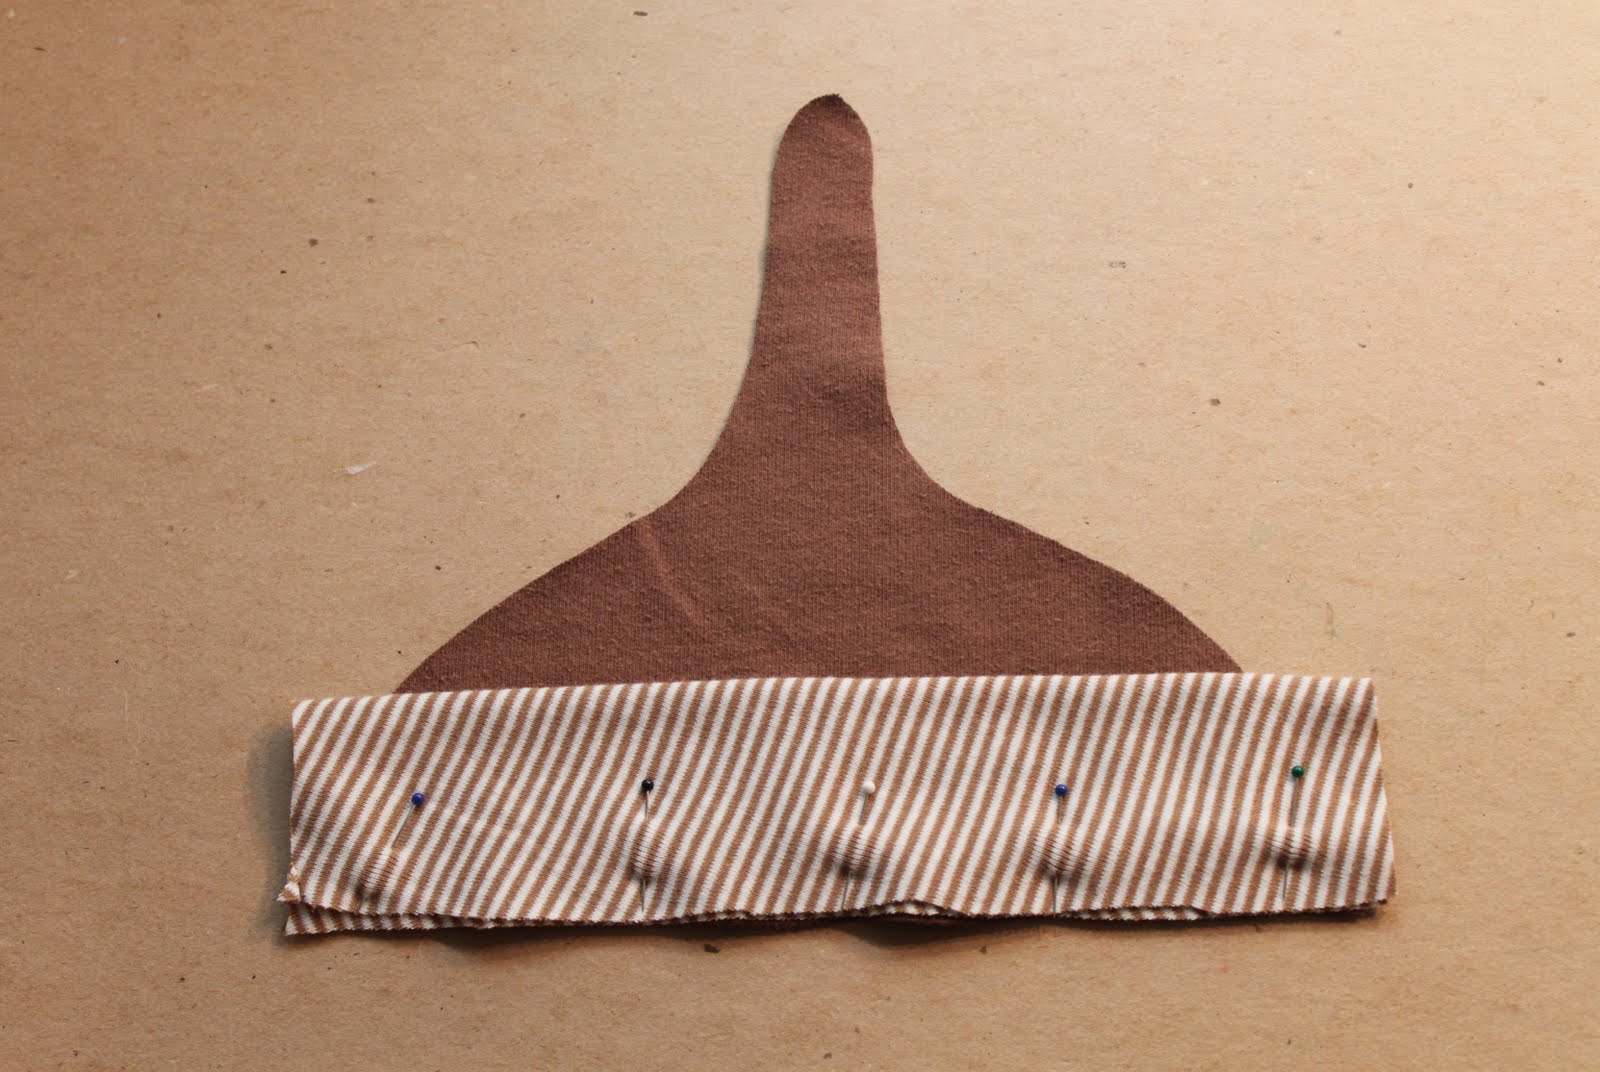
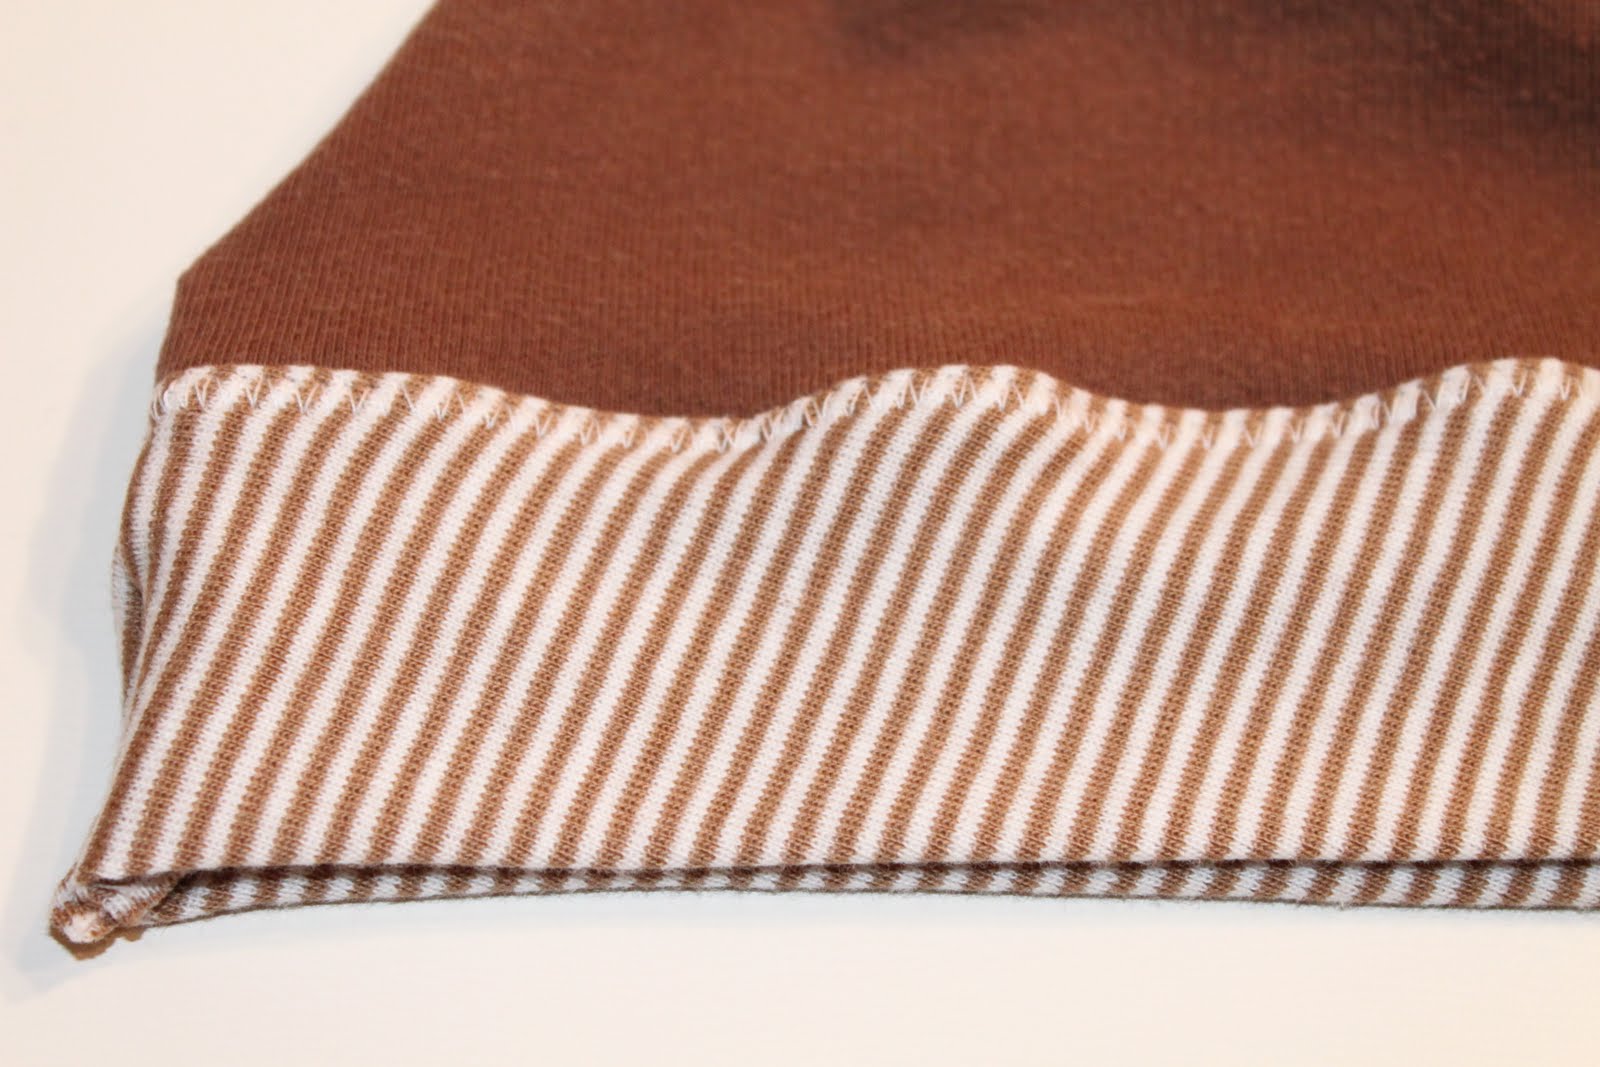
For the cuff, fold your fabric in half and place your cuff template on the fold (I cut up an old onesie I had laying around to use for the cuff.) Trace and cut out your cuff piece. Repeat for a second cuff piece.

Each cuff should be 4 inches wide when they’re open.

Step 3: Attach your hat and cuff pieces. With one of your hat pieces facing right side up, fold one cuffs with the wrong sides together and pin the raw edge of your cuff to the raw edge of the hat (see below.) The folded part of the cuff should be facing up. Sew straight across the cuff using 1/4 inch seam allowance.
Flip the cuff down and press (as tempting as it may be, don’t skip this step!).

Now, stitch straight across the top of the cuff to make sure it lays flat (I used a zig-zag stitch to make it more decorative.)
Step 4: Make your leaf. Cut two leaves from some craft felt. Use a disappearing ink marker to draw the veins on one of the leaves.


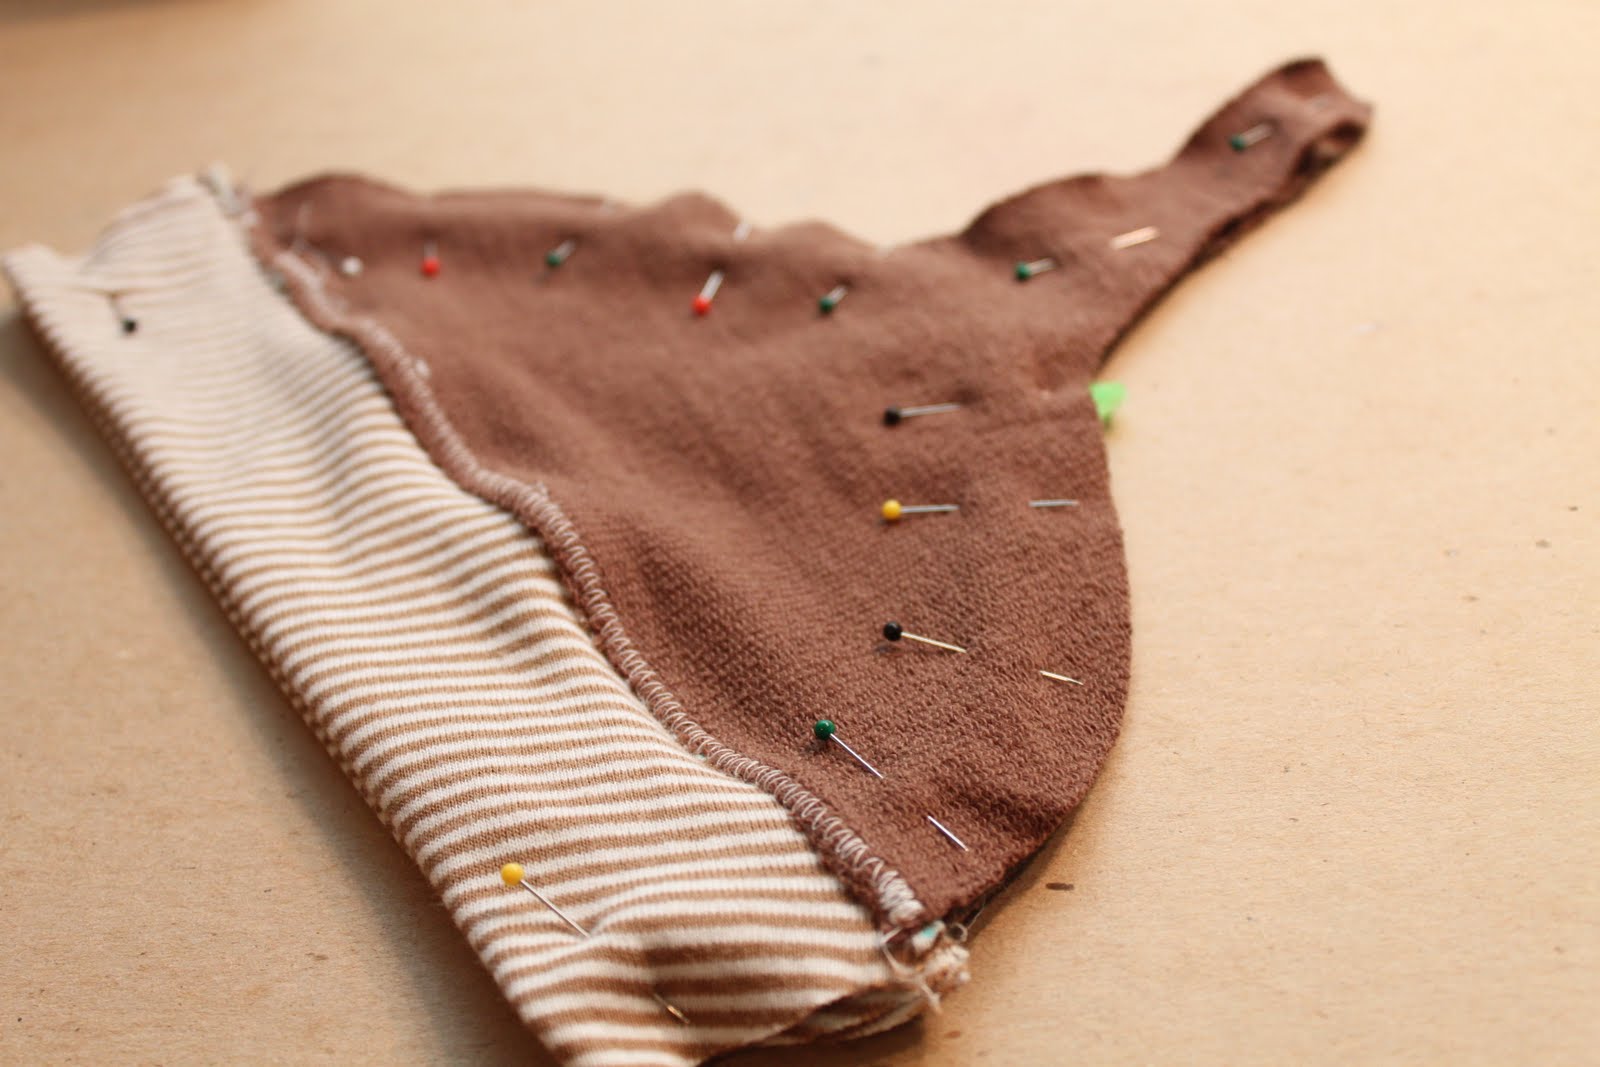
Using a needle and some white floss, stitch across your drawn lines and knot your thread. Using some craft glue like Fabri-tac, glue the other leaf to the back of the one you just stitched and let dry. Step 5: Finish your hat. Place your two hat pieces right sides together and pin. Insert your felt leaf near the base of the knot and pin in place. Sew to join the two pieces. (You can finish the edges by zig-zagging or serging them, but since knit fabric doesn’t fray, I didn’t bother to.)


I put the hat on my son to take some pictures and as it turns out…my son hates hats. Maybe I should change step one to read: First, make sure that your child likes to wear hats. Yes? OK, now move on to step 2.
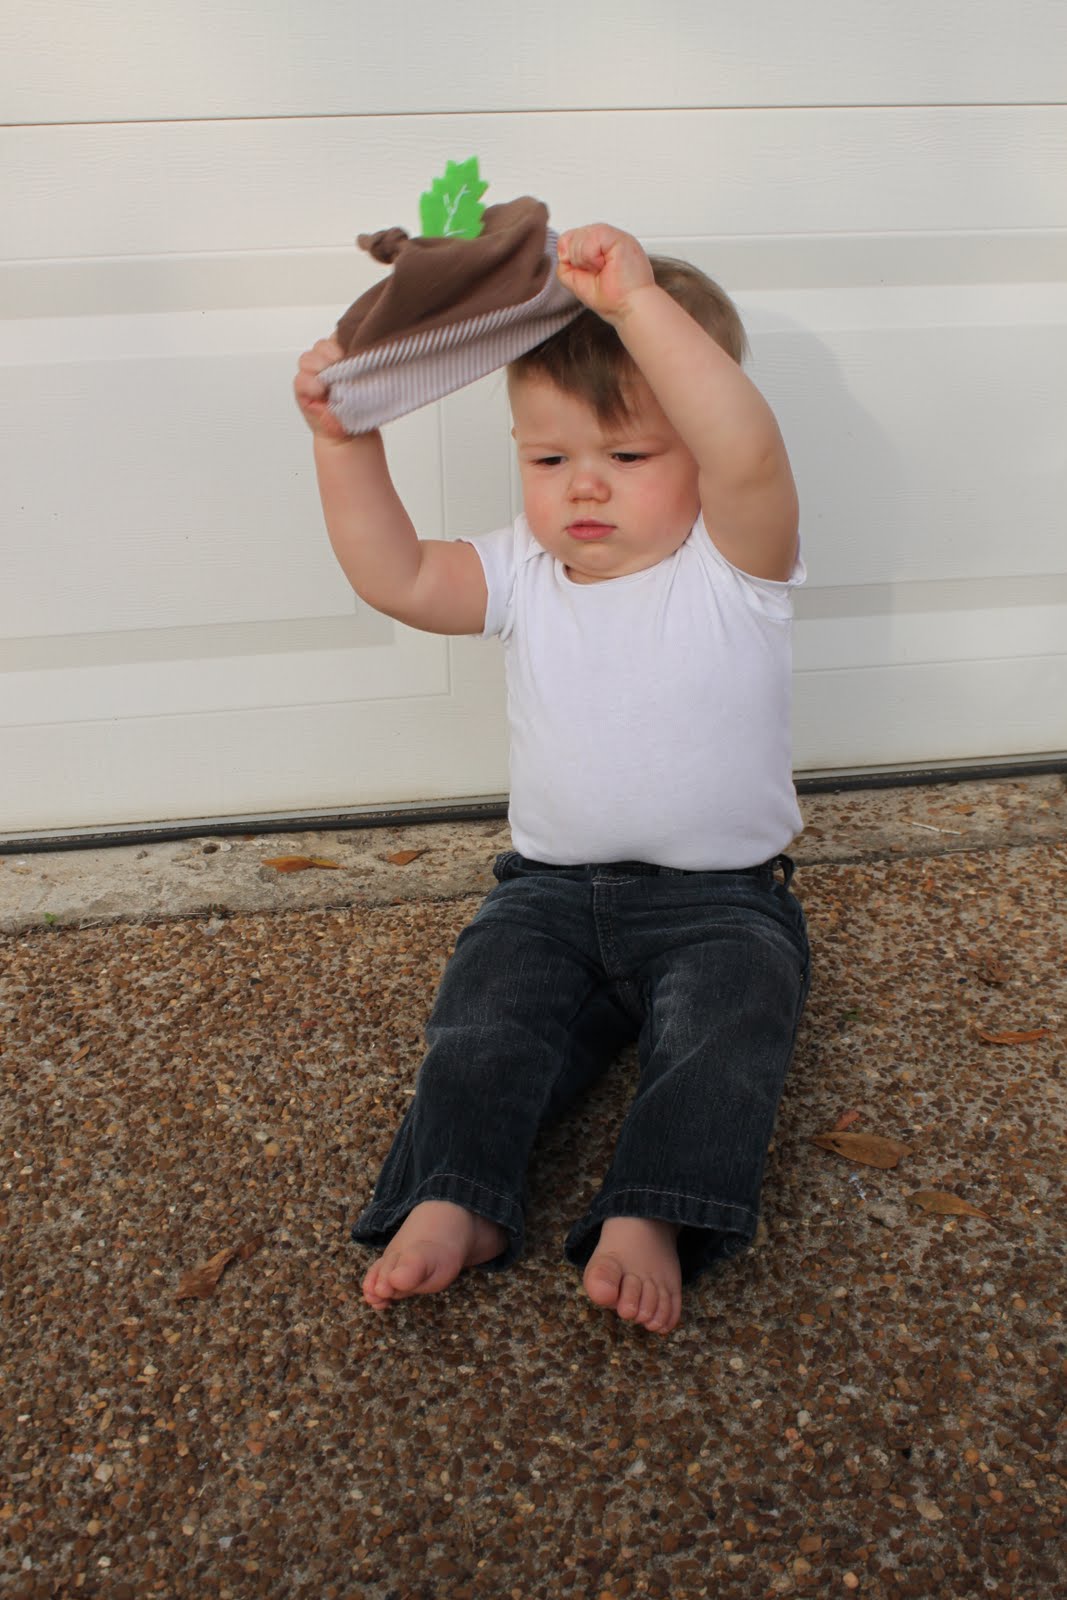
Oh well, I still think it’s super cute. I’ll just have to convince him of that too.

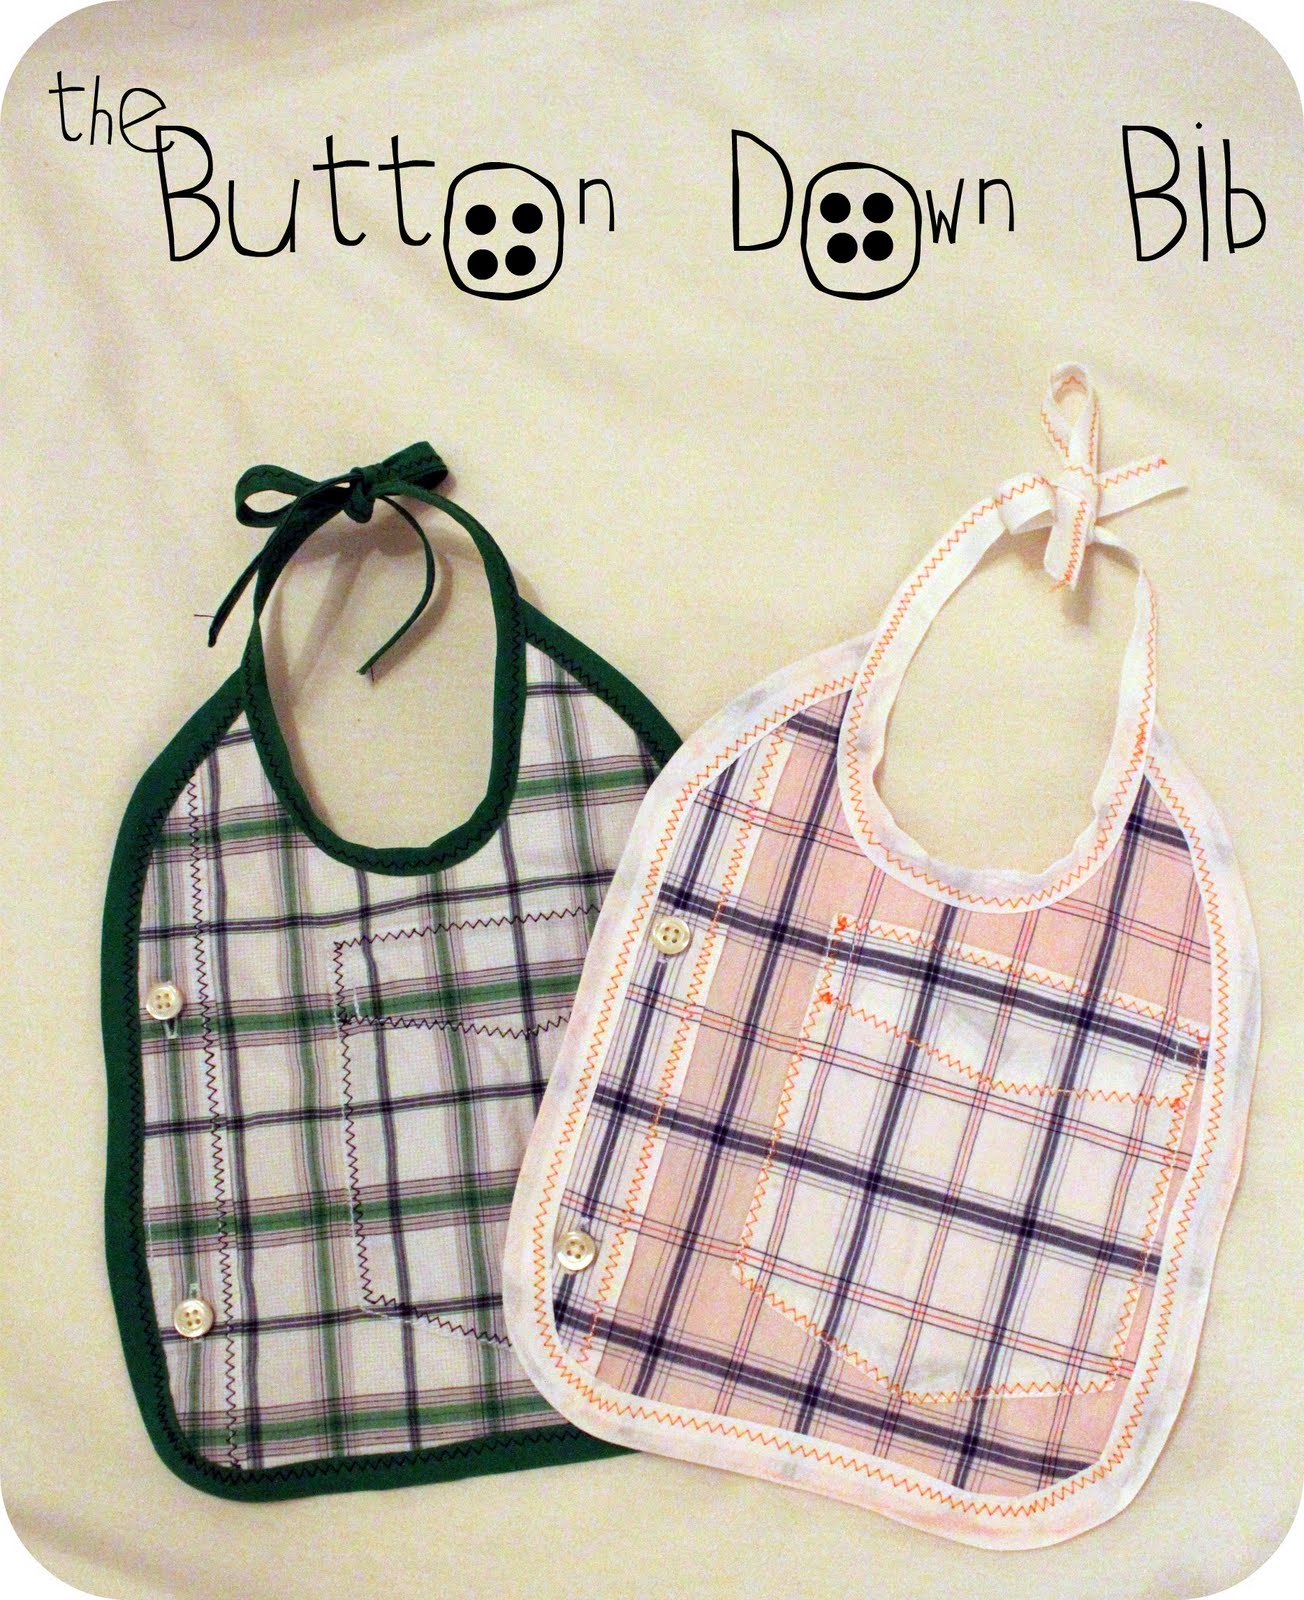
Thanks for having me, Mandy! I hope you’ll come check out my blog, My Own Road, and take a look at some of my other projects, like my Hospital Survival Kit, Bow Cuff Bracelet, and Button Down Bibs.


Thanks for having me Mandy!
You convinced me to do this hat straight away, just do get this photo in a secret box for 16 years. Never had a better reason for sewing such cutie… bloody hell, i don´t have the possibility , sewing machine is hidden in a packing case cause we´re moving to another house in 2 weeks 🙁 But by and by I will do this! Thank you for sharing and giving me such a great laugh!
cute hat! I love your little boy’s grumpy expression in the last photo. Made me laugh!
How cute is this! I love it, actually! Thanks for sharing!
what a great tutorial! 🙂 and what’s with babies and not wearing hats! 🙂