


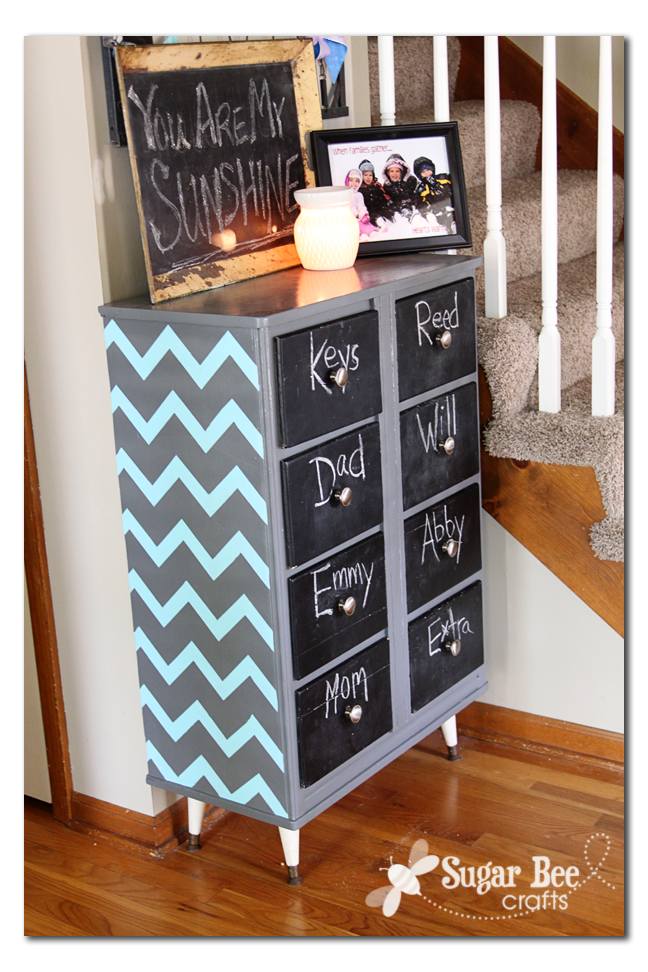
I am in love with the Chevron Revamp I gave to the mini-dresser that’s in our entryway – check out the cuteness:
I had better love it – taping off those chevrons took forever!! And I’m just noticing as I’m writing this that I forgot to paint the legs that Ocean Breeze blue – doh!
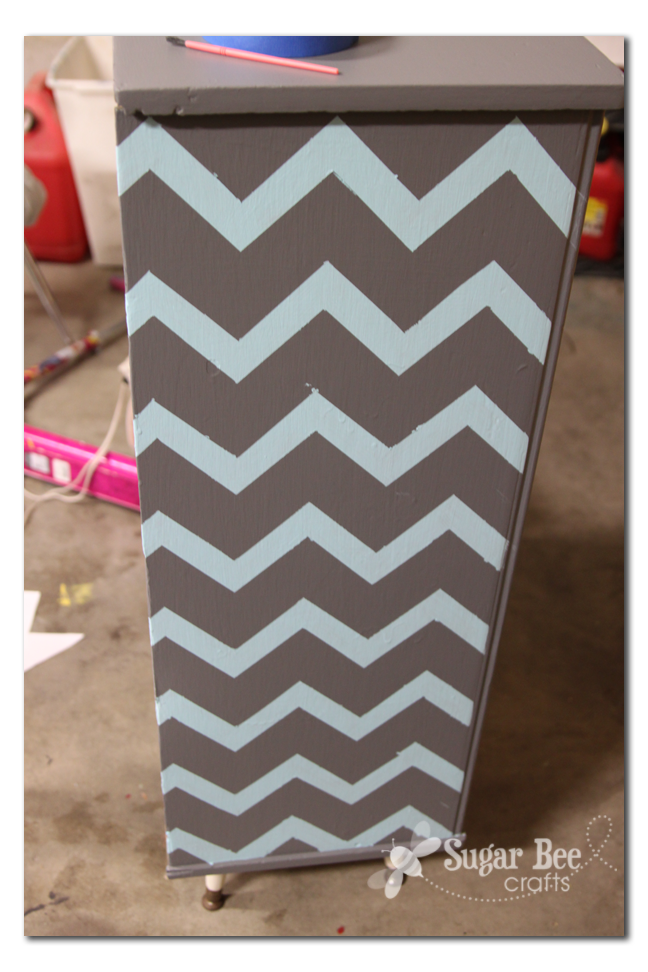
Anyways, I also forgot to take a before picture. Luckily the last time I painted it, I had already begun blogging so I posted about it HERE – and here’s the picture from that post: I had painted it green. But it need a revamp. I taped and taped and taped and wondered why in the world people paint chevron cause it’s a super hassle….I finally finished the one side and thought, done. Yep, I didn’t even paint the chevron zig zag on the other side – it faces the wall next to the stairs, so why would I 🙂
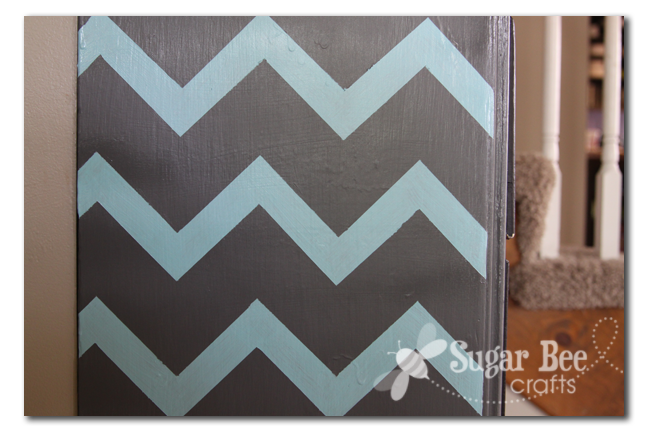
After taping, I first covered the areas I planned on painting blue with another layer of gray paint, over the tape. I brushed all the paint on. This means that any paint that seeps will be gray and will blend in. It makes a protective layer to prevent the blue from seeping.


See – – it came out pretty well. There were a few seep spots, but not many, and I just touched those up by hand:
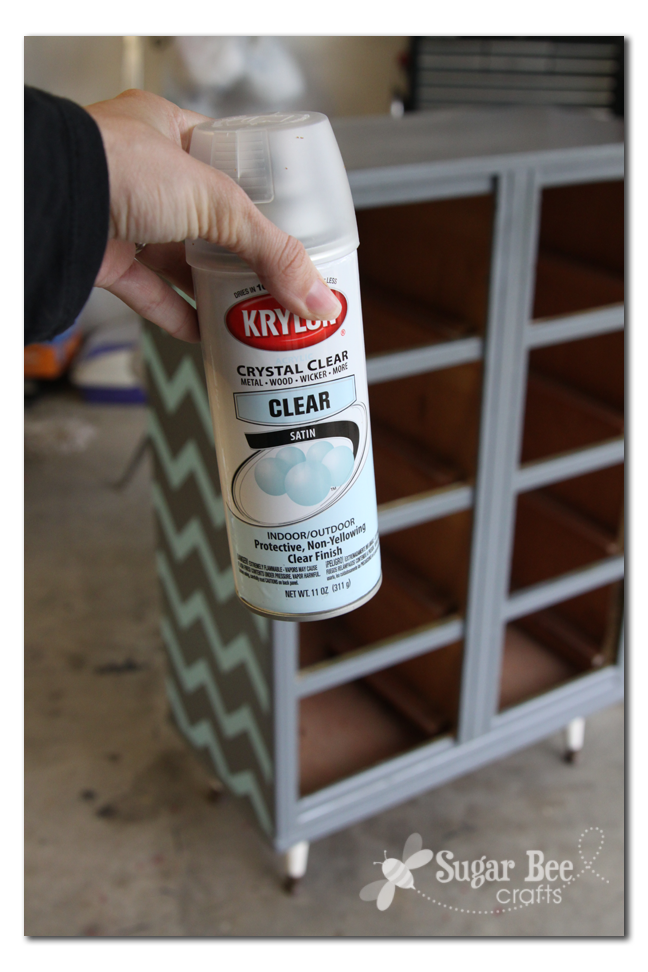
Then I sprayed the whole thing with a clear – I feel like this helps painted furniture have less of a “homemade” feel – makes it look a little more professional:
That’s it – now it is a super fun piece that greats everyone in my entryway:

It’s like a mini-dresser size, and we use it as shoe storage – solves the problem of everyone always having shoes all over near the door. Each person has their own drawer – they’re the perfect size to hold 2-3 pairs of shoes. The fronts of the drawers are painted with chalkboard paint so we can label them.

I really love it!! So much more fun than before!
So even though I dreaded taping the chevron as I was doing it, I was glad I did it in the end. Grab a dresser and go try it!!


Putting the shoes in this is pretty smart. Putting it on my to-dos 🙂
Lydia @ the adventures of Mommaloo
That is really cute…makes my creative wheels start spinning. I may have to see what I can do …
Stacey of Embracing Change
So Cute! I love this idea!! Thanks Mandy!
So incredibly cute!
I’m just wishing I had room for something like that 🙂
I love the size of this little dresser. It is so cute. I bet the chevrons were time consuming to tape off but the finished product looks really great!
I just got so excited when I saw that picture! I LOVE it! Color combo, chalk drawers, and everything on top! Awesome project 😀
xo Jess
{www.CraftyNonsenseNoted.com}
This is cute! It does look like it would have taken a while, though! I like the colors!
It turned out really cute! You are dedicated to tape all that chevron! 😉 I have loved that shoe dresser idea for a long time-I’ve got to get on that!
I am new to your blog. I saw your link party on lists @ the pinterest project and full of great ideas, and I thought I’d stop by. I love the idea of a shoe dresser–I just wish that I had a spot for it! I also truly love the art behind it–the pinwheels on the crib support! I think my four-year-old would love that. Something to keep in mind when my twins outgrow the cribs! I am planning on coming back!