


Reviewing some the crafts we did at girls camp this year – – for all them listed together, see my Tips and Tricks for Girls Camp Crafts Post...
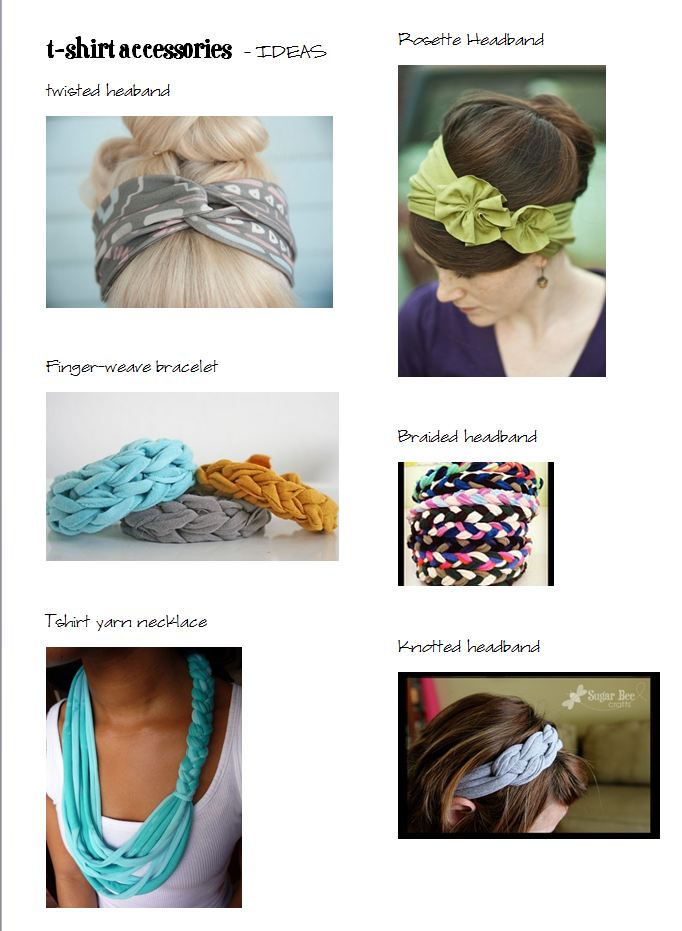
T-Shirt Accessories – I had that idea sheet laying on the tables and then let them do whatever they wanted. Of course I took no pictures (and it was the photographer’s day off of camp) – but it was the girls favorite craft of the entire week. I gave them each about 7 inches of fabric (from Joann’s, Walmart, and Fabric.com) and let them trade neighbors if they wanted multiple colors.
The links to ideas on the sheet above:
Twisted Headband
Rosette Headband
Finger-weave Bracelet
Braided Headband
Tshirt Yarn Necklace
Knotted Headband and with video
But some of those don’t have tutorials, so here’s some quick hints on how to make them and how I adapted them for camp. Remember, HOT GLUE will hold fabric – – it’s a great trick for camp because there’s no way I’m hauling up several sewing machines. Hot Glue works great.
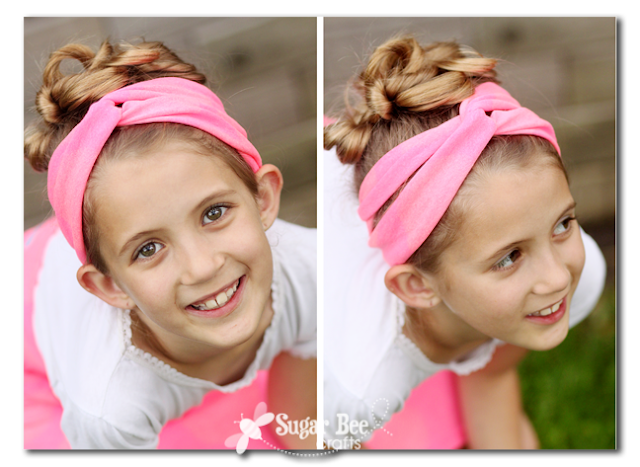
The Twisted Headband – – obviously a hit in our house….


so, sorry about the bad pictures, but I’ve been at Cub Scout Day Camp for three days straight (only one more to go!) and so you’re lucky I’m blogging 🙂 but I’m just not up for editing photos, so you get these bad ones…
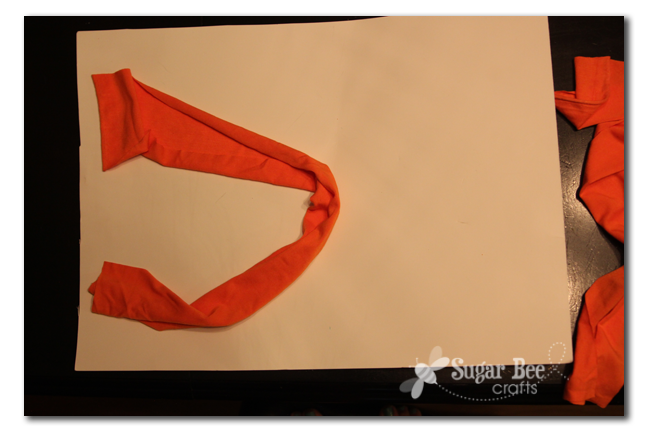
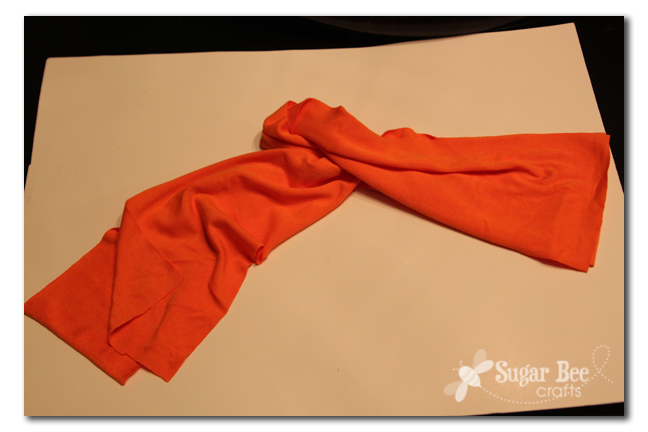
First, you have 2 pieces of fabric that will go all the way around your head. Make one curve into a “c”:
Then make the other one curve into a “C” on the opposite side, while going through the original one. So they’re hooked together:
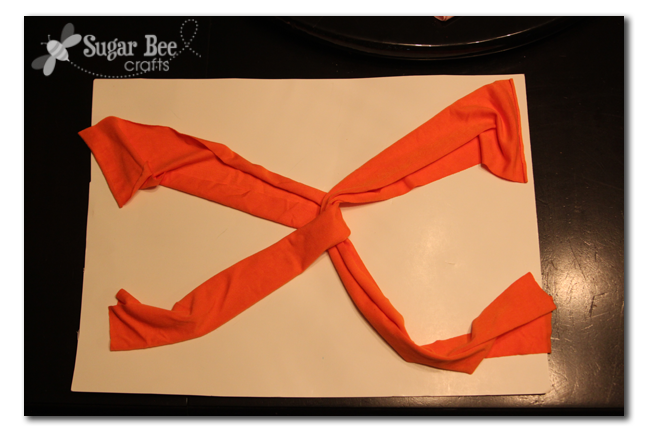
That’s it for the twist part. Now at camp we used hot glue to attach everything. You could sew it if you want – whichever works. First hot glue each “C” to itself on the ends:
Then hot glue the two ends together, by slightly overlapping one end over the other:
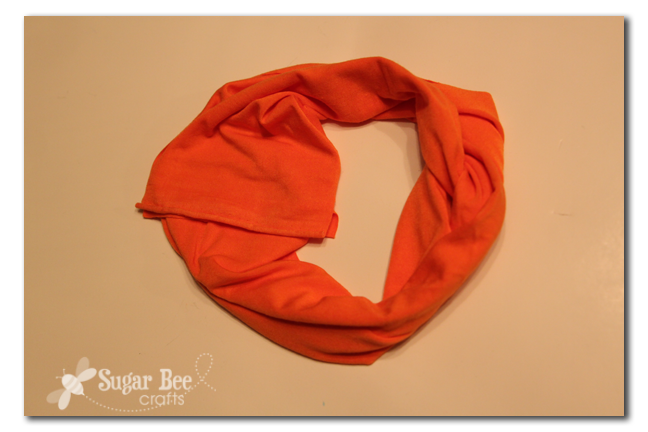
Done and Done – – super cute!!
________________________________________________________________________________
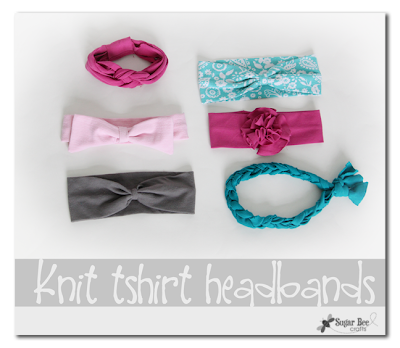
If you like making headbands from knit or old t-shirts, here are a bunch of other ideas:
Knit Headbands from T-Shirts

….how cute, simple and one could use leftover stretchy fabric or old tshirts. Thanks.
This is great, I’m having a craft party sleepover next week for my daughters birthday, thanks for sharing 🙂
Really cute idea! Thanks for sharing! Your model is adorable!
Thanks! These are great. I especially like the finger weave bracelets. 🙂
I bet the girls loved them! Great ideas Mandy!
The Knotted headband is really cool!
SUPER CUTE! Crossing my fingers you’ll share at my party! Saturdays at Seven!
XO, Aimee
Those are awesome! And soooo easy! Can’t wait to try and make some! Thanks once again, for the craft inspiration! 😀
Thanks for your tutorial and all your great ideas. I used them for my own girls camp crafts https://freshlycompleted.blogspot.com/2014/05/4-no-sew-headband-printable-tutorials.html
What great ideas! My granddaughter just loves these. She is always wanting to help me make crafts and at 10, with long hair is always wanting to wear something different in it. Thank you so much for these ideas!