


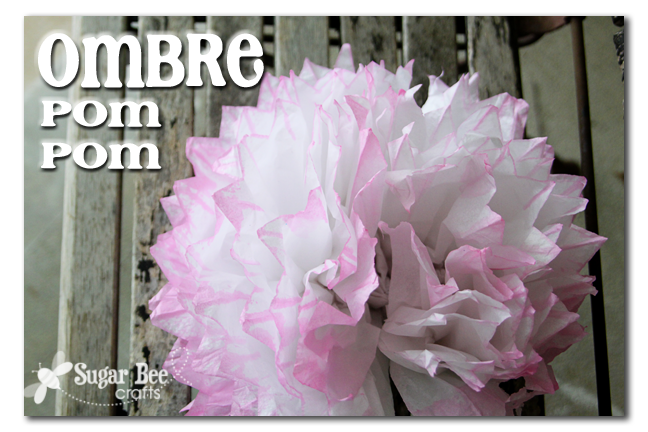
POM POMS are all the rage right now. So is OMBRE – – so I thought I’d combine the two, cause I’m spot-on like that…
First off, if you don’t know how to make a pom pom, Martha Stewart has a good tutorial:

Basically, you take several layers of tissue paper and fold it like a paper fan. Then you tie the middle and slowly pull up each layer, floofing the pom pom.
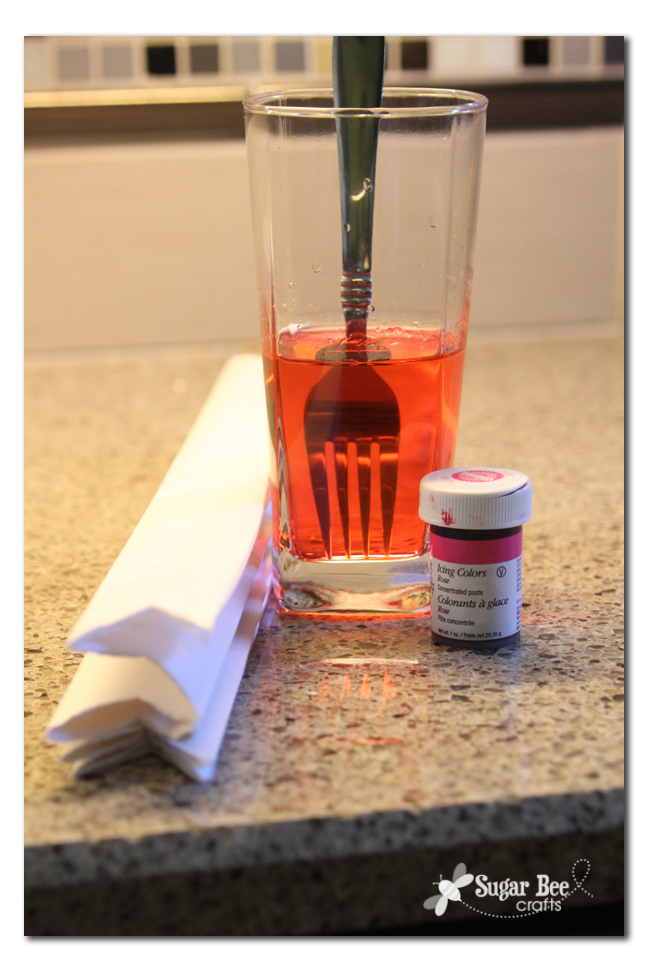
The ombre look is easy to do – all you need is the tissue paper, some water, and some food coloring. Put water in a cup and stir in food coloring – the liquid kind would probably work best, but all I had was gel so I used that and stirred it til dissolved:
Dip your ends down into your colored water. Let it sit there a while. I thought the dye would creep up the paper and make the top of the paper light and the bottom darker. But it didn’t really do that….
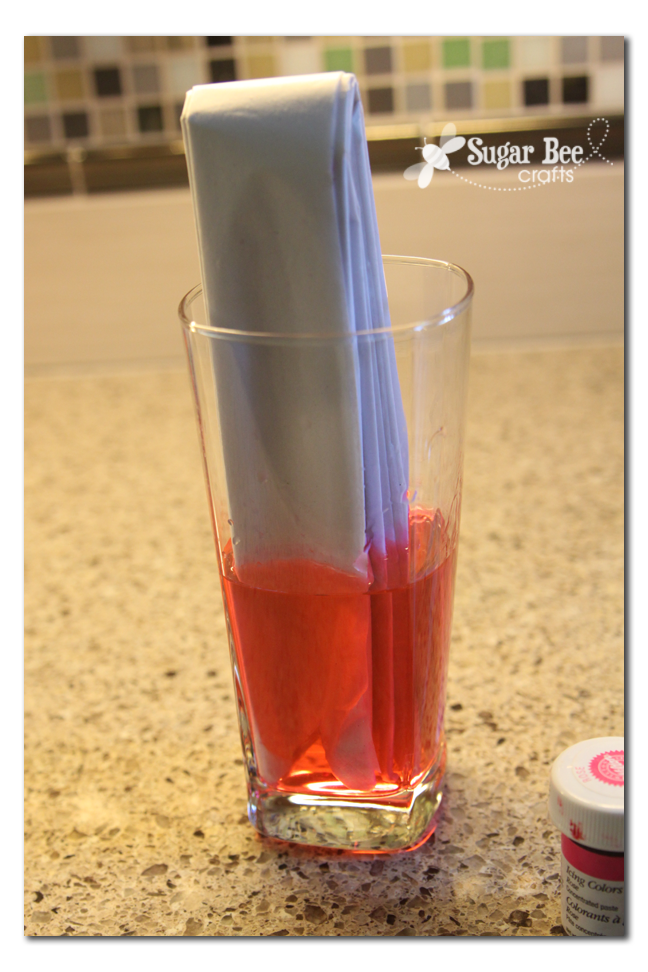
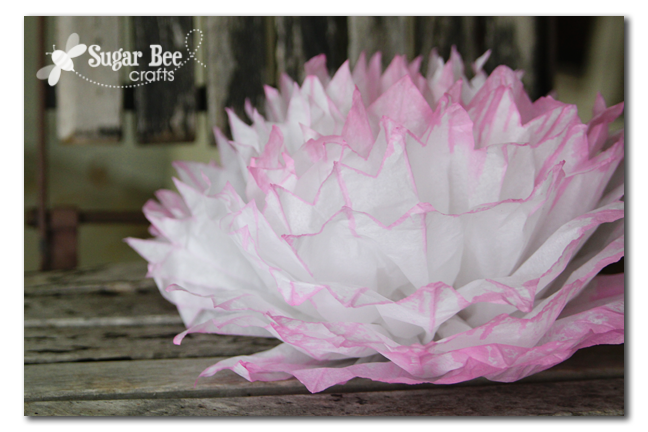
So I poured out some of the water and added more food coloring to make a darker, more concentrated mix and dipped just the ends in – that gave me the look I wanted – darker on the ends, lighter as you went toward the center:

Unfold your tissue paper and lay it out carefully until it dries completely. Then I pulled all the layers apart to make sure they didn’t stick.
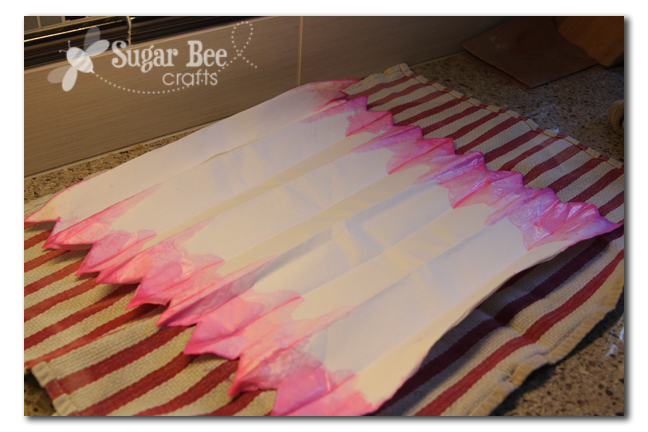
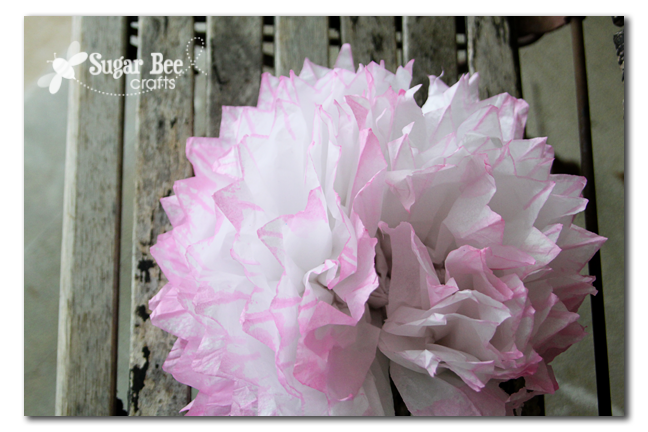
Then I folded all the layers back together again, and continued into making it into a pom pom. Here it is, fluffed and pretty:
I used this as a bow on a giant present, but you could hang them as party decor – the possibilities are endless!
So, if you have tissue paper (best place to buy it – the Dollar Store), give this a try – you can do it!


I’m featuring this at my blog today! Come stop by, say hello, and grab a button!
https://chicaesartistica.blogspot.com
I LOVE THESE! How beautiful! I adore your tip about the fork. I will be making these for my sisters baby shower. Brilliant.
So cute! I love this idea!
such a cute idea. I love the mix of the two trends. It definitely adds a fun new spin.
marissa
https://raegunwear.blogspot.com
Oh I love!
I used her tutorial for pom poms for my little ones birthday last year. It’s great how something so simple can really spruce things up!
Ooh so pretty! I used that same tutorial for the pom poms at our wedding! 🙂
Great idea! Can’t wait to try this out 🙂