
phew – that was a title with a lot of dashes! Have you heard of the new iron on vinyl from Expressions Vinyl that Glows in the Dark?!? 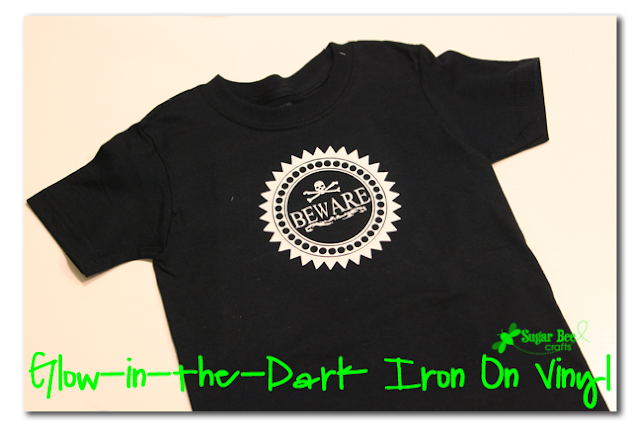
I’m sure you can come up with a million ideas for it. You can even order it and hand-cut it if you want and you don’t have a cutting machine. I’m going to show you how I came up with an idea using my Silhouette Cameo….

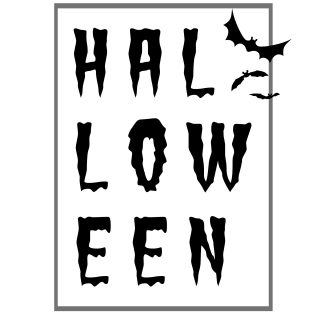
I wanted to do a non-cheesy Halloween shirt. Because we have plenty of corney Halloween shirts, but “classy Halloween shirts” (is that such a thing?!) are hard to find. And if you can’t find what you want, make it! The joy of crafting! I browsed the Silhouette online store and found this “Beware” image that was exactly what I had in mind. I downloaded it and realized it was a print and cut – which meant it was just going to cut the outer edge. So I used the “trace” feature in the software to trace all the inner lines, then drug the original design to the side and left all the cut lines – perfect. 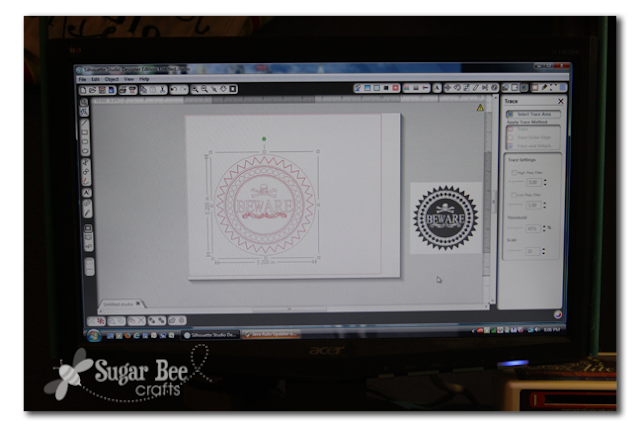 Well, ALMOST perfect. I can’t say it enough – whenever you cut iron-on vinyl, you need to flip your image!!! Like so:
 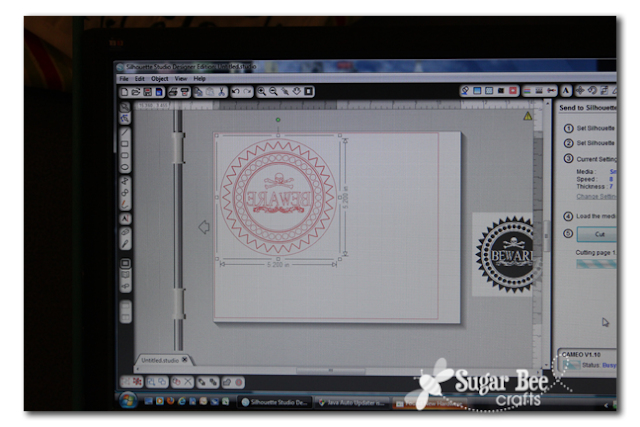 See how the “Beware” reads backwards – – that’s because when you load iron-on vinyl onto your cutting mat, you cut it from the back side. Put the shiny side down, like so:
 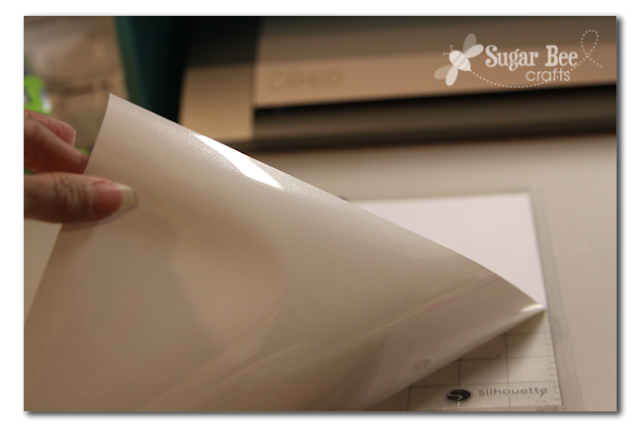 Now, on to attaching it to your prewashed shirt – I actually show these steps with regular iron-on vinyl, not glow-in-the-dark, but the process is the same… After weeding all the extra vinyl out, stick the image where you want it, then iron it with a piece of fabric over it:
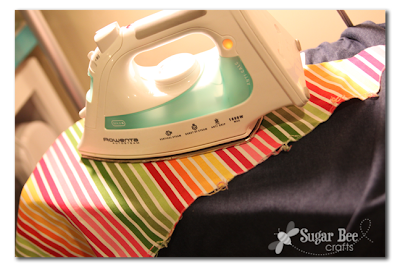
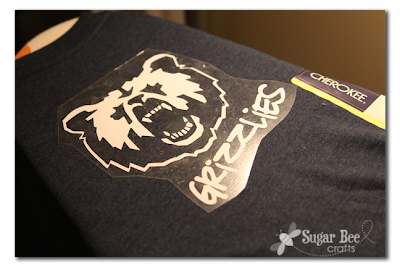 Then press like crazy – you’re aiming to adhere the vinyl to the shirt fibers. Then peel up the clear sheet, and voila:
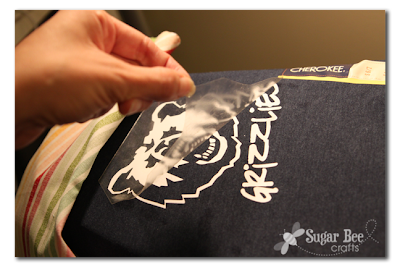

I got fancy with my camera, used manual focus, and got a shot of the shirt glowing – that’s got to count for something! 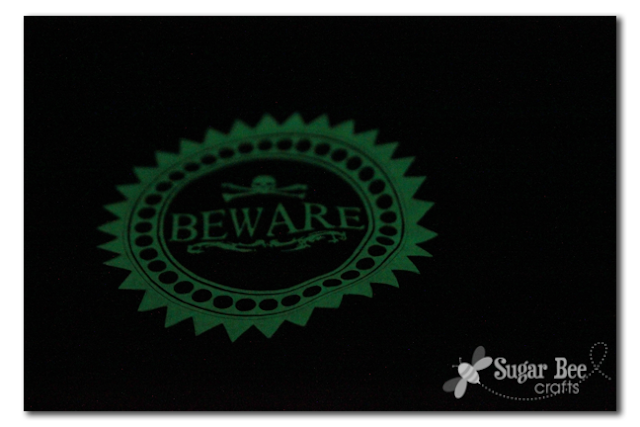 So if you haven’t tried iron-on vinyl, give it a go! Especially now since glow-in-the-dark is an option!


This is so cool!!! Think of the Halloween possibilities. Or this would be great to put on a pillow for my son’s room at night. Do you know how it holds up to washing?
I had absolutely no idea how to work with glow in the dark or iron on vinyl (but I bought some anyways), thank you so much for this tutorial!
Ooh! That’s neat! 🙂 Need some of that vinyl ASAP!