


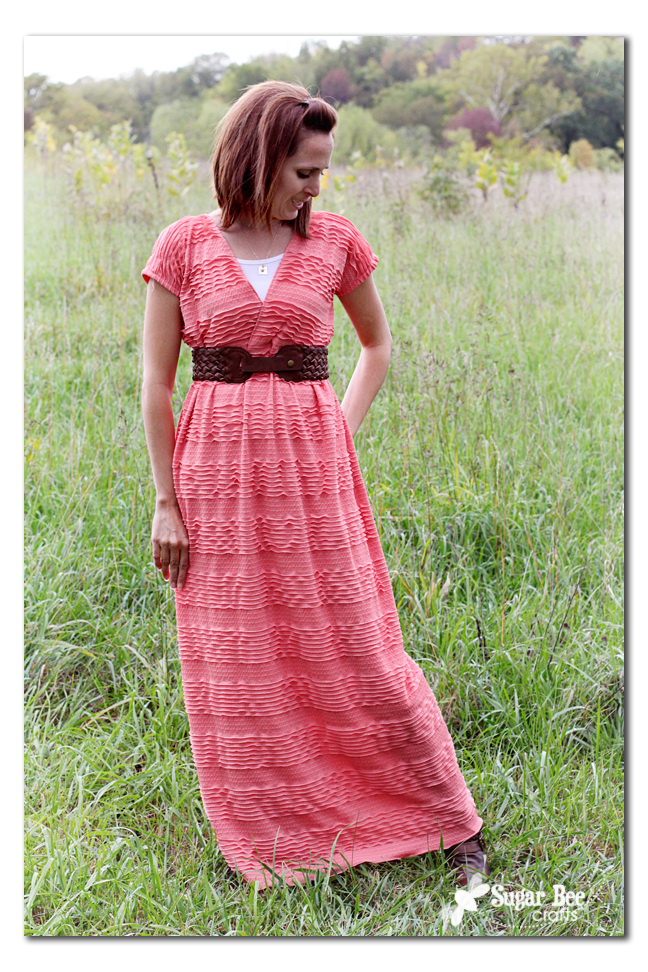
Want a super cute, super comfy maxi dress, custom to you? Whip yourself up a Ruffled Maxi Dress with this Tutorial – don’t worry, it’s a beginner sewer type of project, and ruffle fabric is very forgiving!


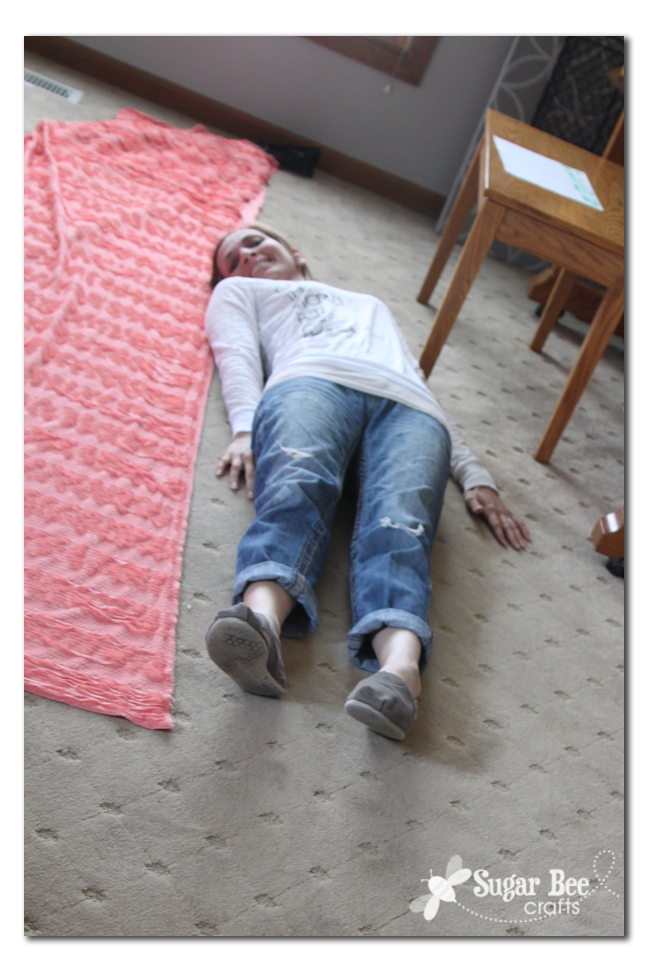
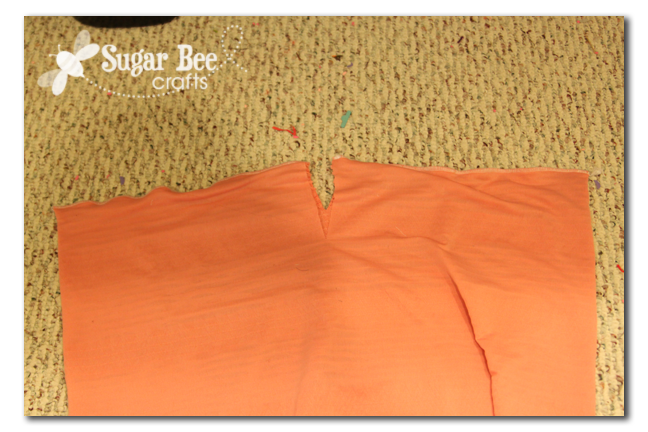
Then see how tall you are and cut it at your shoulder (I added a couple of inches just in case)
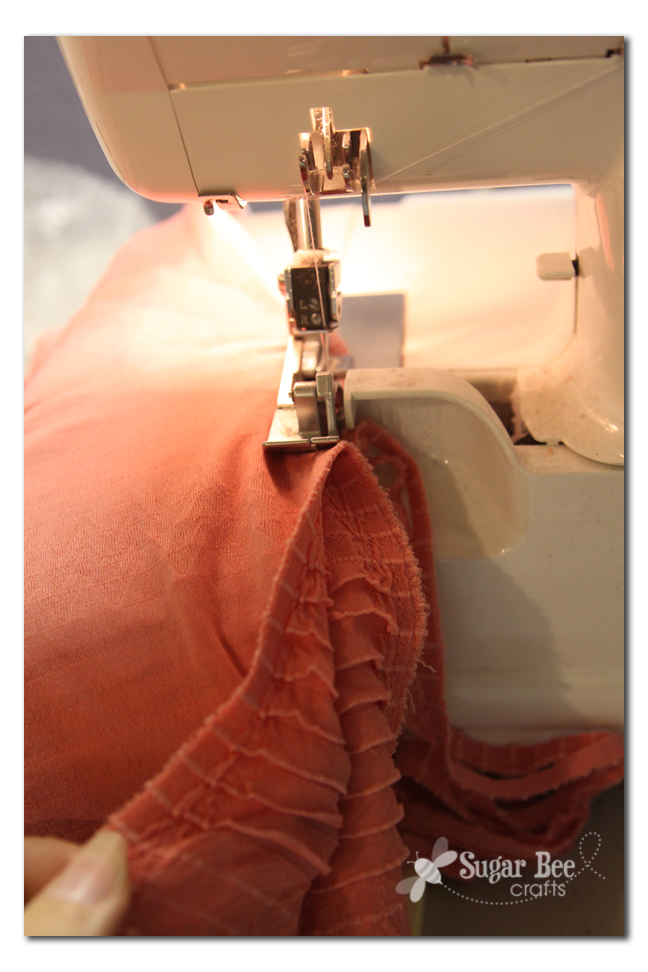
Next, put right sides together and sew up that seam. It’ll be one seam, running up the back. If you used 2 pieces of fabric, you’ll have 2 seams, running up each side.
At this point I wanted to try a hippish style where you just cut a slit in the top and the 2 sides for your head and arms, and wear it like that.
I did that but thought it needed more shape. So I improvised. I’m sure there is a better way to do this. But ruffle fabric is super forgiving, so it worked.
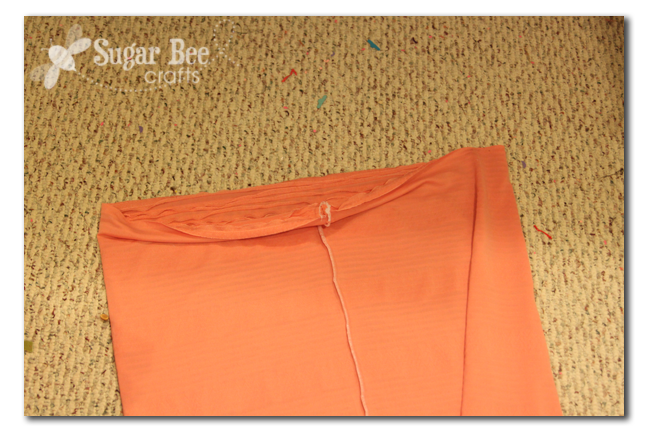
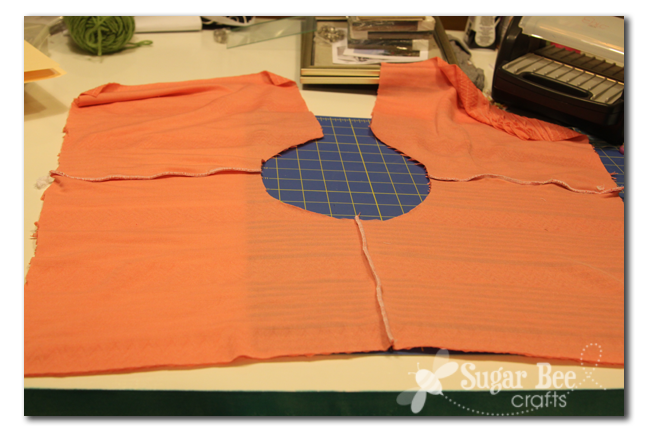
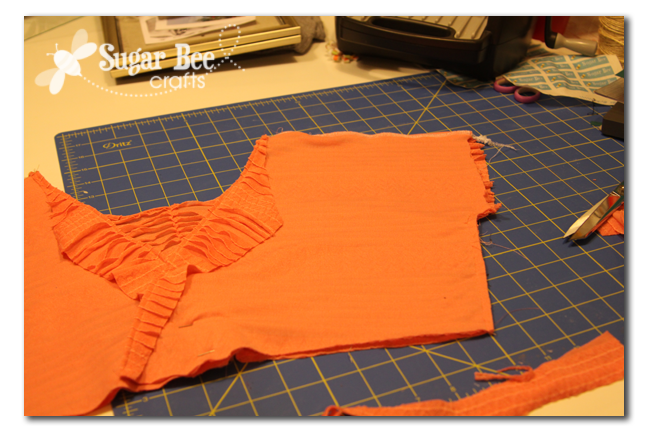
I cut off the top half to form a bodice, so cut it around my high waist. Then cut the sides of that chunk open. Then I cut a slit straight up the front, til the seam of the shoulders. I then cut a circle so there would be a scoop neckline in the back – next time I won’t make it quite so scooped. Here is that piece opened up – the slit will be the front:
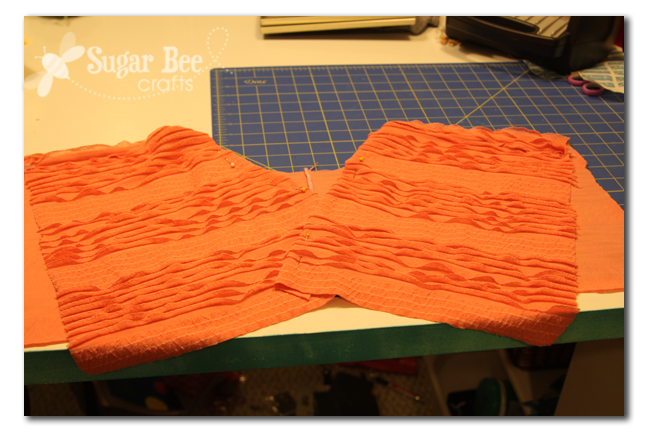
Fold the slit area down and arrange it like you want it. I wanted the bodice to cross over and slant slightly for interest. I have to fold under some of the slit.
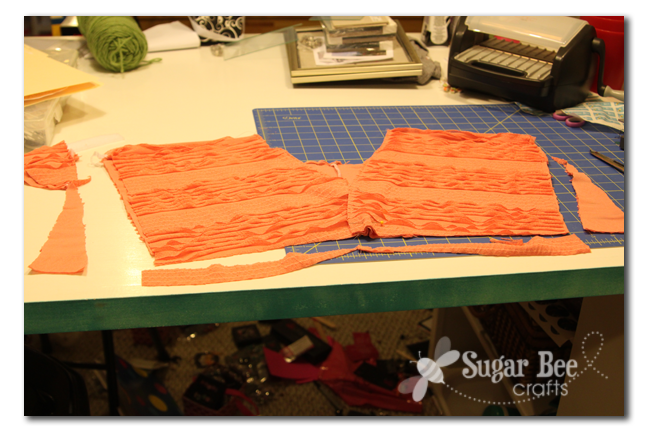
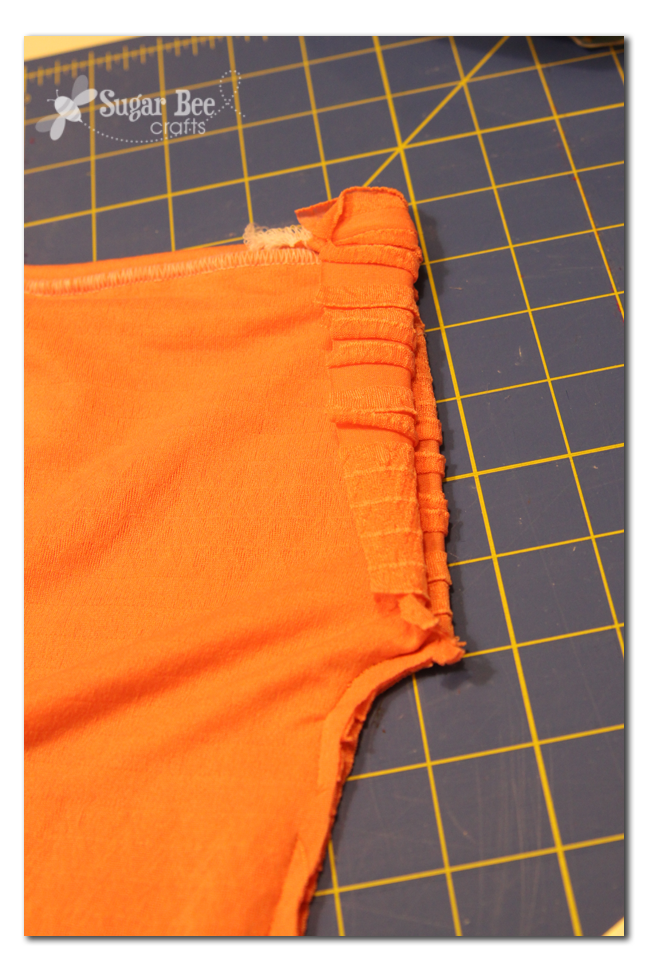
Pin it together in the front and cut off any excess – since I slanted the front, the back was wider than the front. I just cut that off since I wanted a more fitted dress. I also evened up the bottom, again because of the slanted front pieces:
At this point, turn under and sew along the neckline and slanted V edge. I forgot to take a picture of that. You just want the edge to look nice. Then, turn it inside out and make the sleeves a little more defined. You might want to try the bodice on to see what works best on your body. Sew that seam. Here’s how mine looked at first, then I brought the side seam in a little more.
Then turn under your sleeve and sew it just like you did the neckline:
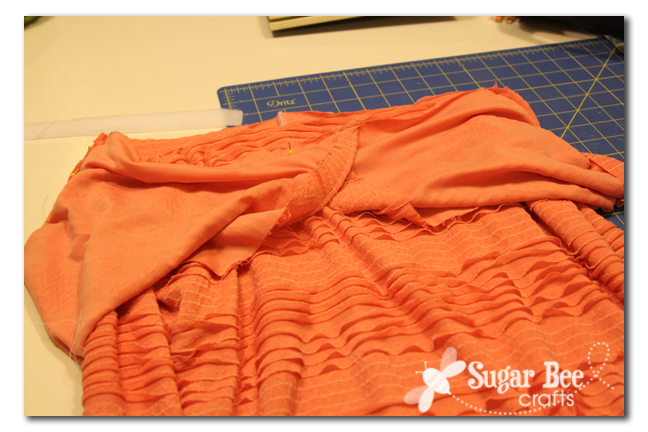
For the final step, lay your skirt piece out right-side out. Turn your bodice wrong-side out and slide it onto the skirt up-side down at the top of the skirt. It’s hard to tell in this picture:
You are going to sew along that top seam, all the way around the skirt. My skirt was larger than my bodice (because the bodice was more fitted) so I stretched the bodice fabric as I sewed.
To hem it, just cut the fabric under one of the ruffles all the way along the bottom edge. You don’t need to turn it under or anything. So easy!
It’s really versatile — here’s with my boots and a brown belt, for sure a fall look. (side note – I could never be a fashion blogger – taking “meaningful” gazing-off shots was too weird)
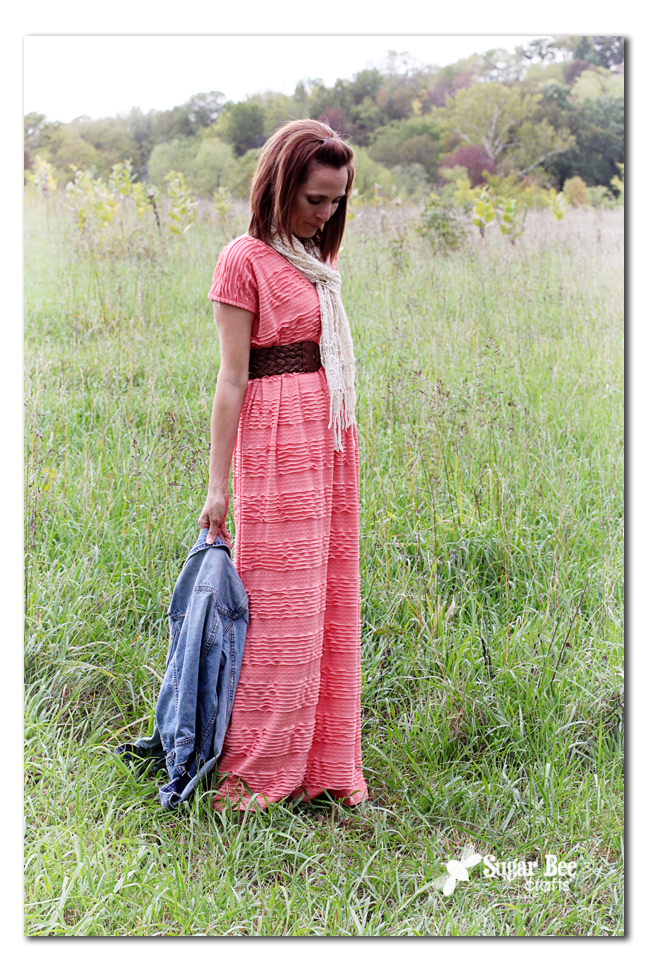

And then a more brighter, carefree look with a bloom belt from Pleated Poppy – I thought it was perfect for the dress:


Don’t you just love The Pleated Poppy?! I even got to browse her items in person at the Queen Bee Market at SNAP. Stay tuned later today for an exclusive discount and giveaway to The Pleated Poppy – eek!
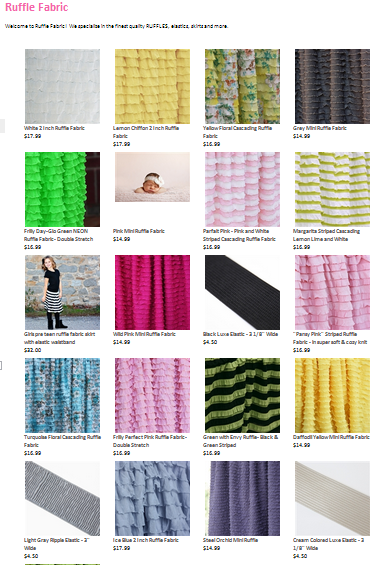
And be sure to check out RuffleFabric.com – you need more ruffles in your life!


It’s very pretty! You make it look easy, I think I’d like to start with something for my two year old – safer for the fabric that way, then I could progress to something for me. 🙂
Very nice! Ruffle fabric all ready to use is something I could see purchasing. My girls would love to make dresses out of it.
Very cute! Love the location you chose for the photo shoot. Looks like a page right out of a fashion magazine.
LOVE!!! I’m adding this to my to-sew list!!
super cute dress!!!
LOVE! Make me one please:)
Mandy this is gorgeous, and you look fabulous in it! Pretty please add this into SewSet so I can feature it – I love it so much!!!
And PS – your hair look fabulous, did you do something new to it? The color is great!
That is so dang cute! The material makes a huge difference. Not an ordinary maxi dress!
I LOVE this! It is SO adorable and you make it look SUPER easy!
So cute! Love the material!
Oh my gosh Mandy! First, you look gorgeous! Great colour choice for you. I spotted this on Pinterest first and absolutely love it. Thanks for sharing the tute! You rock girl!
so cute! great job and LOVE that fabric!!
LOVE that dress! The fabric is so fun, the color is perfect!!! LOVE it!
Ooooh I really like the fabric, it’s perfect for the dress! Very cute!
If I knew I’d look as fabulous is the dress as you do I would totally make one! Very cute! 🙂
So completely adorable! Love the shape, the color…everything! Great tutorial…now to get my hands on some of that fabric 🙂
this is super cute! I have a bunch of knit fabric I’ve been wanting to use, thanks for the tutorial!
Did you just buy a yard of fabric?
You’ll need to measure yourself. If you can fold the fabric in half lengthwise and it’ll still fit, then you’ll just need to measure from your shoulder to the ground. If you need it to be wider, you’ll need the length from your shoulder to the ground times 2. I’m pretty short so I might need as much fabric as someone else. Good Luck~
Do you think this fabric would make good nursery curtains? It looks so cute and easy to work with! ([email protected])
Really good job!!
This is so cute! Love the belt too! Thanks for sharing. 🙂
Wow – that fabric is awesome and this dress is amazing. I can’t believe you made it – way cute.
Thanks for sharing with us at Fancy This Fridays Mandy!!! We featured your pretty dress today!!! https://www.trulylovelyblog.net/2012/10/fancy-this-features-96/
I’ll be featuring YOU tomorrow morning. You were the most viewed link from last week’s party. Thank you so much for linking up to {wow me} wednesday at GingerSnapCrafts.com
Ginger 🙂
Hi Mandy, Just wanted to tell you I loved your dress and tried it this weekend. Loved it but wasn’t thrilled with my fabric! Next time I will order a better one! I featured this diy on my blog this week!! Hope I did you justice!
http://www.perfectlyimperfecthome.blogspot.com
Hey,it looks great! Love the fabric.
Do you have a file I can print, couldn’t find an easy way to print the directions. Thanks
Sorry Joy, I don’t – I just typed the tutorial directly into my blog. you can try highlighting the text and pasting it into a Word Doc.
I would love to try and make this myself, but half of the pictures have broken links so they don’t show up! Can you check the links please?
Hi Louise – – all the pictures are showing up on my end – maybe try using a different browser?
I LOVE your dress! I used your tutorial to make a dress a lot like yours- I used the same fabric too! Thanks for the tutorial!
Here’s the dress I made- https://annaelizabethmade.blogspot.com/2013/03/easter-outfits.html
Good job!!! Very creative! I like that color! I will try!
You should sell these on Etsy! love it!
You should sell these on Etsy! love it!
Hi there Love this dress…Question….is the fabric breathable? I see it is spandex Polyester. I live in Arizona like heat. Just curious. Thanks! Jana
I love this dress so much but where I can find the pattern I would like to do it. Thank you.
it’s a tutorial, so I have the how-to for you here – there’s not a pattern you’ll just need to cut the pieces as directed to fit the size you need. Hope that helps!
Hey Mandy!
Super cute! Thanks for the tutorial! Where did you get the brown belt you are wearing & what is that belt style called? Too cute! Love it!
I think I got it at Forever 21? Sorry, it was 5-6 years ago, so I can’t remember for sure!