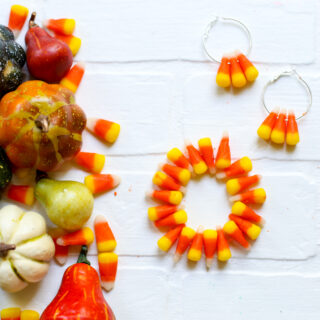
Candy Corn - a classic fall treat! Either you love it or hate it, right? I've even heard of combining it with peanuts for a tasty snack. But one thing is for certain: it is SUPER CUTE for CRAFTING! ...
Simple Crafts and DIY ideas and tutorials

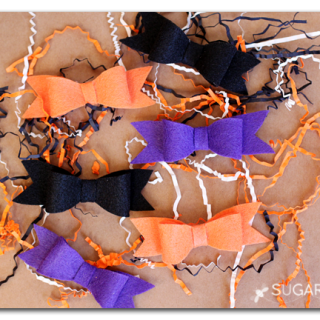

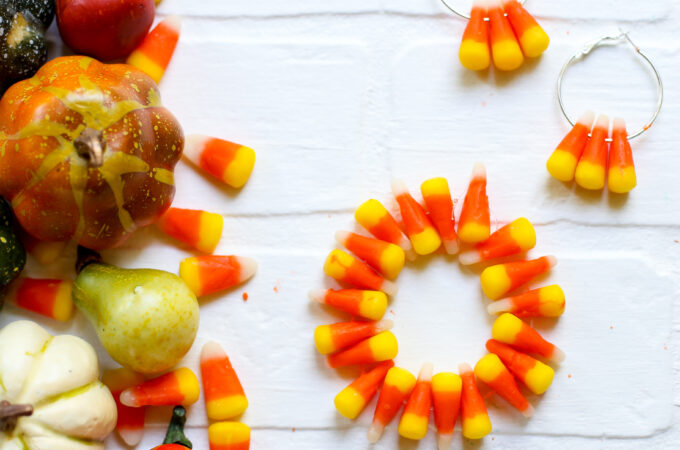
Candy Corn - a classic fall treat! Either you love it or hate it, right? I've even heard of combining it with peanuts for a tasty snack. But one thing is for certain: it is SUPER CUTE for CRAFTING! ...