


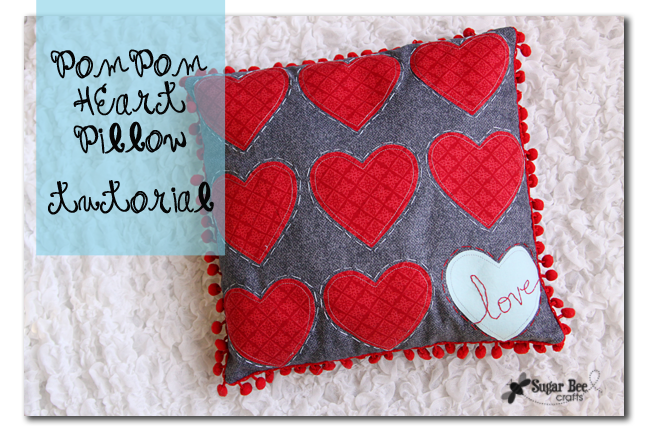
I have a fun project that all started with some red pompom trim I wanted to use for ….something…. And what better for pom pom trim then a festive pillow – so the Pom Pom Heart Love Pillow was born…
Gather some fabric (size depending on the size you want your pillow), pom pom trim, fusible webbing (wonder under or heat n bond), and embroidery floss.


Iron the fusible web, shinny side down, onto the back of each heart. Then peel the paper backing off. This will leave a layer of “glue” on each heart:

Next position the hearts – I used a ruler to make sure they were lined up correctly:

Now, the reason for the fusible webbing – iron all of the hearts into place. The fusible webbing will help them stay put – nice and flat – and not wrinkle or shift when you sew:

Machine stitch around each heart to secure it to the pillow:

Now, you could stop there, but I went ahead and used embroidery floss to hand-stitch the outline of each heart. I thought it added depth and character to the project. But it was the longest part of this whole project, so if you’re short on time, it could be omitted. I opted for it because I knew I had book club that night and would be sitting and open to working on a project (what next – am I going to be that lady who brings a crochet bag to church?!?) I went around the red hearts in aqua and around the aqua heart in red:


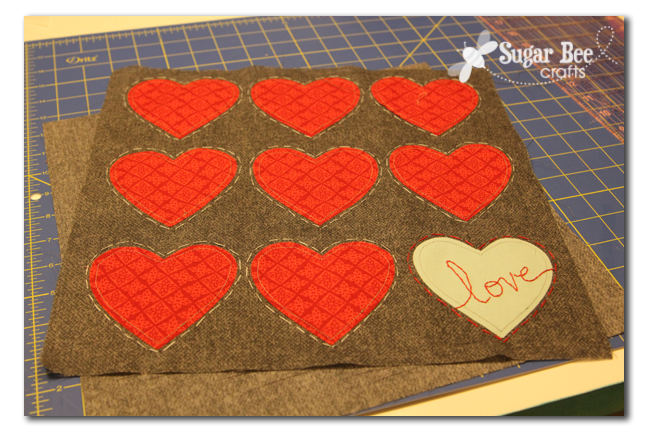
And then I used red to embroider the word “love” into the aqua heart:

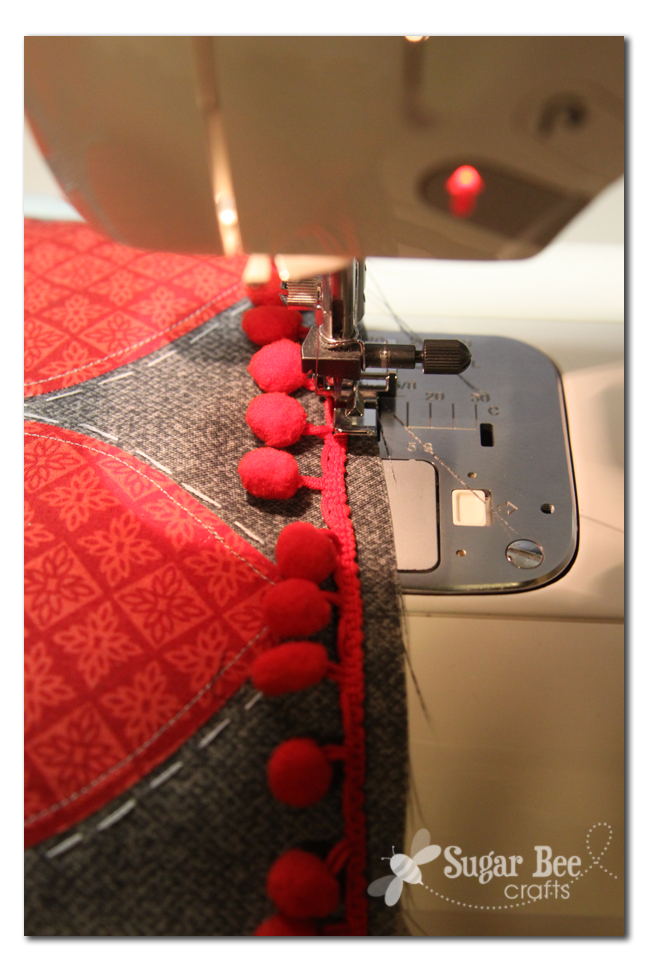
Now, how to attach pom pom trim to a pillow – – first sew it around the edge of the front of the pillow:

At the beginning and end, you’ll want to hang the tail off just a little, like so:
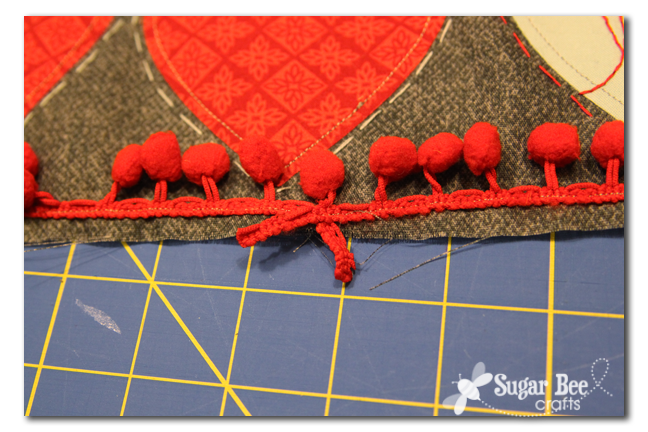
And it should look like this when you’re done with that step:

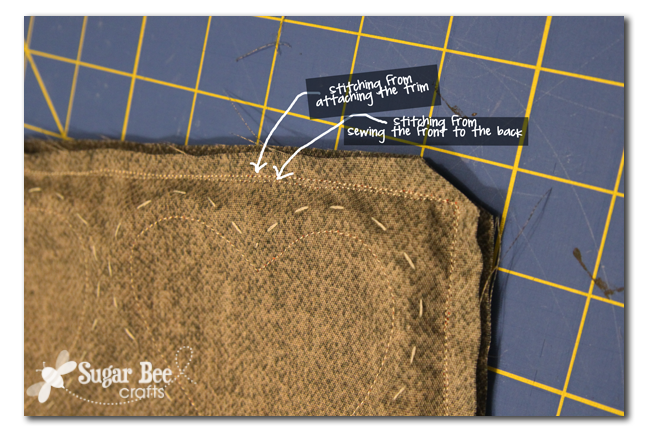
At that point, with right sides together. you are going to sew the back of the pillow to the front. Leave a few inches open to be able to turn the pillow right-side out. If you sew where you can see the stitch line of the attached trim, then you can aim for slightly inside that line – that will give your seam perfect placement. When done, clip your corners as shown:
Turn right-side out and stuff (I often use old pillows for stuffing – the ones that are too flat to sleep on so they get replaced – just cut them open and it’s a stuffing paradise). Then hand-stitch the opening closed. That’s it!

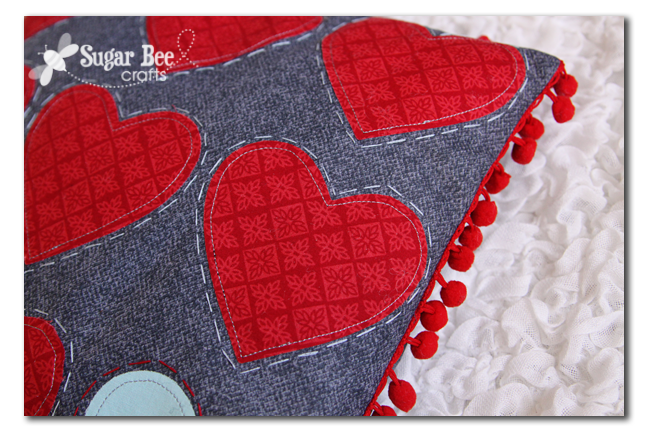
I love the hint of aqua — and it fits in with my decor:

It’s so fun and adds a hint of Valentine’s without being too much so – –
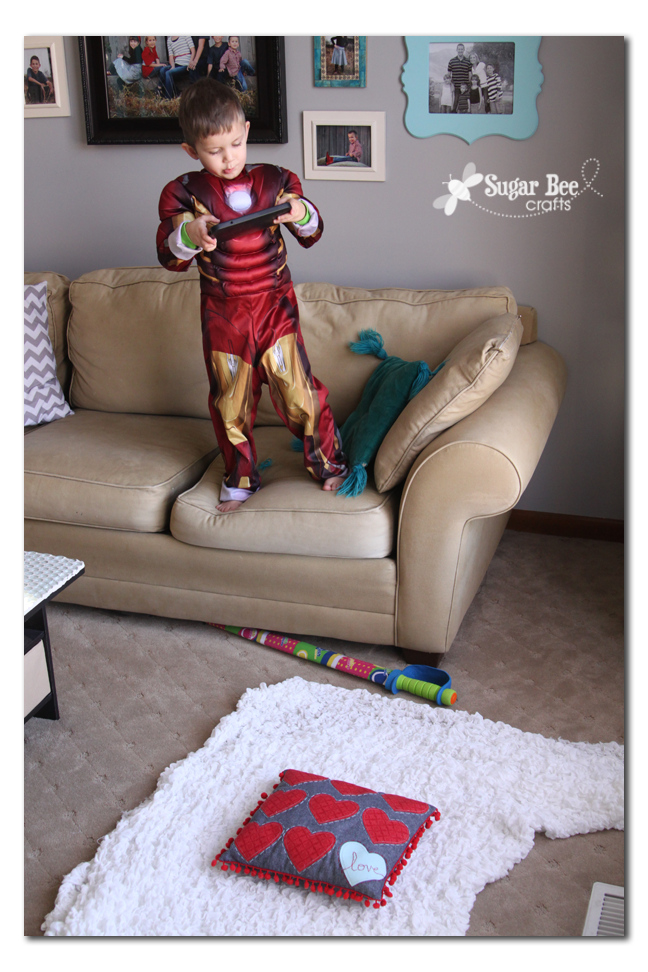
Random backed-out shot in case you think my photos are fancy – because they’re not. Ironman is even taking pictures of my projects with the tablet – future blogger??
I know Valentine’s Day is quickly approaching, but this is such a fun project, you can get it done in time! Enjoy!!


love that pillow – looks like it came from some super expensive store like Anthropologie
Love your pillow! Thanks for sharing.
The ball fringe really makes it. Super cute!
How cute is that pillow?! I love the pom pom fringe on the outside. Great job.
I love pom poms kinda like I love polka dots. They just make me happy! I’d love for you to come link this up at my Tuesday Time Out I love it!
Melanie Reasons To Skip The Housework
What a fun idea! I think I need some pom pom stuff…
Just stopping by to invite you to my party here:
https://diycraftyprojects.com/2013/02/whatcha-work-up-wednesday-20.html
I also have a valentine themed link-up here:
https://diycraftyprojects.com/valentines-day-themed-link-up is an ongoing link-up.